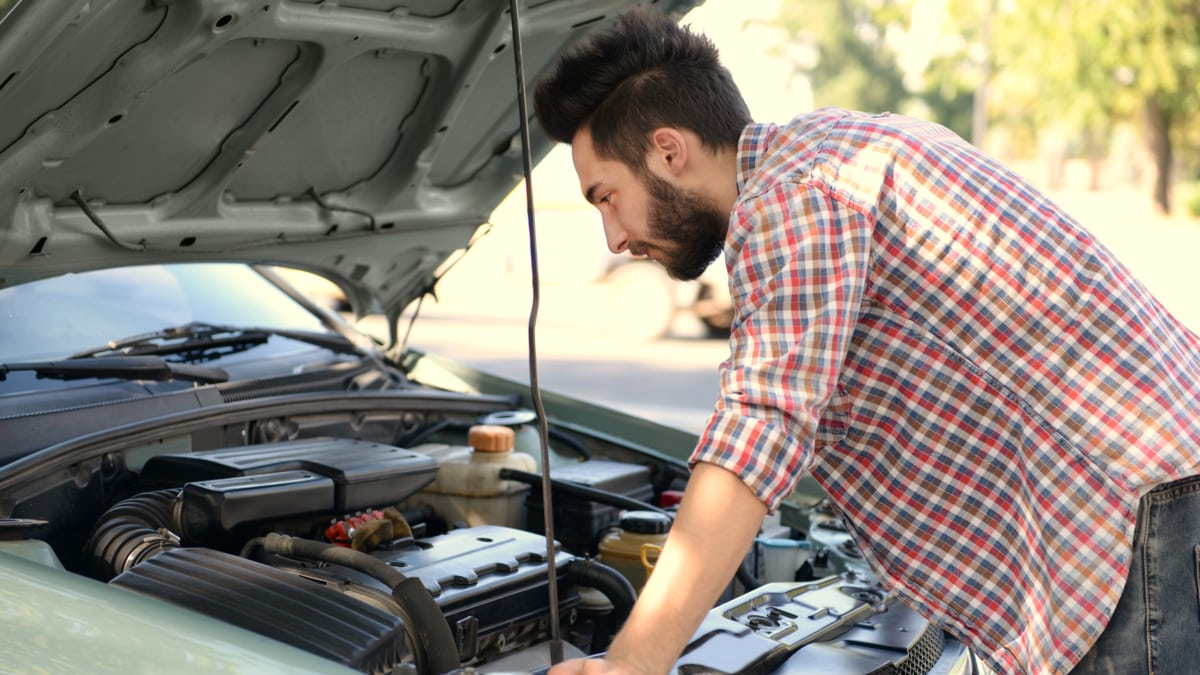
Getting all the air out from your cooling system after a water pump or thermostat replacement can be really difficult.
Your engine could easily overheat, and it may actually damage your engine seriously if you are not doing it right either.
There are some steps that will make the whole situation much easier. Follow this step by step guide and get all the air out quickly and safely.
Different Methods To Bleed the Car’s Cooling System
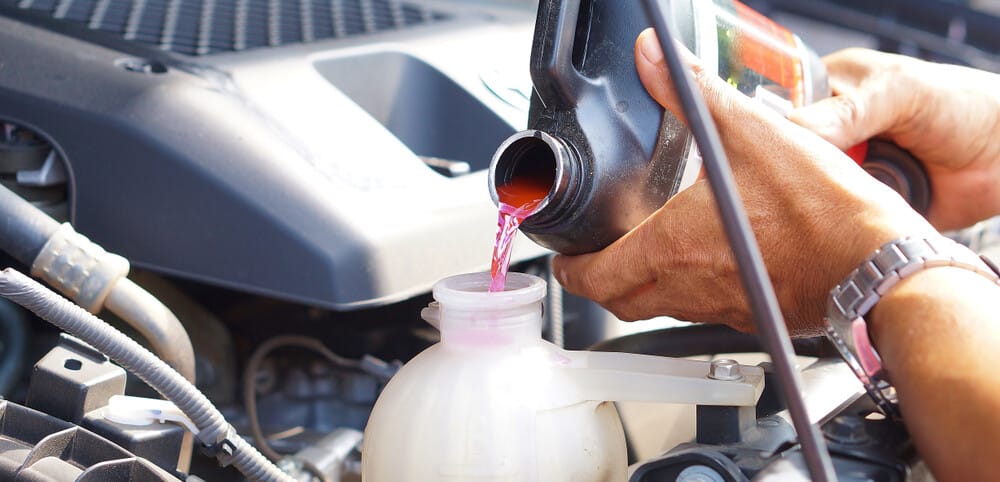
There are actually two different methods of getting the air out from your cooling system.
Old Manual Method
The manual method is the old-style variant of bleeding the cooling system.
Some cars have one or more air bleed valves to get the air out from the system, and some cars don’t have this air bleed valve, which makes it a lot more difficult.
To do this method, you do not need any special tools, and you will get a step-to-step guide on how to do it later in the article.
Vacuum Method
The new method, which I use myself, is the vacuum method. You need a vacuum tool for this and compressed air (depending on the tool) to use this method.
However, this method creates a vacuum and sucks out all the air from the cooling system within seconds, and then fills all the vacuum space with the coolant. This is a really efficient method if you have the tool, and you will never have to worry about car cooling bleeding anymore. You will get a perfect result every time, and the process takes under a minute.
If you are interested in one of these tools, you can find one here on Amazon. Please note you need an air compressor for this tool. This is an affiliate link, which means that at no cost to you, we may receive a small commission for qualifying purchases.
If you do not feel that it is necessary to buy one of these tools and do not want to go to a workshop to do it, it is also fine. This is the way I do it when I do not have access to a vacuum bleeder:
How to Bleed Your Cars Cooling System
Step 1: Get the Coolant Ready
If you are not sure which coolant you should use, check your repair manual or contact your authorized dealer.
Generally, mix the coolant with 50% water and 50% coolant (if it is a concentrated anti-freeze coolant).
Always read the description of your coolant for the correct instructions. If you live in a cold country, you have to make sure that the coolant mix is correct. If your coolant freezes in your engine, it will destroy your engine.
RELATED: 10 Best Engine Antifreeze & Coolants
Step 2: Jack up the front of the car
To raise the car’s front, you could either use a floor jack or put the car on a steep hill with the front upwards.
When raising your car with a floor jack, always also use Jack Stands to prevent any accidents.
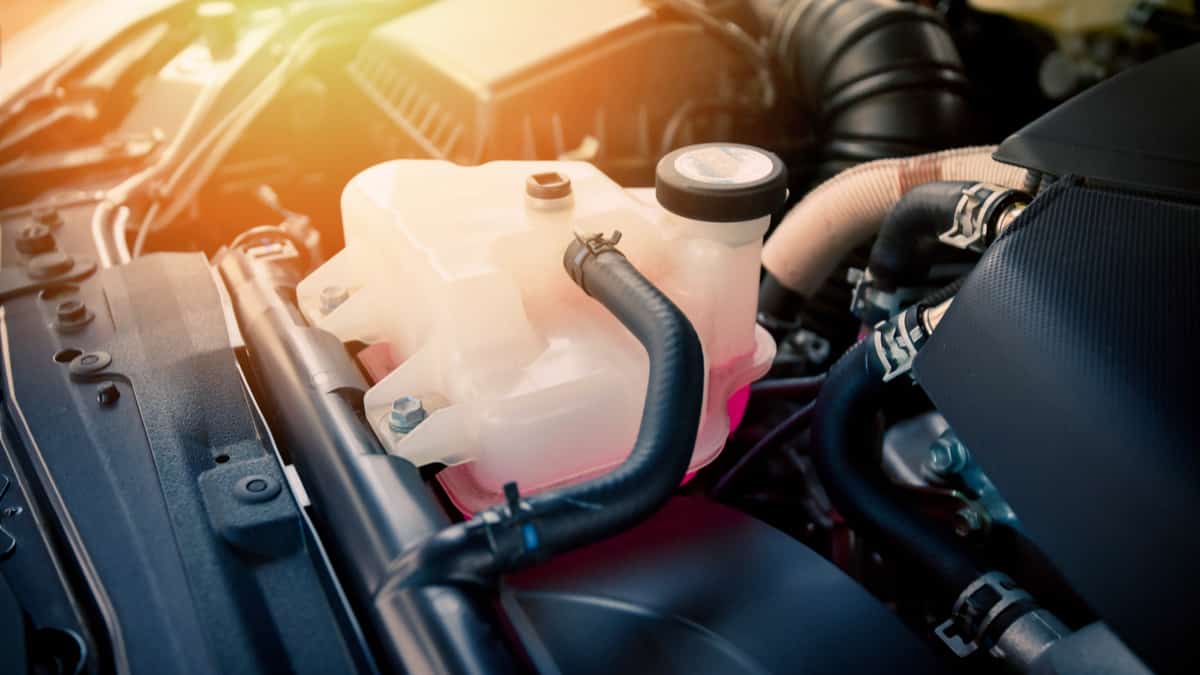
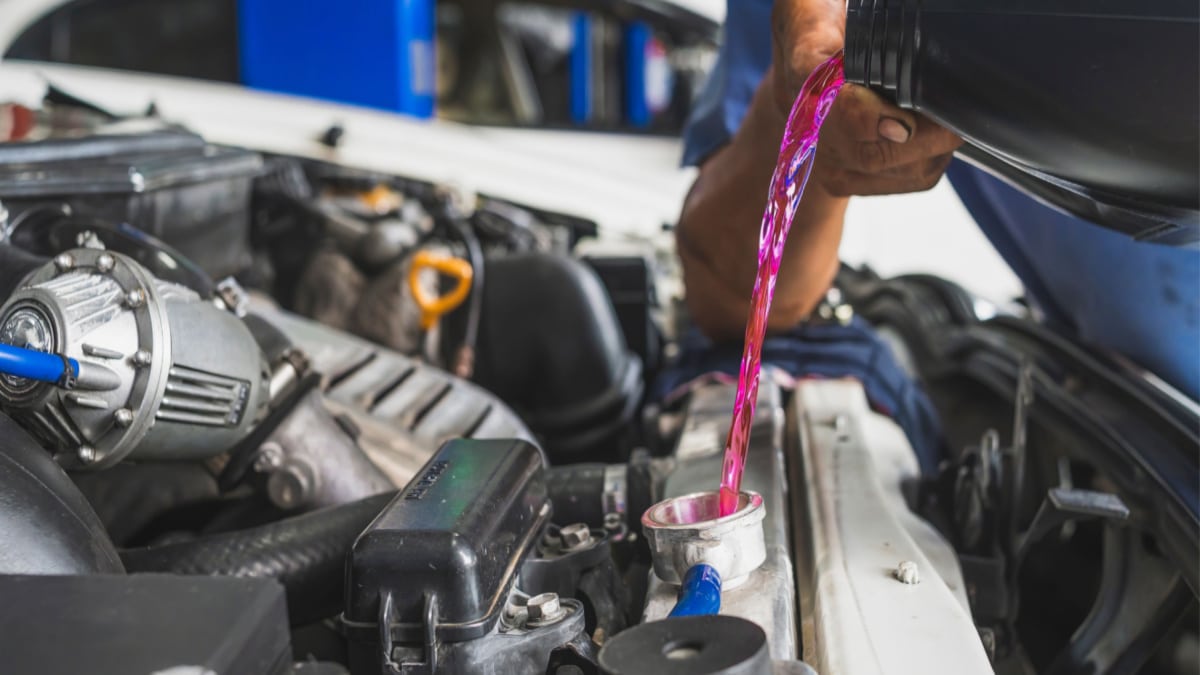
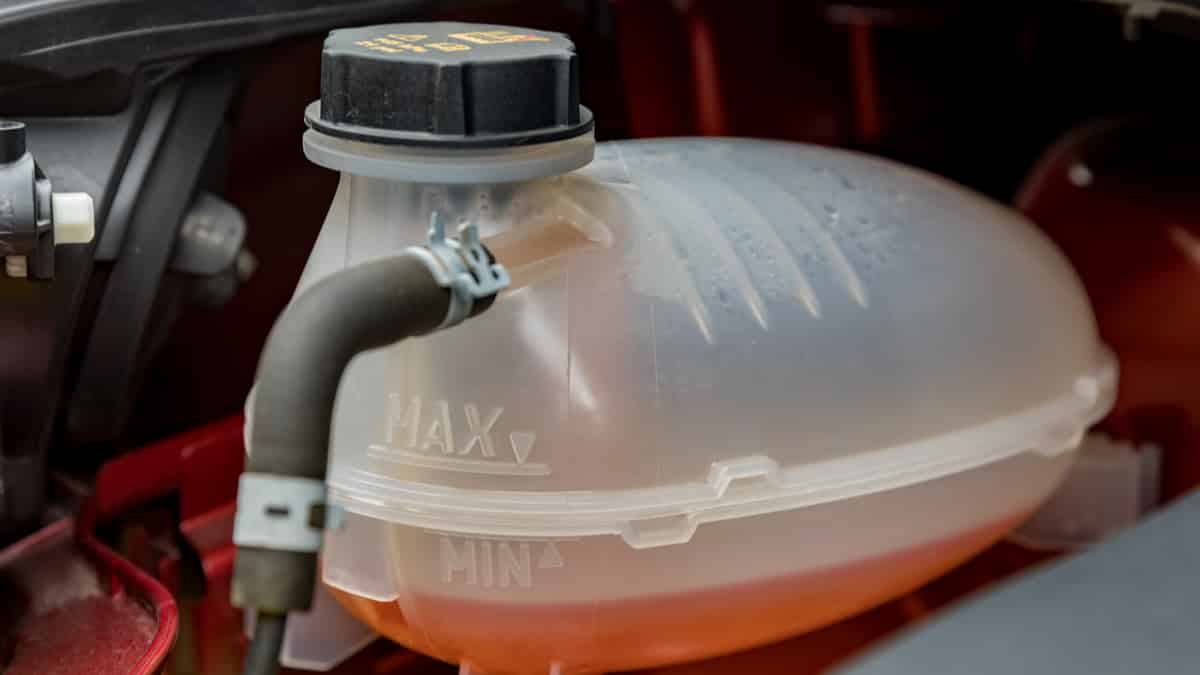
Step 3: Fill Coolant to MAX
Anti-freeze is toxic, and you should always check that your coolant is not flowing down in any wells on your floor or the road. All coolant should be returned to your local environmental assessment. Keep in mind that if any animals drink the coolant, they can get very sick, leading to death. Use anti-freeze with care! When you have filled your coolant as much as possible, go to the next step
Step 4: Start the engine
Step 5: Turn the climate control heat to max
Other cars redirect the airflow and not the coolant flow, so this step will not make a difference with these cars. No matter which model you have, it’s an easy step to put your climate control to the MAX heat.
Step 6: Rev the engine to 3000-4000 rpm
Step 7: Open Bleed Valves Carefully
Step 8: Refill coolant if necessary
RELATED: Low Engine Coolant – Is it Safe to Drive?
Step 9: Go for a test drive
Step 10: Fill coolant again
After this, you can let your vehicle stand for a couple of hours, then take another test drive, do the same procedure and check for leaks and the coolant level.
After all these steps, your repair should now be successful. If there are any strange behaviors, repeat this guide or continue your troubleshooting.
RELATED: Can you use only water without any coolant in the radiator?
