
Before you hit the road, it helps to check all of the lights and signals around the car to ensure your safety. If you notice something is wrong with a tail light, you’ll want to fix it immediately. That brings you to the next logical question – how much does it cost to fix a tail light?
In this guide, I evaluate the different types of repairs and the approximate costs. I also cover the basic steps involved in replacing a tail light bulb and assembly.
In This Article:
How Much Does It Cost to Repair a Tail Light?
It will cost between $5 and $300 for a tail light repair on average. For a complete tail light assembly replacement, you could spend between $100 and $300. If you need to replace a tail light bulb or fuse, the cost shouldn’t be much more than $25. If you need a new lens or cover, you could spend $50 to $200.
Since the repair cost of a tail light will vary depending on what you want to replace, here is a little more detailed information about each type of tail light replacement.
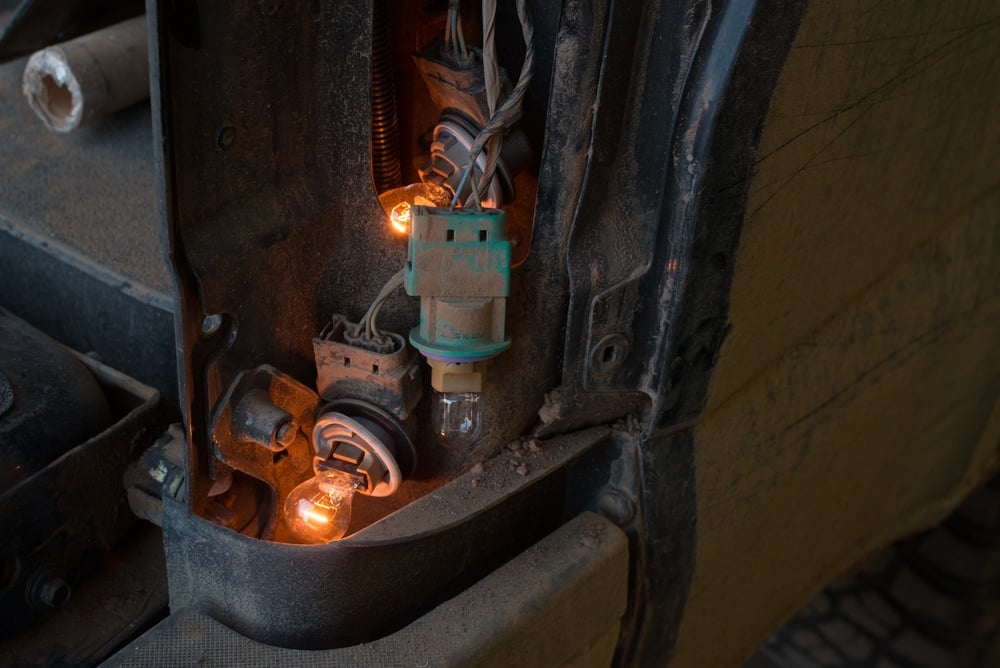
1. Bulb
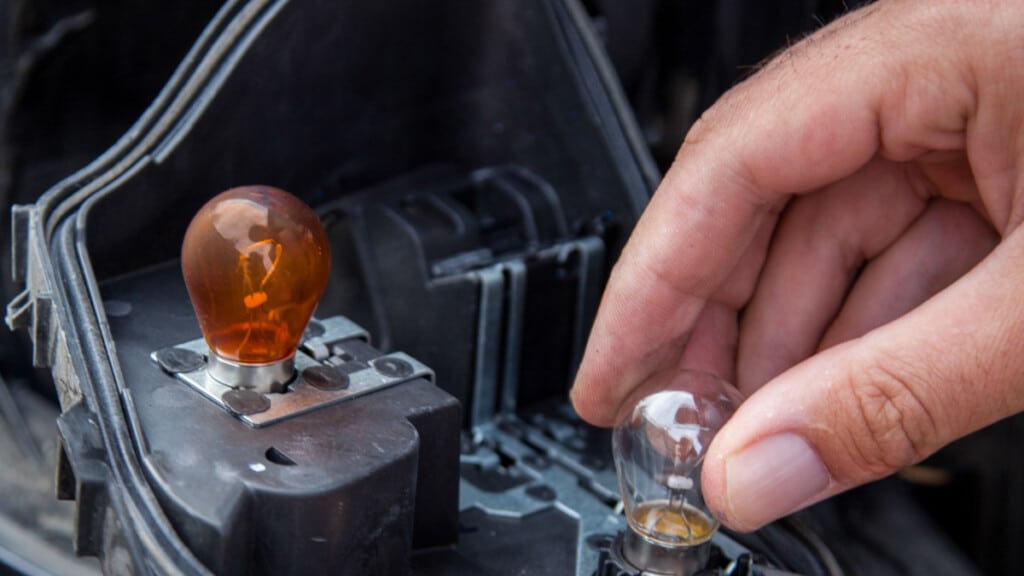
One of your cheapest fixes is to replace a blown-out bulb. Some tail light designs need a bulb and a cover. With this configuration, you can take out the old bulb and put in a new one for a minimal amount.
The cheapest option is a halogen bulb. On average, these are only going to cost about $5 per bulb. It’s the LED bulb that is going to cost more, but these are brighter.
You could spend $10 or more on a compatible LED bulb, plus you need to make sure your vehicle can handle the LED replacement. If you are putting an LED bulb on one side, you want to do the same with the other, so they are equal.
RELATED: Xenon vs. LED vs. Halogen Headlights – What’s the Difference?
2. Fuse
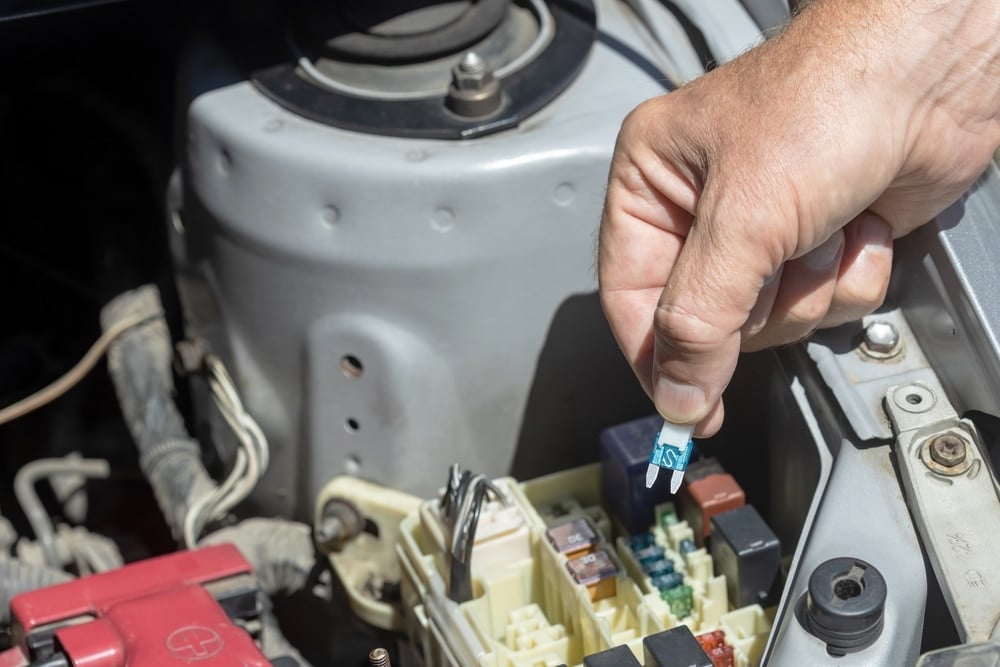
The tail lights run on a fuse, just like everything else with the electronic systems on the car. If the light goes out, the problem could be a blown fuse. In this case, you are also looking at a minimal amount of money, and it’s an easy fix.
You want to find the fuse that runs the tail lights and test it. If there’s no power, replace it with a new fuse with an equal amp rating. On average, a new fuse should cost you $10 or less.
The fuse box for the taillights is usually located inside the car under the dashboard or in the trunk. Check your owner’s manual to find the correct location of the fuse box.
3. Cover/Lens
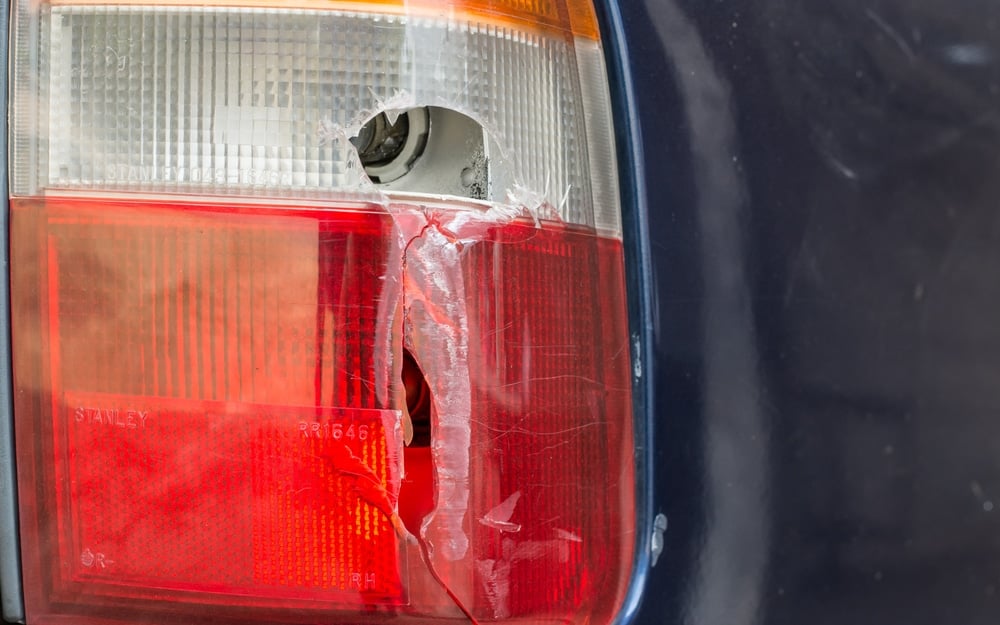
In some cases, you may be able to replace just the taillight cover/lens, which will be a bit cheaper than replacing the entire taillight assembly. This lens is also known as the cover. It can be purchased in a variety of styles and designs. In some cases, the cover just gets dirty, requiring restoration. An automotive light restoration kit costs about $20, and it’s simple to use.
If the cover or lens is cracked and hindering visibility, you need to replace it. On average, you can find quality covers for $20 to $200 per pair, depending on what type of car you drive. If you can replace the part yourself, you don’t need to spend any more money.
However, if you aren’t sure how to get the lens in place, you could cause more damage to the new part, and it might be better to consider visiting a repair shop instead.
If you have a modern car with LED tail lights, you most likely won’t be able to replace just the cover/lens but will have to replace the entire tail light assembly. I will cover this in the next section.
RELATED: 10 Best Headlight Restoration Kits – Review & Guide
4. Assembly
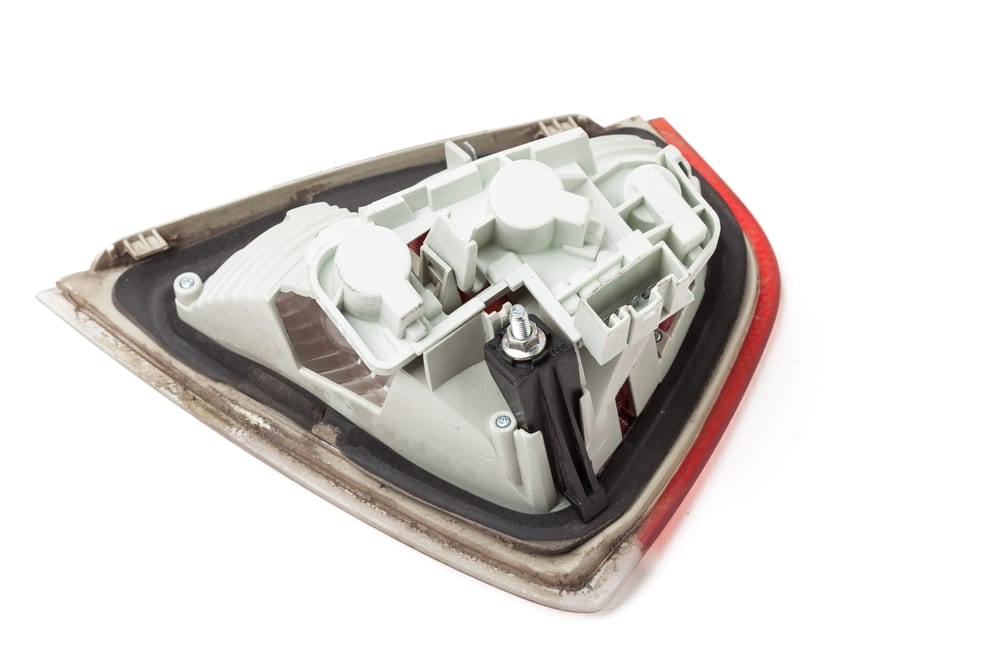
If your car contains LED lights within the cover as a one-piece design, it’s possible that you will need to replace the whole tail light assembly. You won’t be able to replace the bulb by itself when the light goes out.
If you drive a lower-cost car, the assembly could be far less than $100. On the other hand, it’s possible to spend more than that, especially if you are purchasing an assembly with LED bulbs or you need professional help to get it installed. For some car models, you can spend $300 or more for a tail light assembly with LED lights.
5. Wiring
The worst possible scenario is that there’s an issue with the wiring to the tail light. These can be the most complicated to troubleshoot, causing you to spend a good chunk of time, especially if you aren’t sure what you are looking at.
If you need to pay a technician for a professional diagnosis, expect to pay about an hour or two of labor. Once the problem is determined, you also have the expense of fixing it, making it difficult to estimate what the price might be.
RELATED: Blinker Fluid – What is it & Is It a Real Thing?
Can You Replace a Broken Tail Light Yourself?
Most people can handle the simple job of replacing a tail light bulb or fuse by themselves. You don’t need special tools or any expertise. The same is true with most lenses, covers, and assemblies. If you can follow some simple directions, you should be able to get your tail light working once again.
On the other hand, complicated wiring issues should only be handled by a professional. Unless you understand the wiring and have a copy of the schematics for your vehicle, it might be best to visit a repair shop for help in this department.
How to Replace a Tail Light Bulb
If your vehicle has a separate tail light bulb from the assembly, you can take the blown bulb out and put a new one in. Overall, the direction remains the same across the board, but it’s always helpful to read your car’s service manual.
Here are some suggestions.
- Open the tailgate or trunk.
- Put on nitrile gloves so you don’t contaminate the new bulb.
- Remove the tail light bulb if it is accessible. In some cases, you need to take out the entire assembly to get to the tail light bulb.
- Add a small amount of bulb grease to the replacement.
- Install the tail light bulb. If you need to put the assembly back in, now is the time.
- Test the new tail light bulb.
It’s often advised to replace tail light bulbs in pairs. If you are changing the bulb on the right side, you should perform the same procedure on the left side, ensuring the brightness is uniform.
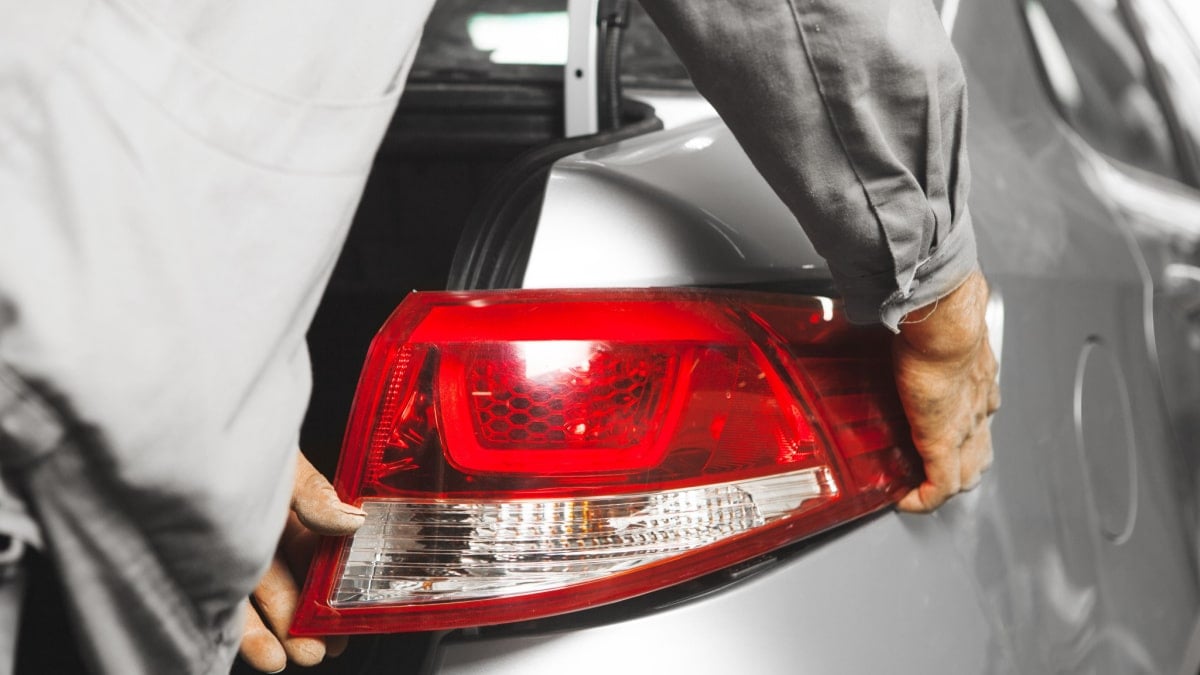
How to Replace a Tail Light Assembly
If the entire tail light assembly needs to be replaced, I recommend reading the service manual first. With that information in hand, you can move on to these general guidelines.
- Open the tailgate or trunk to access the tail light assembly. With some models, it’s necessary to take apart the rear bumper.
- Remove any screws or bolts that are holding the assembly in place. Put this hardware in a secure location so nothing gets lost.
- Pull the tail light assembly from the vehicle. There could be retainer clips that need to be removed first. These are delicate, so be careful.
- Disconnect the assembly. Remove any connectors and wires that are providing power to the tail light.
- Plug in the new assembly with the bulb in place.
- Work in the opposite direction to reinstall the new assembly. You will need to put the retainer clips back in place, along with the bolts and screws. Don’t overtighten any of the bolts or screws, but make sure they are secured.
- Reattach the bumper or trim if you need to remove it.
- Test the lights to see if they work.
The tail light assembly is made from a plastic material. While they are built to handle mild bumps and dings, they will not hold up against stress. Take your time and handle the assembly with care to ensure you don’t break any more parts.
RELATED: 10 Best LED Lights for Your Car Interior – Review & Buyer’s Guide
Can I drive with a broken tail light?
No. It is not recommended to drive with any type of broken tail light. If the bulb is broken, it’s possible that cars behind you won’t see you, which could cause an accident. If the cover is broken, it can cause cars behind you to see it as a headlight instead of a taillight because of the color.
How long does it take to get a tail light fixed?
It usually takes between 5 and 60 minutes to fix a taillight, depending on what’s broken. If you need to change a light bulb, you can often do it in under 10 minutes, but if the taillight assembly needs to be replaced, it can take up to an hour – or even more.
Can you put red tape over a broken tail light?
Putting red tape over a broken tail light is not recommended, but it can be a good temporary fix until you replace the tail light cover. There are actually special red tapes for tail light repairs that can save you some time.
Are brake lights and tail lights the same?
On some car models, the brake light and tail light will share the same bulb, with different circuits. It is possible that only one of the circuits in the bulb is broken. On other cars, you will have separate bulbs for the tail lights and brake lights.
If you’re comfortable doing some basic repairs yourself, you can save yourself some money, especially when it comes to light bulb replacements. However, if you don’t feel confident fixing it yourself or want the job done right, then take your car to a repair shop.
Remember that driving without properly functioning tail lights can result in costly fines and even accidents, and should therefore be repaired as soon as possible.
Learn more:
- Tail Lights Not Working But Brake Lights Are? (How to Fix)
- Brake Lights Not Working But Tail Lights Are? (How to Fix)
- Brake Lights Stay On? (5 Causes & How to Fix it)


