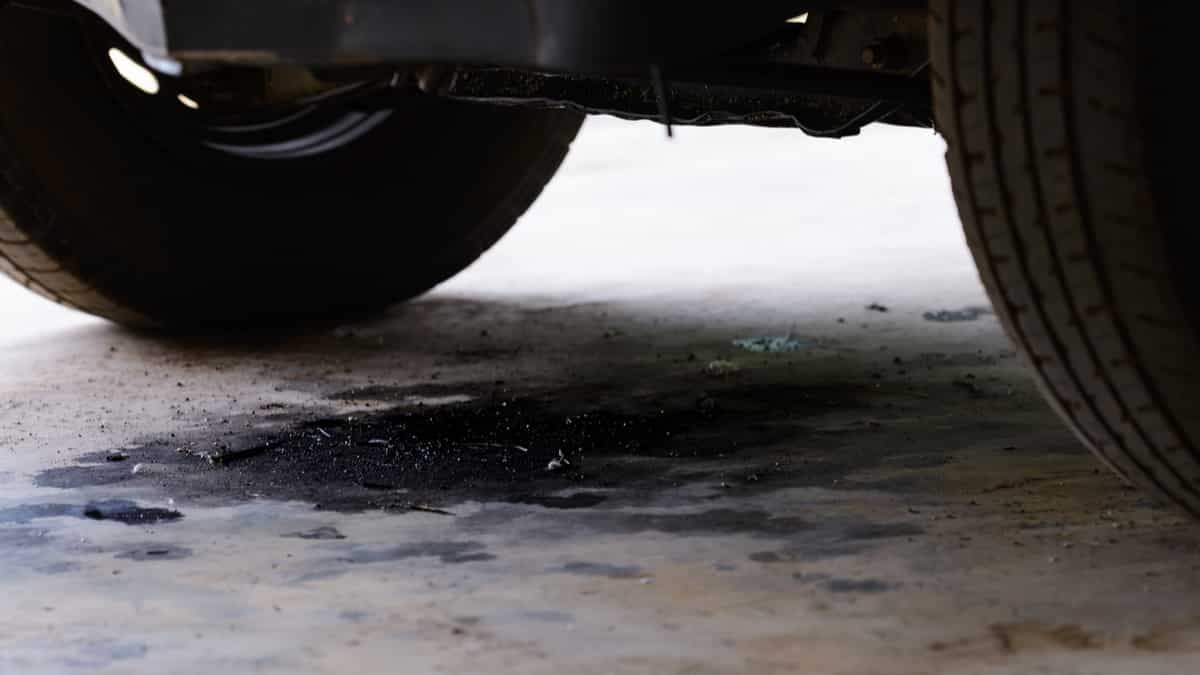
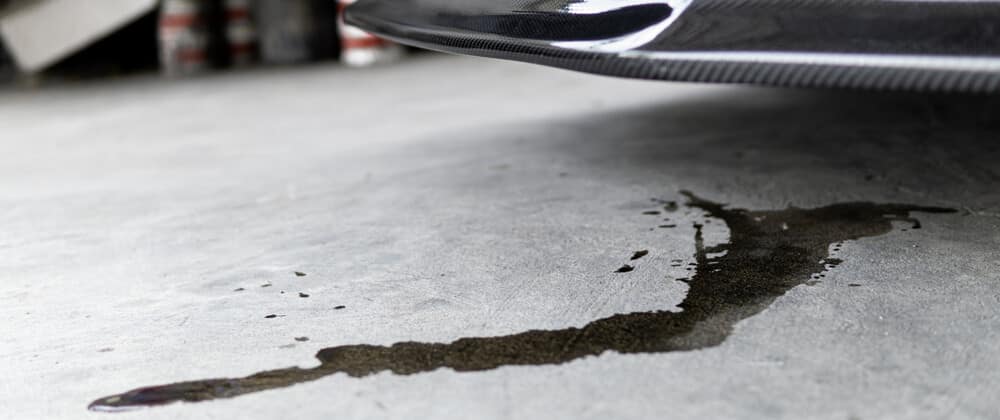
When you see oil leaking from the bottom of your car, it can cause your heart to stop momentarily as you ponder what the repair cost might be. After all, the engine is one of the most expensive parts of a vehicle to fix. Will the oil leak repair cost break the bank?
In this article, I look closer at the problems that could cause an oil leak. Additionally, I examine the ways to fix the oil leak and examine the costs associated with the repair.
How Much Does An Oil Leak Repair Cost?
Repairing an oil leak can cost anywhere from $100 to $2,000 or more. The wide range is due to the numerous causes of an oil leak and can also depend upon the location of the leak. Plus, the type of vehicle you drive has a profound impact on the total costs.
If you are taking good care of the engine and performing regular oil changes, there’s less of a chance that you will face major repairs. It’s wise to spend a small amount of money on this maintenance regularly to help avoid costly engine repairs later.
Common Oil Leak Causes
1. Degraded Oil Filter
The oil filter is responsible for a large number of oil leaks. While it isn’t common, the housing itself can be damaged, causing it to start leaking. Pressure from inside the engine can also cause it to become loose over time, but only if it wasn’t on tight enough in the first place.
You can also install the oil filter too tightly, which would cause damage to the gasket. Furthermore, if the old gasket were to stick to the engine during a replacement, it could leak to leaking oil.
This filter is needed to keep contaminants out of the motor oil before damage occurs. For the most part, if you are changing the filter at regular intervals, the filter should continue doing its job, but it’s also possible to get one that’s defective.
RELATED: Why Is My Car Leaking Oil? Common Causes (& How to Fix it)
2. Failing Gasket
Gaskets are used to keep fluids in the proper areas of the engine. Additionally, gaskets regulate where oil flows as it is transferred throughout the engine.
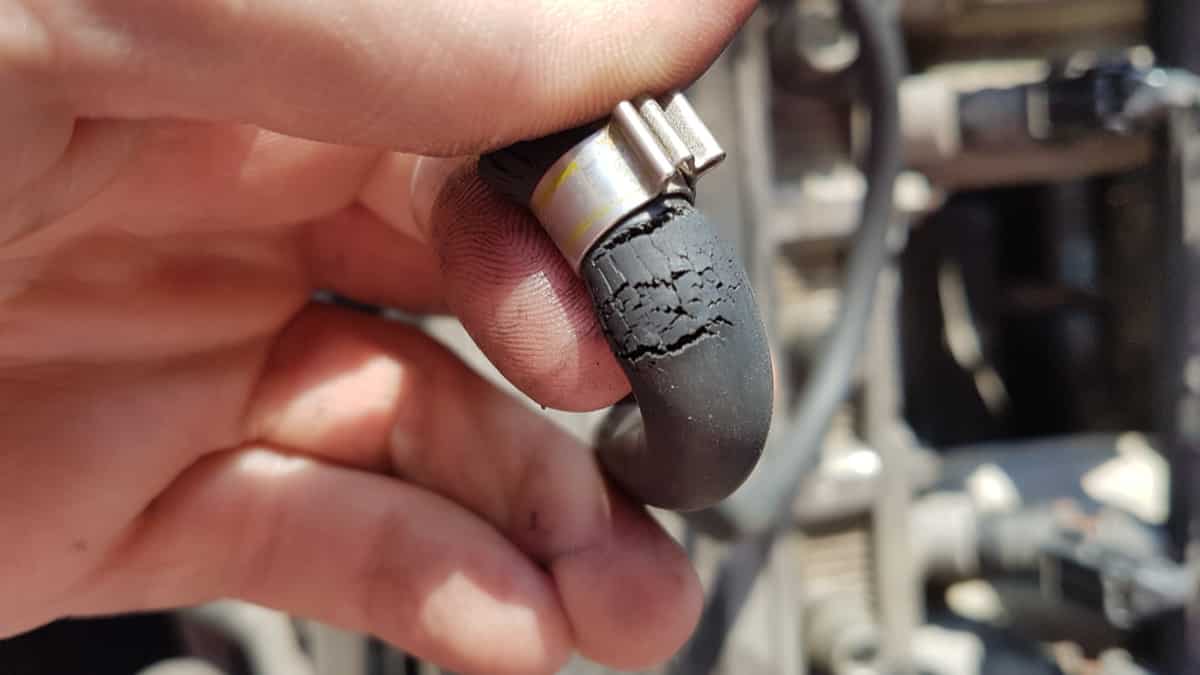
Still, gaskets only have a certain lifespan. They will degrade as time goes on, weakening to the point that oil can seep through. Generally, this shouldn’t happen before 100,000 miles, but it isn’t uncommon if you are hard on the engine.
3. Broken Oil Filler Cap
If you see oil puddles form quickly under the car or near the engine, the problem could be the filler cap attached to the valve cover. After many miles, this filler cap can break easily when removed or become loose. There’s also the possibility that the person changing the oil forgot to put the oil filler cap back on after the service.
Thankfully, this can be one of the easiest problems to fix. If you can’t re-adjust the cap, you can purchase a new one.
4. Excessive Amount of Oil
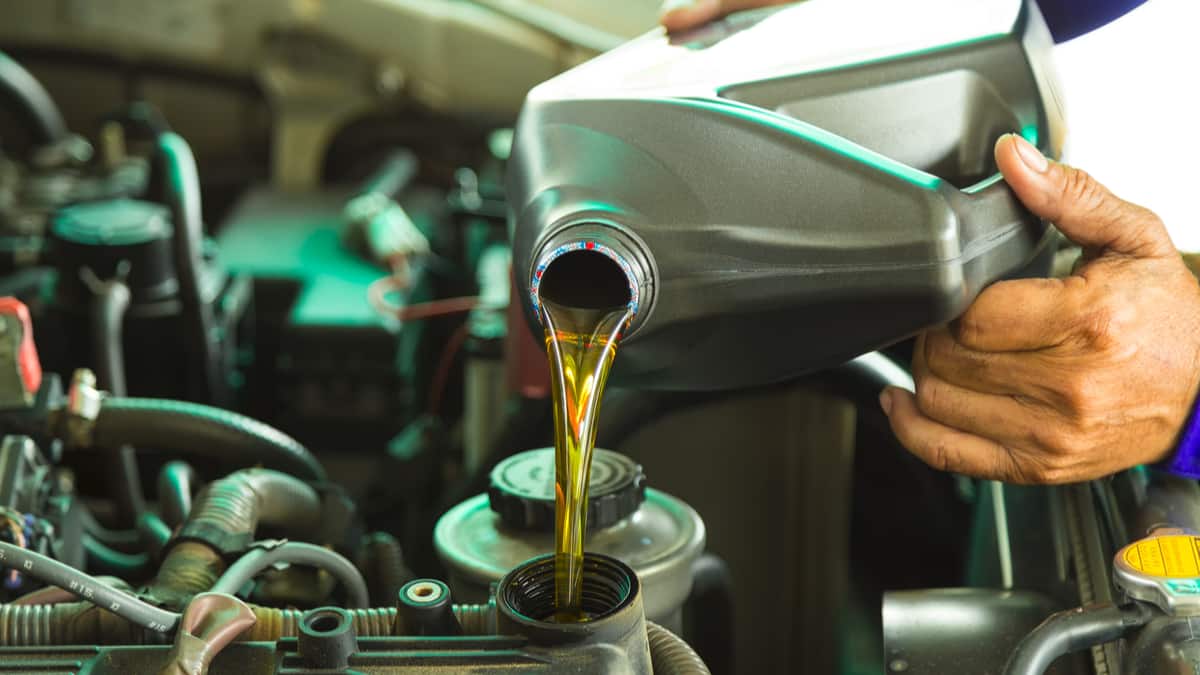
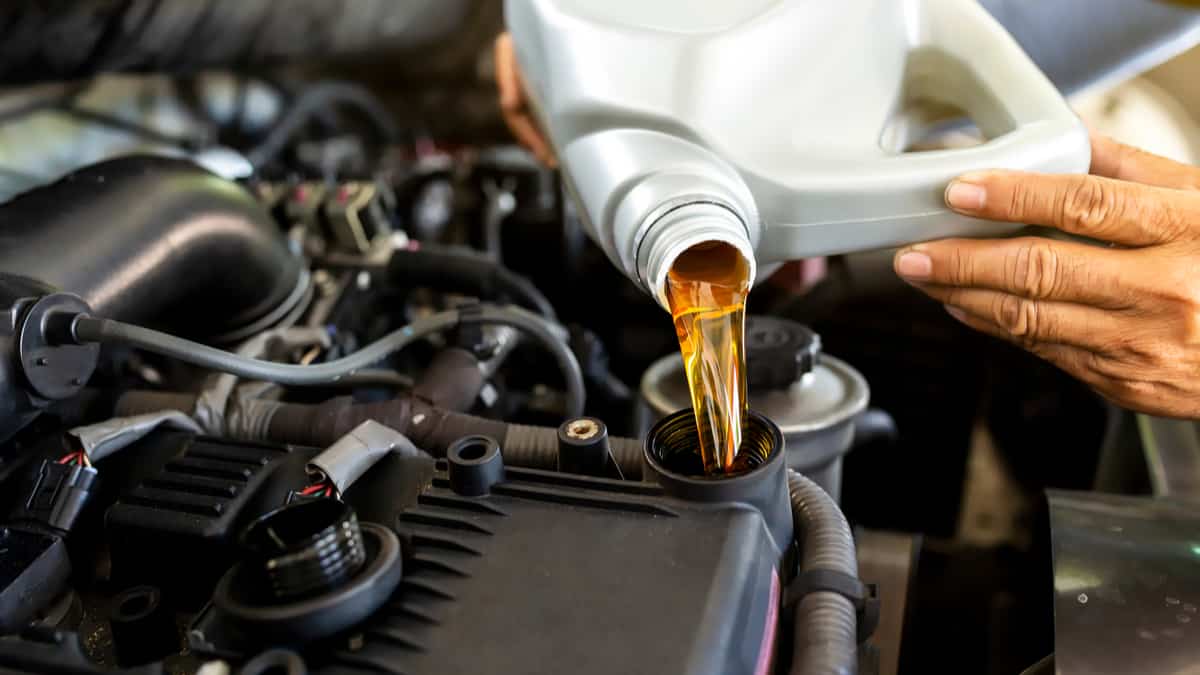
If you just filled up the oil, it’s possible that a minor error has caused the leak. When you were filling up after the oil change, you might have poured in too much. In this case, removing the excess oil is all you need to do.
There’s also the possibility that you spilled some during the process. Use a rag to clean up the mess.
5. Failing Crankshaft Seals
At both ends of the motor, you will see the crankshaft protruding a little bit. At these mounting points, there are seals that keep the oil from coming out of the motor. The crankshaft contains front and rear seals.
If the front crankshaft seal is leaking, the oil will be noticeable towards the front of the motor, by the belt. Otherwise, if you see oil between the engine and the transmission, it could be due to the rear crankshaft seal.
How to Repair an Oil Leak
1. Determine the Cause
Because an oil leak can be caused by many problems, you will need to do some investigative work to find out what’s going on. Get under the car and inspect the seals first.
You can also verify that the oil pan plug is installed securely. If you drive an older car, it’s possible you are dealing with multiple oil leaks that have compounded into a bigger problem.
2. Use an Additive
Depending on the case, an oil leak additive might do the trick. These products condition the rubber seals and can make them more flexible for better retention.
However, the additives can take some time to work completely. It’s only wise to try this option if the leak is minimal and you have little time to spare. I always recommend repairing the leak properly instead, however, if you have a very old car not worth throwing money at, you could try it.
RELATED: 8 Best Oil Stop Leak Additives in 2021
3. Reference Service Manual
Before you start fixing the oil leak, it’s important to check the service manual for your vehicle. In some cases, you’ll find that the repair is simple to do at home.
Other times, the fix might be too complicated for you to do on your own. In these cases, it’s best to seek help from a professional instead.
4. Get to Work
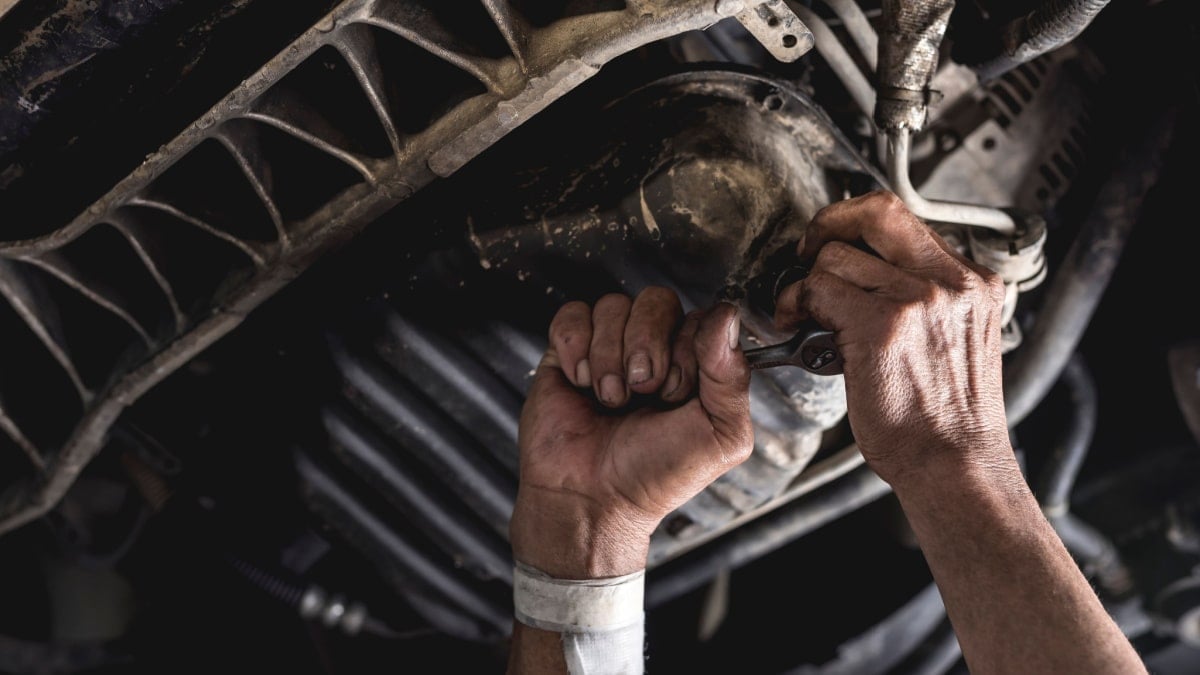
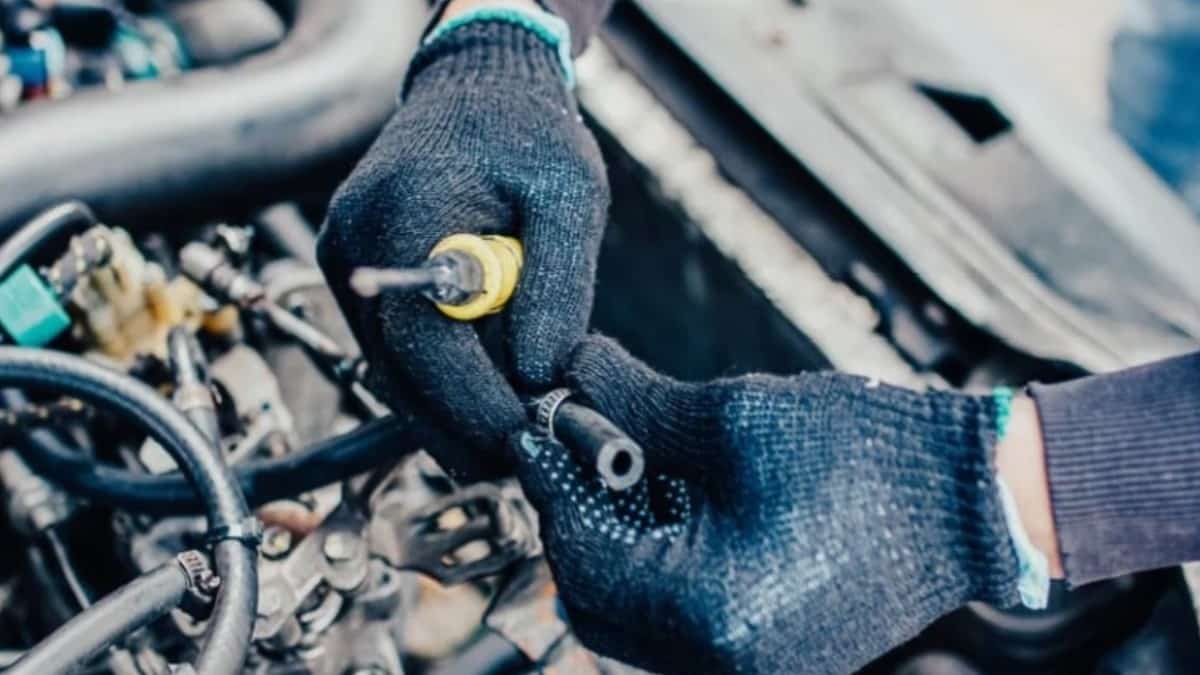
For many of the easiest repairs, you will only need a few hand tools, a floor jack, jack stands and a torque wrench. Make sure you have all the equipment needed before you get started.
If you are securing any bolts, you need to torque them to the appropriate factory specifications. Reference your service manual throughout the repair.
5. Test Drive the Vehicle
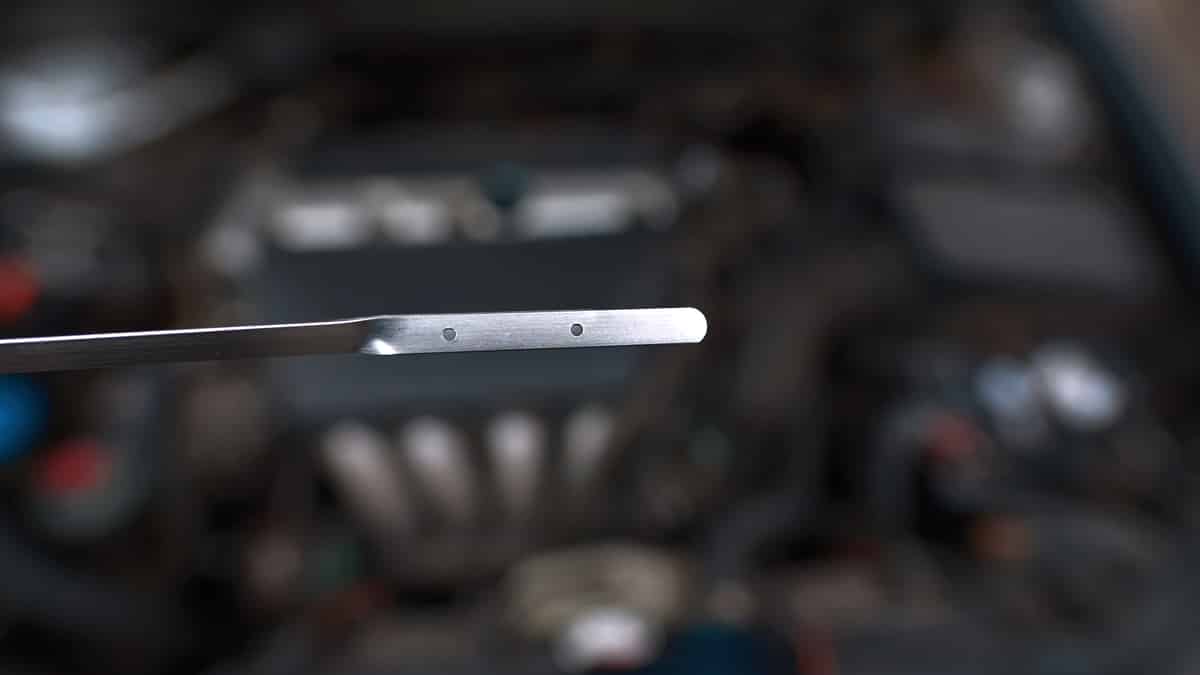
If you think that the problem is repaired, it’s time to check your work. Check the oil level and top it off if necessary. Next, start the engine and open the hood. While the vehicle is running, check the engine to see if any oil is leaking.
Once the vehicle has been running for a short time, you can move it slightly. Watch for any new oil to accumulate in your work area. If there is oil, you need to continue working on the leak. Otherwise, it’s time to take your car out for a test drive to ensure everything seems right.
Remember that maintenance is always better than repair and is less costly. If you take care of your engine, you are less likely to deal with oil leaks in the first place.
Categories: Engine Oil, Estimator
