
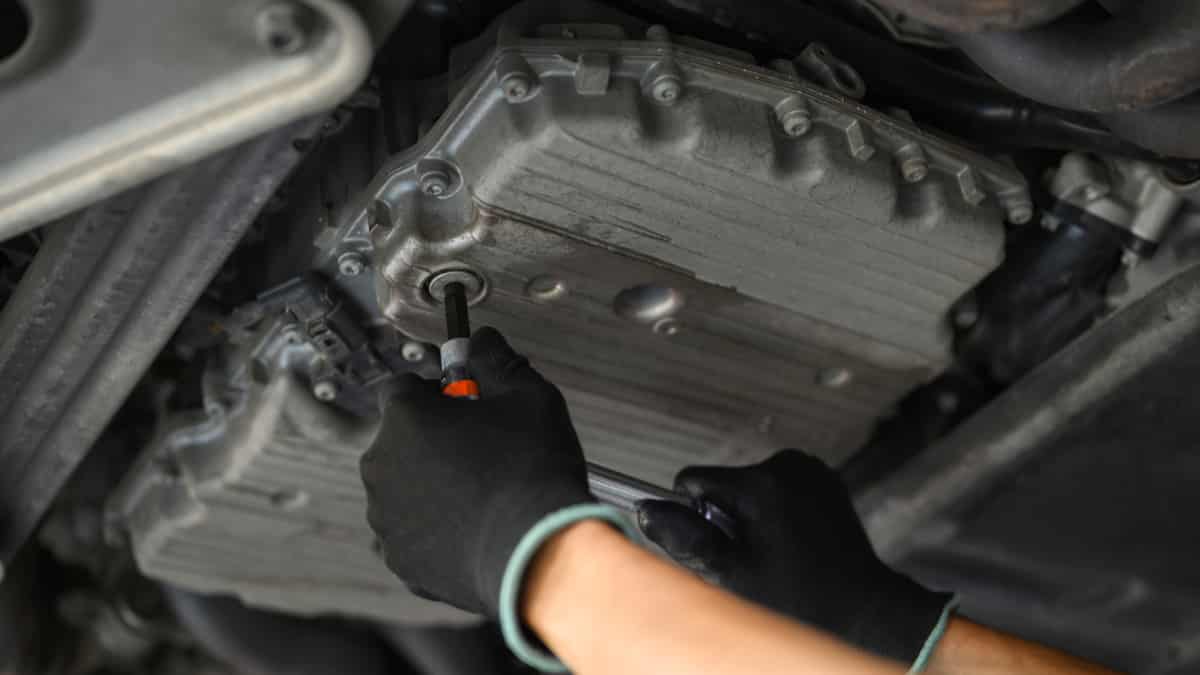
There’s nothing worse than stripping the oil drain plug when performing a regular oil change. Once this happens, you might be scratching your head, wondering how to remove a stripped oil drain plug. With the right tools, it isn’t difficult to get the oil drain plug out and repair the oil pan hole.
In this guide, I take a closer look at the necessary instructions to remove a stripped oil drain plug. I also outline how to repair the oil pan hole.
In This Article:
How to Remove a Stripped Oil Drain Plug
To remove a stripped oil drain plug, use your vice grip pliers to get around the oil drain plug. Turn the pliers counterclockwise and use a hammer if you need more force. Once it becomes loose enough, you should be able to unscrew it. Make sure to keep a new drain plug ready to go.
Here are some more detailed steps on how to remove a stripped oil drain plug:
1. Get a New Drain Plug
Before you get started, it’s always best to ensure you have the necessary equipment to complete the jobs. One item that you should have on hand is the new drain plug.
When you take the stripped plug out, you will want to put the new one right in its place. Otherwise, you will have to leave the hole open while you go get the plug.
2. Use Vice Grip Pliers
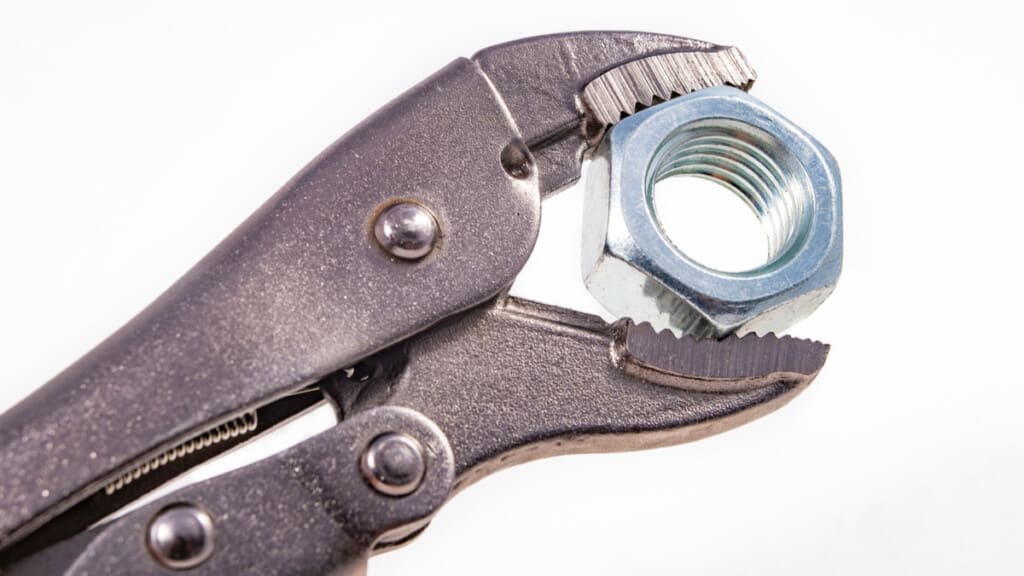
You can use a set of vice grip pliers to grab onto the rounded-off drain plug. I recommend using the round-jaw variety.
If you opt for the flat-jaw type, you might have trouble locking around the bolt. Without locking onto it, you won’t be able to remove it.
Once you have a tight grip on the drain plug, turn the pliers counterclockwise. You may be able to loosen the plug slightly. If you can’t get it moving at all, hit the vice grips gently with a hammer. With a little patience, you will get it turning.
If the plug is cross-threaded or the oil pan threads are also damaged, you might need to put in even more effort. The vice grips could cause more issues by stripping the head further. In this case, it might be better to use a socket instead.
3. Unscrew It
You don’t want to attempt removing the plug until it has been loosened. Some people use a flathead screwdriver to pry it out, but this is not a good idea.
The screwdriver can easily damage your oil pan, which cannot be repaired. You will be looking at a much more expensive repair if you harm the oil pan.
How to Repair the Oil Pan Hole
1. Get a Drain Plug Repair Kit
If you are trying to repair the hole in your oil pan, you want to get a complete kit to finish the job. These drain plug repair kits come with a reaming bit to get out any of the old thread.
The kit will also include tools of varying sizes. You will be able to use this kit in the future for other projects, from the automotive gearbox to your household sump pump.
You can use something like Highking Tool Oil Pan Thread Repair Kit. This is an affiliate link, which means that at no cost to you, I may receive a small commission for qualifying purchases.
2. Eliminate Damaged Threads
The reaming bit must be used on the damaged threads. Continue to work away on them until all of the damage is removed.
By using this kit, you can give the surface a renewed finish. Once that’s done, it will hold a new plug without any issues, unless you strip it again.
3. Tap Out New Threads
You will need to choose the appropriately-sized tap to thread the hole. Your kit should come with several to pick from. Using this tool helps you to cut new threads in the hole.
These new threads will be used to hold onto the drain plug. Make sure you rotate the tap several times, moving clockwise. When you are done going that way, take it back one to two times counterclockwise.
You want to repeat this process several times. It is done when the tap gets through the entire depth of the hole in the oil drain pan. Once the threads are completed, it’s best to take a look at the work. You want all of the threads to appear even, and there shouldn’t be an excessive amount of metal shavings left behind.
4. Flush Oil Pan
To ensure there aren’t metal shavings, it’s a good practice to flush the system before adding the fresh oil. When you are done tapping, flush the system with ½- to 1-quart of motor oil.
When you drain this oil out, the metal shavings should come with it. If you don’t do this step, you risk having metal pieces flowing through the oil and motor, thereby leading to permanent damage.
RELATED: How to Change the Oil in Your Car (5 Easy Steps)
5. Install New Plug
It’s time to put that new drain plug in the hole. Thread the plug into the fixed drain hole. At first, you should be very careful. If anything feels awkward, it’s best to take another look at it before you shove the drain plug inside.
Torque the new drain plug to factory specifications. When you are finished, inspect the sealing washer to ensure it is evenly placed around the hole’s perimeter for a good fit.
6. Refill System & Check
You want to check any work that you perform on your vehicle, and this job is no different. It’s important that you inspect your repair for any sign of leaks. Fill the engine with new oil, using the proper amount as outlined by the manufacturer. If there are no leaks at first, start the engine.
With the motor running, you want to perform another inspection. If you don’t see anything, take the vehicle around the block. After this test drive, everything should remain completely dry, as long you performed the fix correctly.
If there are leaks, don’t drive the car. You need to start back over and figure out what went wrong. The job isn’t complete until no more oil is seeping through.
How Does an Oil Drain Plug Get Stripped
The word stripped can define two different conditions with the oil drain plug and hole. While they occur in different locations, the concept remains the same.
If damage to the threads of the drain plug occurs, it is deemed to have been stripped. Because it becomes impossible to tighten this oil drain plug into the hole, it can be challenging to perform an oil change.
The term can also describe the stripping of the oil pan drain hole threads. When this happens, the drain plug cannot be torqued appropriately after an oil change.
With the plug not properly torqued, the oil will leak through the plug. Failure to fix this problem could lead to engine damage as the oil level continues to drop.
Stripped plugs and threads often occur because of over-tightening. Every drain plug must be tightened to a specific torque, according to the manufacturer’s specs. Drain plug head damage can also be caused by using the wrong size socket or wrench on it. This problem is often seen when a metric is used instead of standard and vice versa.
Learn more:
How to Remove Freeze Plugs or Core Plugs at Home


