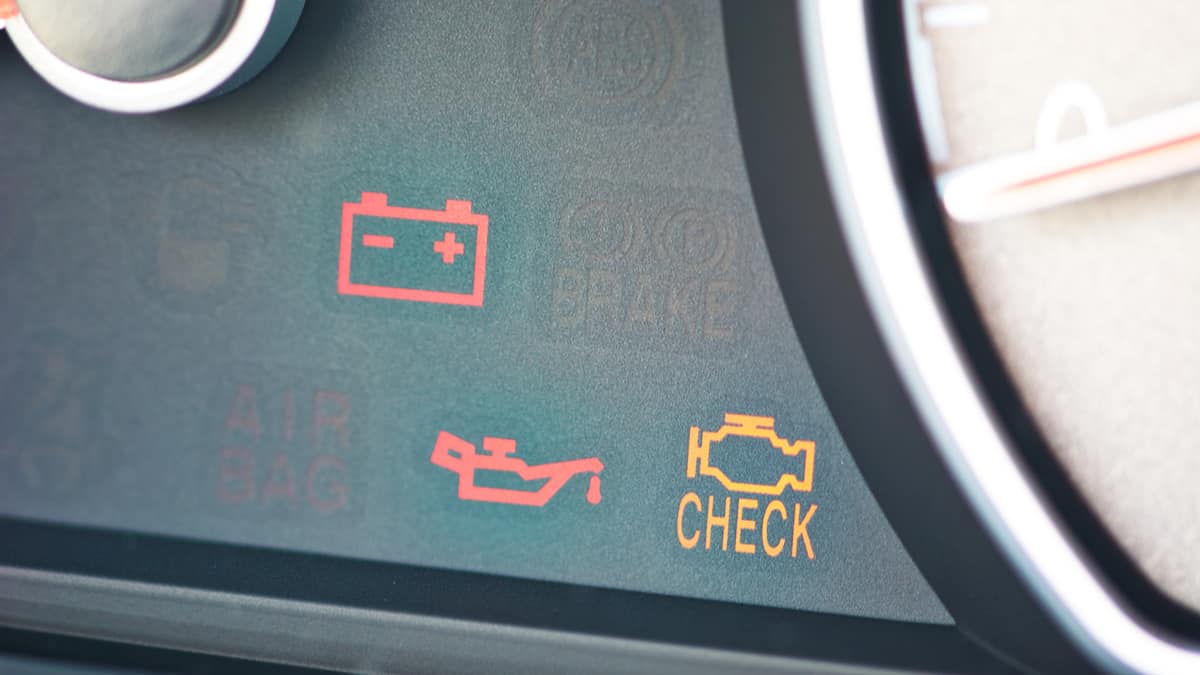
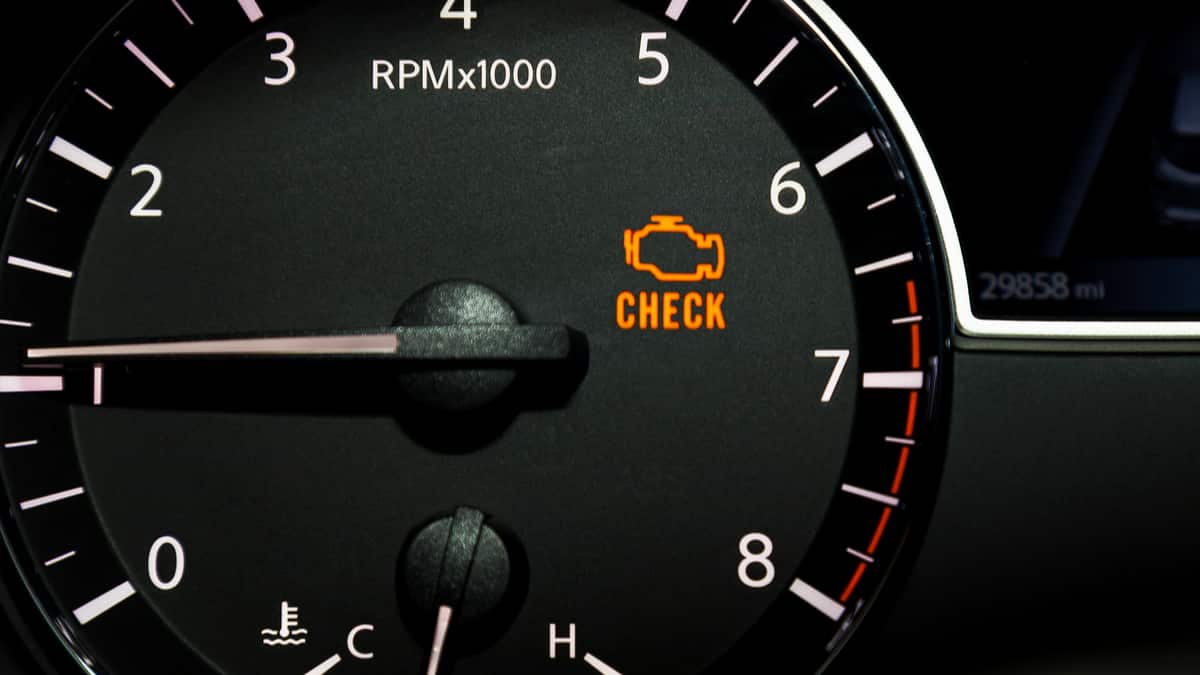
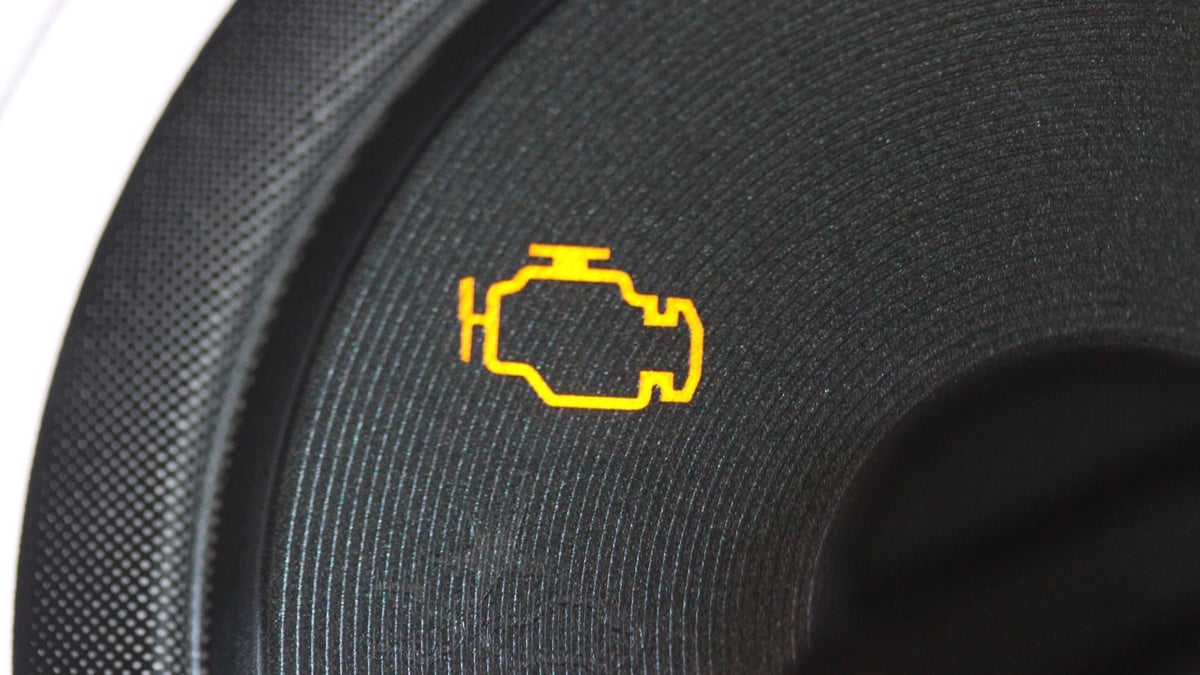
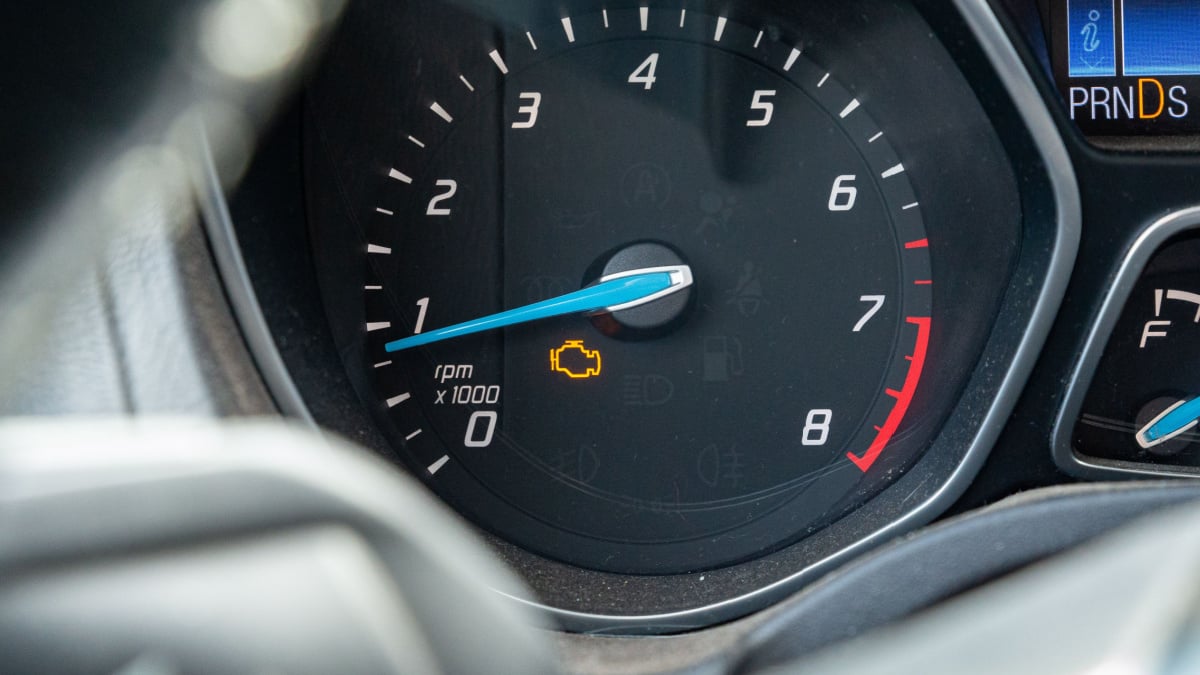
It’s disturbing to see the Check Engine Light on the dashboard at any time, but it’s even worse after an oil change has been performed. What causes the Check Engine Light to come on after an oil change, and how should you fix it?
In this guide, we look at each of these possibilities in depth. We also examine the ways to turn the light off based on what’s wrong.
Causes of Check Engine Light After Oil Change
Most often, the Check Engine Light comes on after an oil change because the dipstick isn’t seated correctly or the oil fill cap is on backward. Otherwise, it could be due to low oil pressure, too much oil in the system, the wrong oil being used, or the sensor didn’t reset.
Below is a little more detailed information about each of the possible reasons why your car’s check engine light comes on after an oil change.
1. Dipstick isn’t Seated Correctly
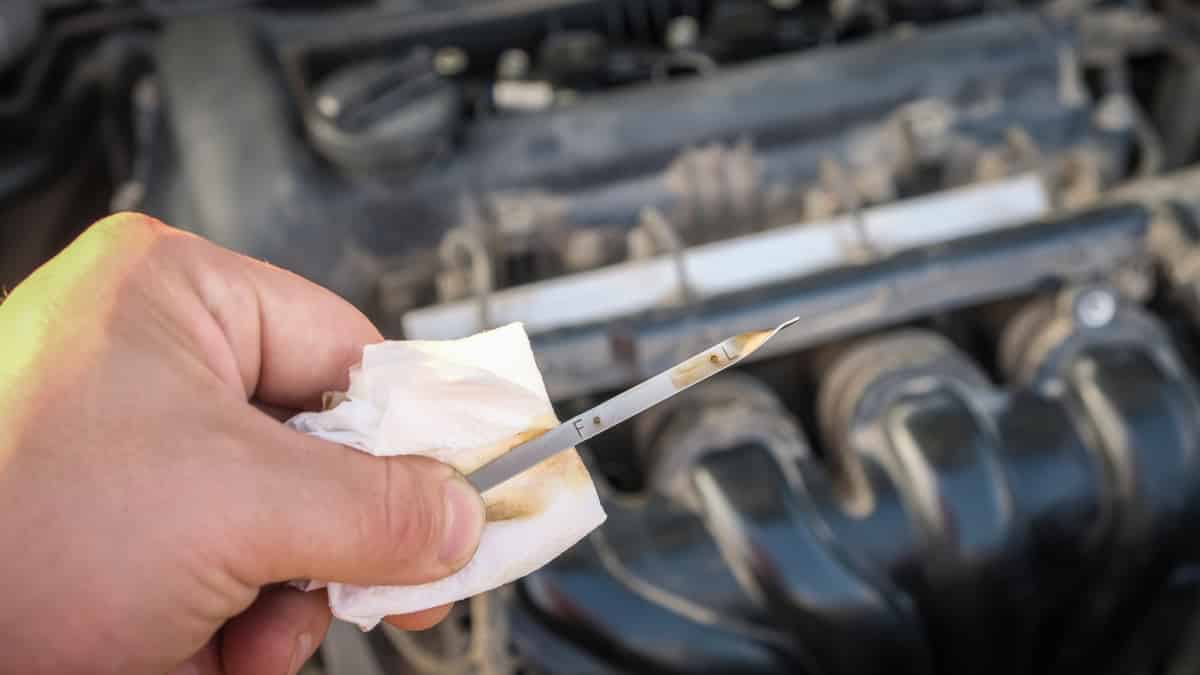
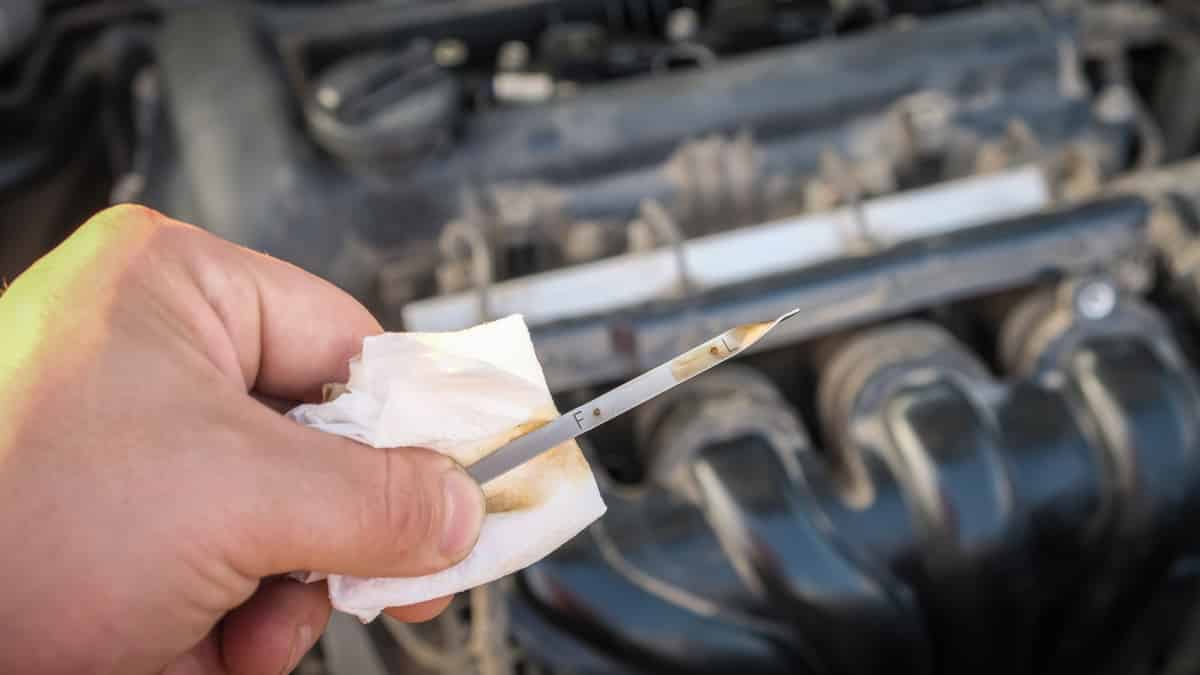
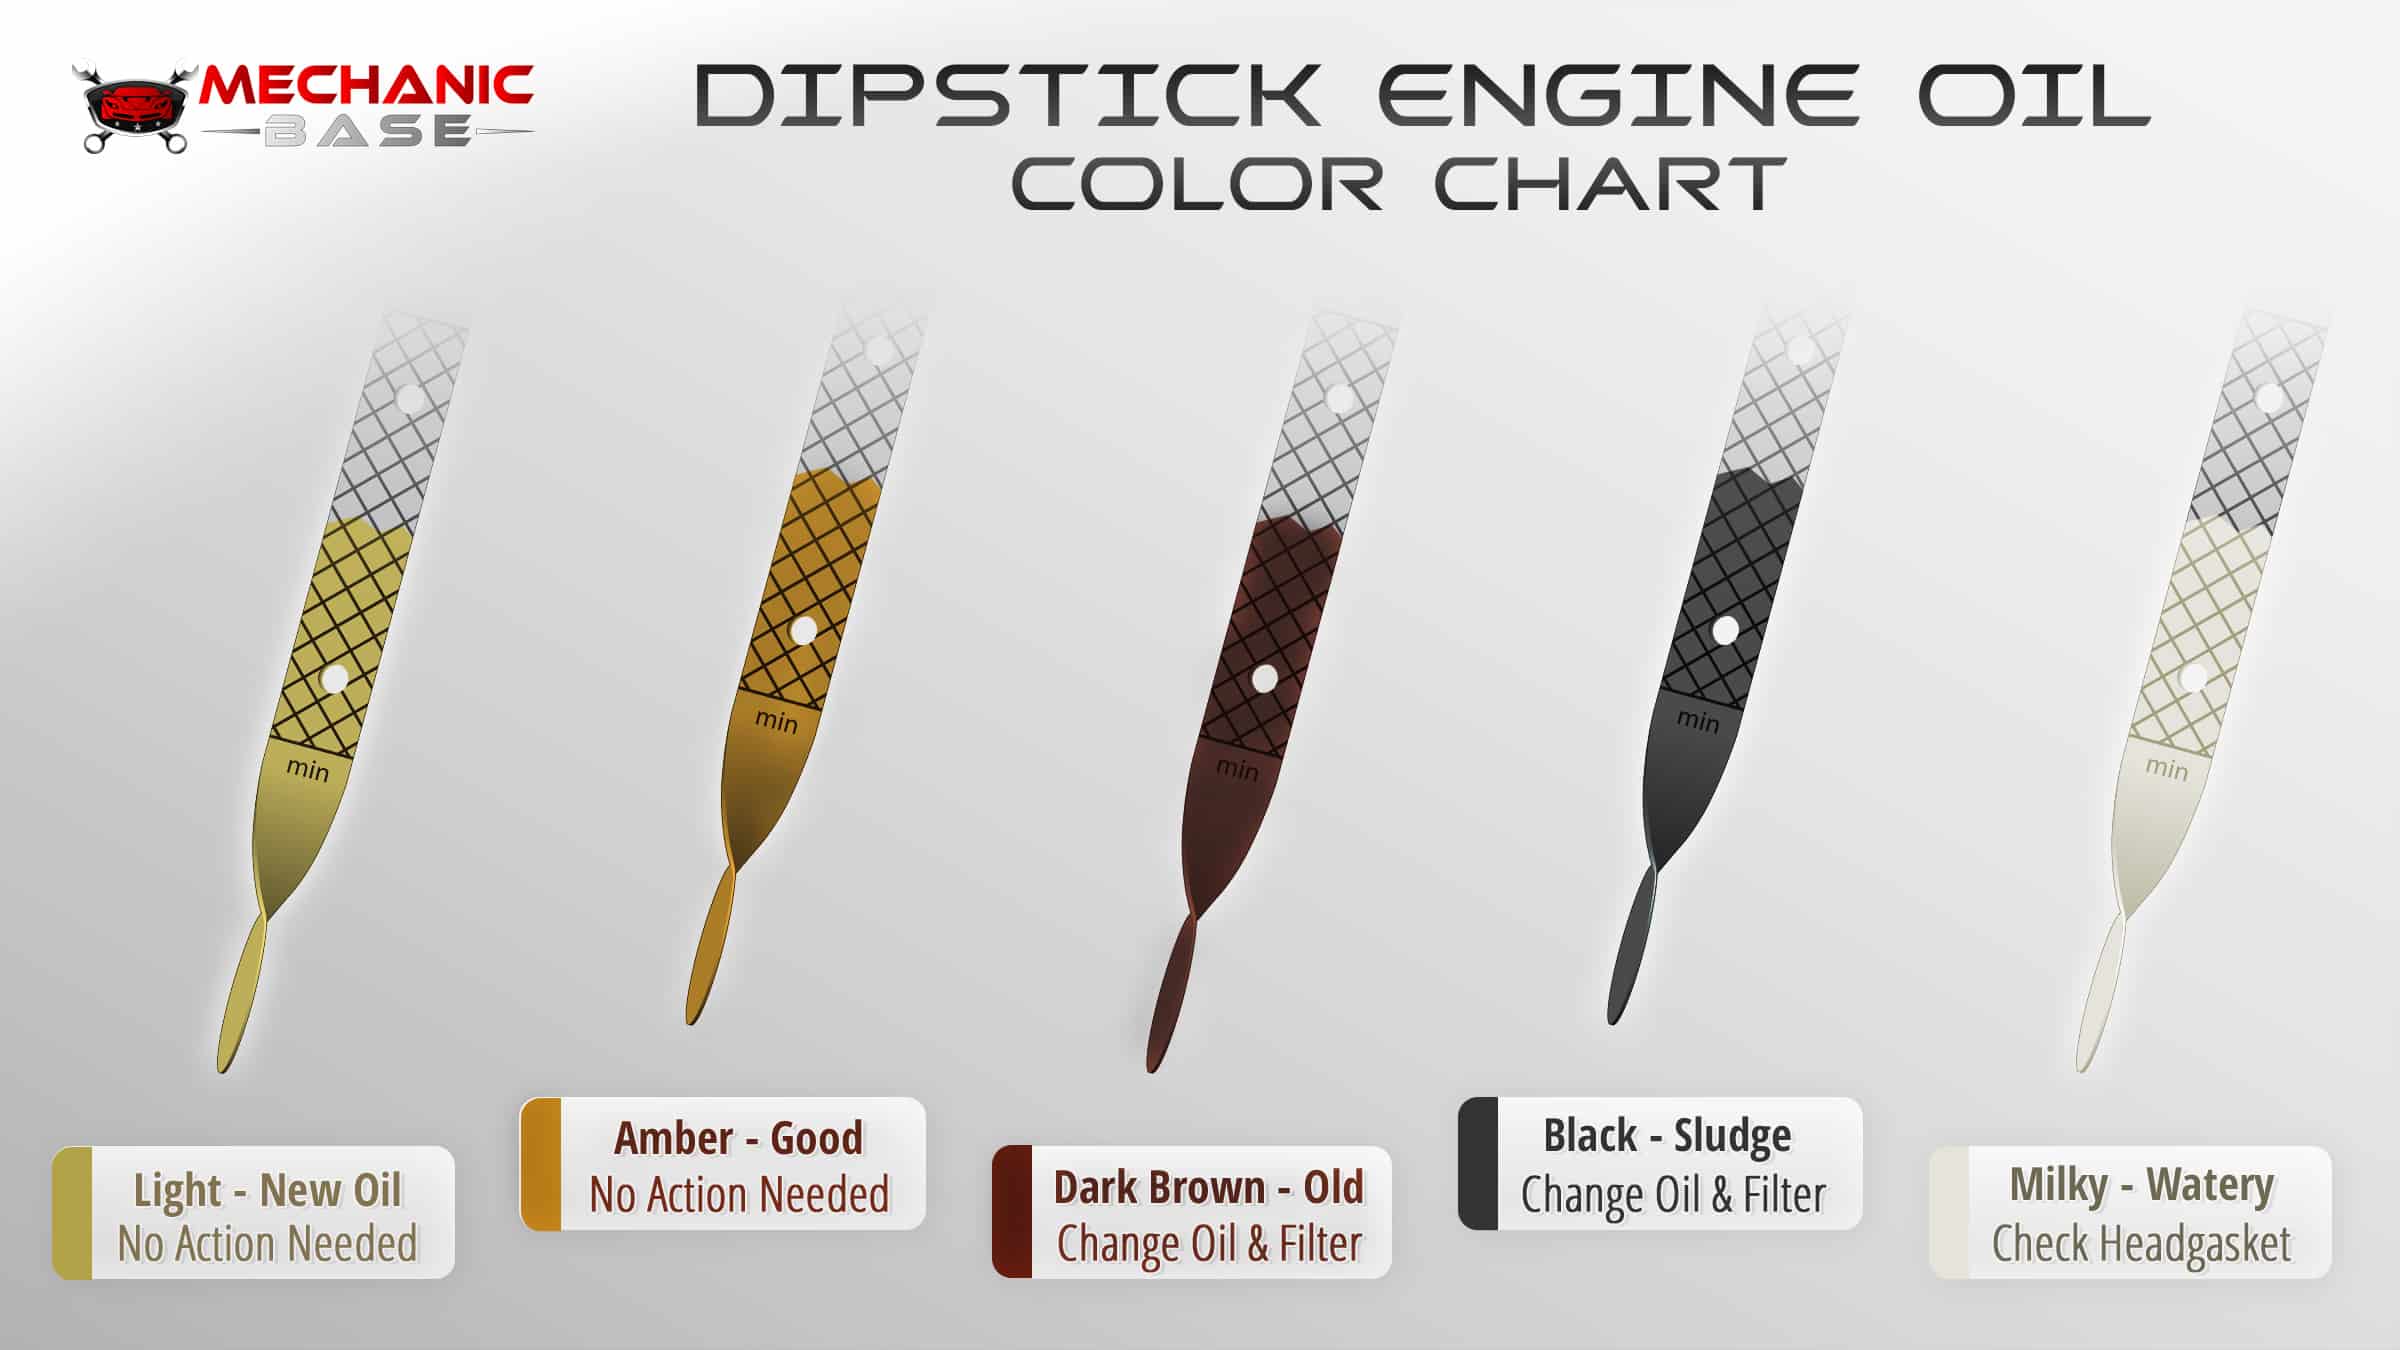
The dipstick is needed to check the oil level in the engine. You remove the dipstick, you clean it off and you put it back in. This process is also part of the regular oil change.
When done correctly, the dipstick will sit perfectly in its tube. With this design, the O-ring ensures that the system is sealed. However, if the dipstick isn’t put back in just right, air can get into the engine through the tube. Not only can this problem lead to damage to vital engine components over time, but it will cause the Check Engine Light to come on.
2. Oil Fill Cap is installed incorrectly
Just as important as checking the location of the dipstick, you must also care about how the oil fill cap is put back on. After you changed the oil, you may not have put the oil fill cap back on correctly. Just like putting the gas cap back on, not everyone thinks about how it should be placed.
In some cases, it’s possible to put it on backward or not thread it back on all of the way. With either option, the system will notice that there’s an imbalance of air getting into the system and the Check Engine Light might come on.
3. Low Oil Pressure
Changing the oil itself isn’t going to lead to low oil pressure. However, what could happen is that the system takes a second to realize that there’s enough pressure after the change.
When the oil has been drained and the oil pressure gauge resets, it could take time before it reads the new pressures. The Check Engine Light could come on temporarily during this analysis by the system.
4. Too Much Oil
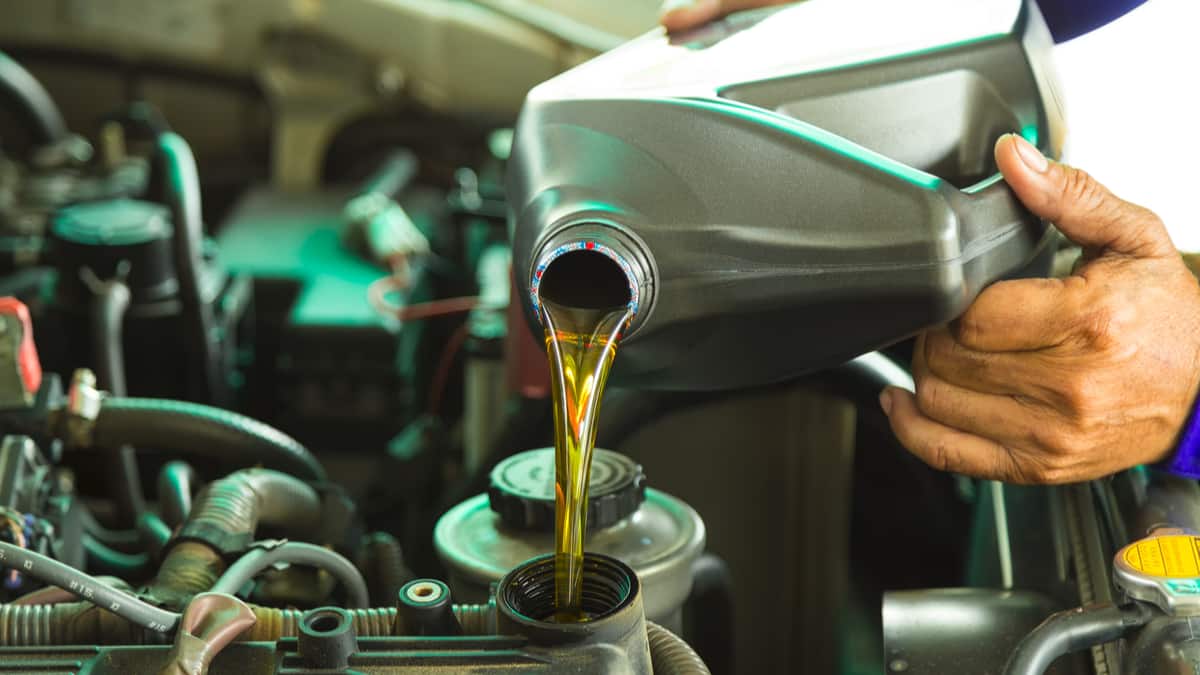
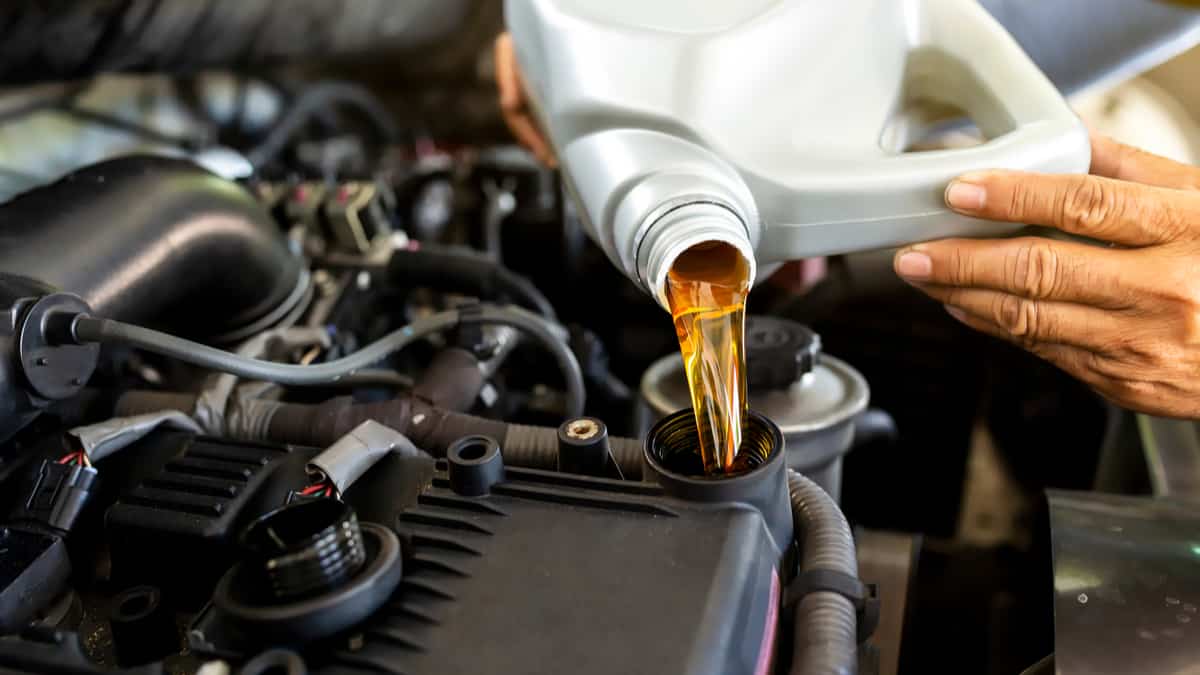
You must use the right amount of oil in the engine when you replace it. If you put too much into the system, the Check Engine Light is going to come on. You could also notice some misfiring or a sluggish engine.
In some cases, too much oil can also lead to a smoky exhaust. This smoke comes from the oil burning off through the exhaust. In the worst cases, the engine won’t start at all.
RELATED: Put Too Much Oil in Your Car Engine? (Here’s What to do)
5. Wrong Oil
All vehicles are required to use a particular type of oil for the engine to run its best. If you choose to use a different weight or viscosity, it can cause a lot of trouble for your vehicle. One of the most common mistakes is using 10W-30 when the vehicle needs 5W-30.
Oil that is excessively viscous doesn’t provide the same amount of lubrication, ensuring that heat isn’t transferred the way it should be. With this problem, the oil is going to heat up faster and your Check Engine Light is going to come on.
READ MORE: 0w20 vs. 5w20 vs. 5w30 – Oil Viscosity Explained
6. Sensor Didn’t Reset
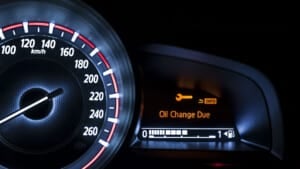
If the Check Engine Light is on to alert you to the service that’s needed, an oil change will automatically shut it off when the sensor is reset. However, not all cars have a sensor that resets on its own.
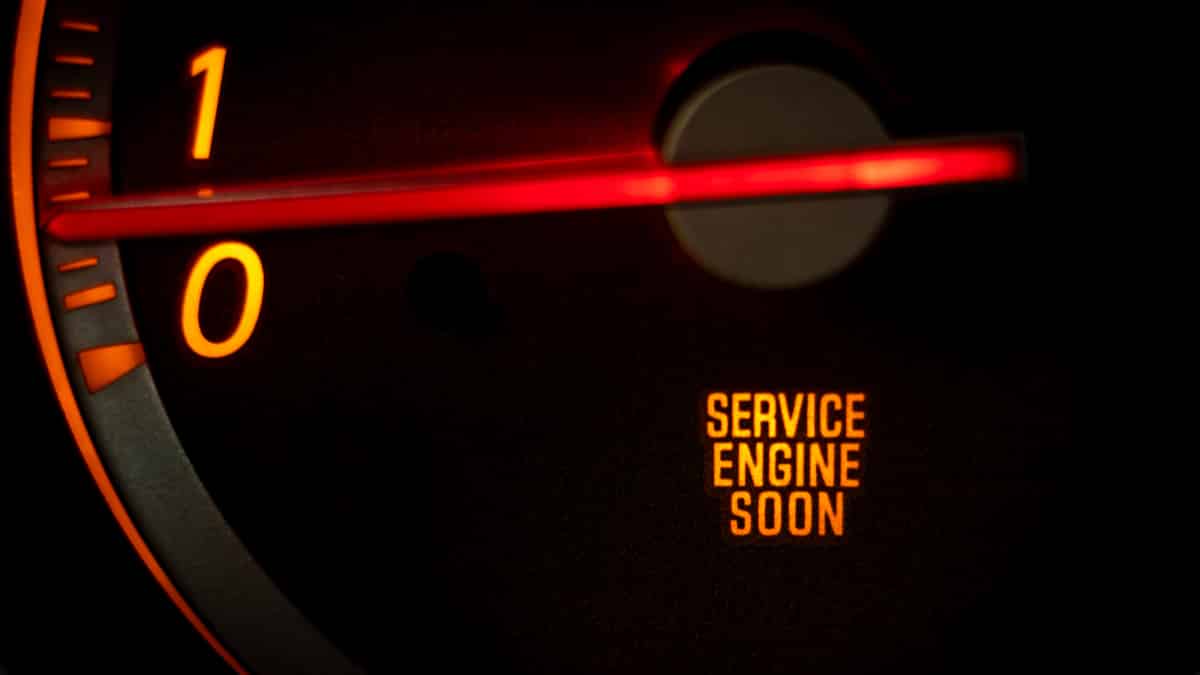
If the sensor doesn’t reset, you might still see the Check Engine Light or Service Engine warning. Without the ability to manually reset this light, it will remain on.
How to Fix Check Engine Light After Oil Change
1. Check Dipstick
If you think the problem stems from the dipstick sitting in the wrong position, you have a simple fix on your hands. Open up the hood and take a look at the dipstick.
If it’s not in the tube correctly, make the necessary adjustments to get it seated. You should also look down into the tube to make sure debris isn’t stopping the stick from getting into place.
2. Check Oil Filler Cap
Just like with the gas cap after filling up with fuel, it’s easy to keep the oil filler cap off slightly or in the wrong position. To fix this, you simply have to look at the cap to see how it is placed.
If it’s on backward or doesn’t seem to fit correctly, try again. You can also look in your service manual to find the appropriate way to put on the cap if you aren’t sure, but many cars only allow it to go on one way.
3. Run Engine for a Few Minutes
If the problem seems to be low oil pressure, you might only need a few minutes to resolve the issue. Run the engine for a few minutes to see if the system figures out the pressures on its own.
As the new oil circulates through the system, the Check Engine Light should go off. If it doesn’t, there’s something larger going on.
If it was a temporarily low oil pressure, you might need to reset the check engine light with an OBD2 scanner, and it may solve the warning light.
RELATED: Will the Check Engine light Reset Itself? (What if not?)
4. Remove Excess Oil
If the oil was overfilled, the only option you have is to remove some. You can use a suction pump to drain out some of the oil.
Some people prefer to perform this process through the dipstick tube, while others will use the cap access point. Do your research first to determine if an automatic or manual pump will work better for you.
5. Use Appropriate Oil
If you used the wrong oil and are having trouble, you might need to perform a new oil change with the right viscosity. Drain the oil and start over with the oil recommended in the owner’s manual.
With this oil change, you must also replace the filter again. Once that is done, the Check Engine Light should turn off.
6. Reset Codes
If the sensor doesn’t turn itself off, the Check Engine Light could remain on after an oil change. However, you can reset this sensor yourself. To start, get your code scanner and plug it in under the driver’s side of the dashboard. Turn on the device and scan for trouble codes. If there are no codes pointing to another problem, you can clear the codes with your scanner.
Once that is complete, the light should go off once you restart the vehicle. Take the car for a test drive to ensure the light remains off. If it comes back, it’s time to have a professional look at the system to figure out what’s wrong.
Categories: Engine, Engine Oil
