Most people have dealt with some sort of cross threaded nut at some point in their life, but having this issue with a lug nut can be quite annoying. Yet, it’s something that frequently occurs, especially if you take your vehicle to a shop where entry-level mechanics are training.
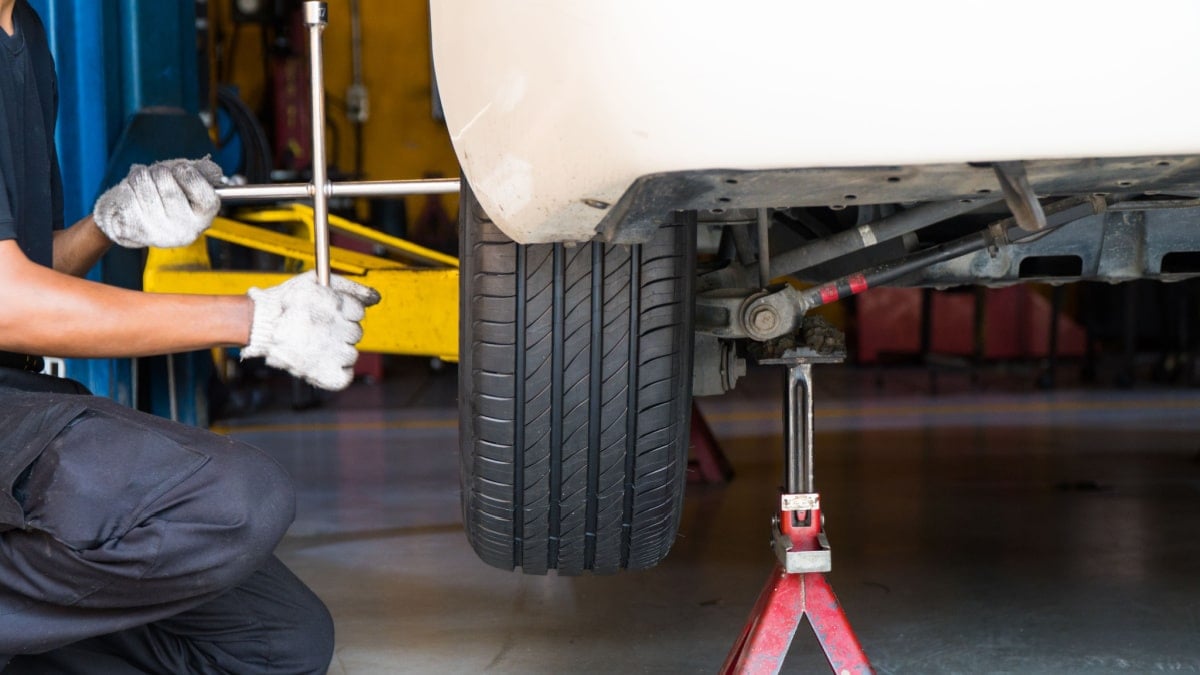
Whether they have used an impact socket that’s not the right size and rounded off the lug nut, or they used a power impact gun without screwing it in by hand first, you are now left with a wheel nut that’s cross threaded.
What should you do now? First, you must understand what a cross threaded lug nut is and how it can be prevented. I will also show you the next steps to take, so you can resolve the situation once and for all.
What is a Cross Threaded Lug Nut?
Cross-threaded lug nuts or bolts cut new threads, creating an imperfect fit. The lug nut that’s cross threaded won’t hold the right amount of torque and can create more noise or vibration. It can even lead to a broken stud that won’t hold the wheel on.
The threads are supposed to wedge perfectly around the cylinder. When the wedge is forced apart or shoved together inappropriately, new threads are formed. If the bolt and nut diameter doesn’t match the thread pitch, the threads become crossed.
How Does a Lug Nut Get Cross Threaded?
1. Inaccurate Insertion Angle

The bolt or nut must be installed at the appropriate angle to work correctly. It should be mated in conjunction with the needed axis of rotation.
If it is inserted at an unusual angle, there will be interference. Not only will the awkward angle create new threads, but it can also damage both parts – the one being entered and the housing.
2. Wrong Thread Pitch
Every car uses a particular size lug stud and lug nut combination. Most vehicles use 12 mm x 1.25” or 20 mm x 1.5”.
By using pieces that don’t match, you are forcing a connection that shouldn’t exist. This action creates new threads in both parts.
3. Damage or Debris
The lug nut cylinder should never contain dirt or debris, but it’s susceptible to these contaminants. It’s also possible that the stud is inserted with this debris attached.
Any dirt inserted into the hole can create new threads. As the dirt or contaminants rub on the corresponding parts, new threads are cut.
RELATED: How to Remove a Stuck Wheel on Your Car (5 Easy Steps)
How to Fix A Cross Threaded Lug Nut?
A great way to fix a cross-threaded lug nut is to use a rethreading kit. These kits can be helpful and often include everything you need to complete the job. You can also use a rethreading kit if you are dealing with rusted or old bolts.
Start by working on the thread with the included file. This helps to restore the original condition. With the help of cutting fluid, you can repair the damaged threads. Just make sure you have determined the right diameter. When you are ready, turn the tap in a clockwise direction to restore the threads to their original condition.
If the head of the bolt is cross-threaded, you will need to use a special ratchet attached to a sleeve. With a counterclockwise motion, you should be able to repair the bolt head.
Sometimes the threads can be so damaged that you need to replace the bolt, or even the whole wheel bearing if you are unlucky.
Prevent Cross Threaded Lug Nuts
1. Keep Threads Clean
Knowing that dirt and debris is a big factor in creating cross threads, this would be the most important step you could take. Before you attach any fasteners, you should always clean them thoroughly.
With a spray solvent and wire brush, you must clean every surface completely. Make sure you let it dry because torque specifications are always created with a dry assembly in mind. If there is some lubrication needed, you may be able to use a small amount of engine oil, but this isn’t always recommended.
2. Repair Any Damage
As with any automotive defect, repairing issues at the first sign is a critical step. If you notice thread damage, it’s possible to repair it before it becomes a major issue.
In fact, thread damage doesn’t always mean that a replacement is necessary. You can repair many defective threads with the help of specialized tools, such as a tap and die set or threaded file.
3. Replace Defective Parts
If the damage is too bad, or you’ve let it go too long, you might not be able to repair the threading. There comes a time with all auto parts that replacement becomes necessary.
If the threads aren’t repairable, it’s time to replace them. Get new lug nuts or wheel studs to achieve the perfect fit.
4. Align Bolts
It doesn’t matter what type of bolt you are attempting to secure, you should always be sure of the alignment first. One small mistake can create a world of trouble.
Before you put any bolt into a blind hole, align the pieces the best you can. You can also utilize dowel pins or a drift punch to aid with alignment.
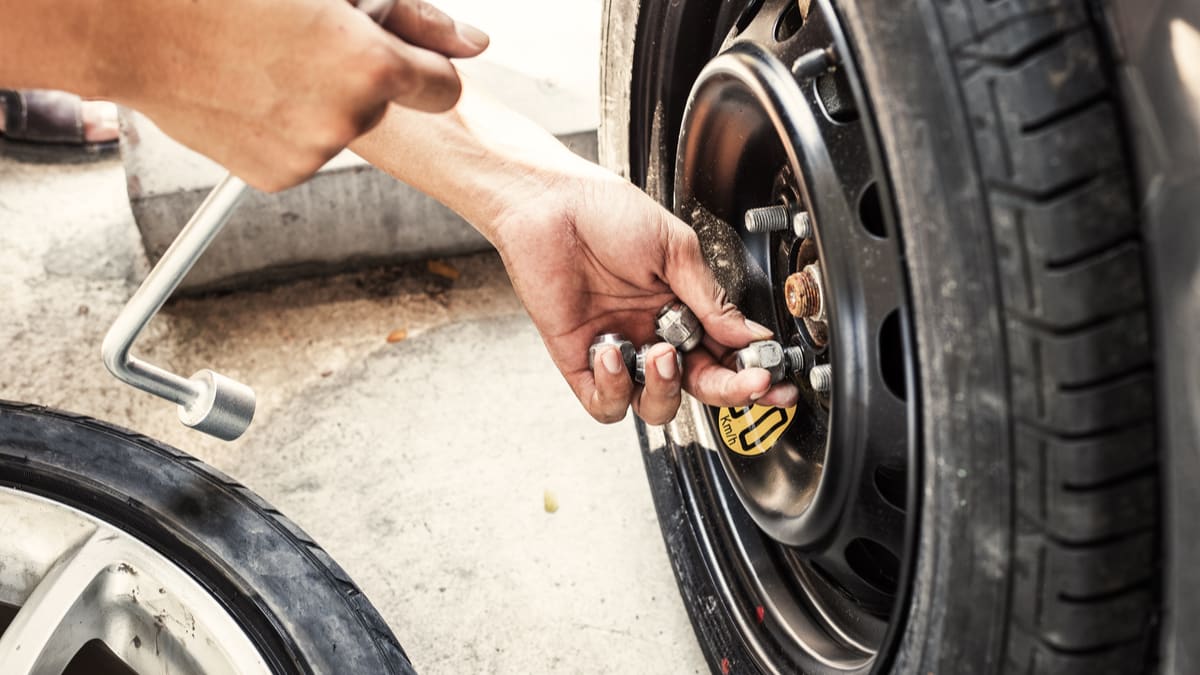
5. Begin Tightening by Hand
The best way to start any bolt or nut is with your hand. With the help of your fingers, you can thread the bolt.
Because you are doing it by hand, you are going to notice any issues before the threading becomes too damaged. Try to thread them by hand until they become flush. You should do this across the board until all the bolts are in place, just to assure that the alignment is correct before tightening them down.
6. Start Backwards
As you are tightening the bolts with your fingers, move backward first. Turn your fastener in a counterclockwise direction until you hear or notice a click.
This click tells you when the first thread has been contacted. Once that click is established, you are ready to turn the bolt or nut clockwise. From here, you can safely engage the threads and spin them on by hand until it is flush. While this takes more time, it keeps the hardware from being damaged.
Categories: Tires
