
Your vehicle includes a multitude of electrical components, which are all required to work together in harmony for a seamless experience. These components are responsible for every system, from the headlights to the air conditioning. When something fails with the electronics, you might be looking at a faulty relay, leaving you wondering how to test a relay.
Because there are numerous relays in the vehicle, you want to know these simple steps. Relays operate just like a switch, allowing one circuit to control another one even though there might be differences in the amperage. With our simple steps, you can find the problem and replace it quickly, even if you are an amateur mechanic.
In This Article:
Important Relay Safety
While it is simple to test automotive relays, there are some important safety precautions you should take. If you aren’t sure what you are doing, you could easily create large problems or cause injury.
First, never replace relays with parts from another car or something you have lying around. Using the incorrect relay can lead to power surging or a short, damaging the vehicle’s electronics.
Secondly, you should always handle your relay with care. If you drop it or it becomes damaged, it might cause wires to melt or burn. This is another reason you should never modify a relay, either.
Because the relays involve electricity, you don’t want to use them anywhere there are flammable gases. Find a safe location in your garage or workshop to work with the automotive relays.
Finally, check your service manual before working with any relay. You might understand the basics, but it’s important that everything is replaced according to factory specifications.
RELATED: 3 Symptoms of a Bad Main Relay
Materials Needed to Test a Relay
You don’t need a lot of tools to test an automotive relay. In fact, you might have many of these supplies in your home garage right now.
- Test light
- Ohmmeter, or digital multimeter
- Vehicle service manual
- Replacement relay
- Jumper wires
For the best results, organize all of your supplies before you get started. You want everything within an arm’s reach, so you don’t have to walk away from what you are working on.
RELATED: 5 Symptoms of a Bad Fuel Pump Relay
How to Test an Automotive Relay
1. Locate the Relay
The location will depend on what the relay controls. If you aren’t sure where it is found, look in your vehicle service manual for the wiring diagram.
2. Swap the Relay
Additionally, this procedure could cause you to spend more money than needed. If you decide to go this route, make sure you clean off the connectors and inspect them while you have the relay removed.
3. Use a Multimeter
If the multimeter reads Open or Out of Range, it could mean a defective coil winding. In this case, you need a replacement relay.
If everything looks good, you can connect the leads between the switch pins. An open relay will show OL or Open.
4. Add Power
Connect your test light across the ground and the switch terminal. Your test light will read the current, causing it to light up if everything is working as it should. When you remove the jumper, the light should go off.
5. Test Switch
Next, test the resistance of the switch. You need to disconnect the jumper and energize the relay. The multimeter should be set for ohms, measuring the resistance of the switch. The energized open relay will measure nearly 0 ohms, while the closed relay will be OL or Open.
If you are unable to diagnose the relay after these steps, you might need further help from a professional.
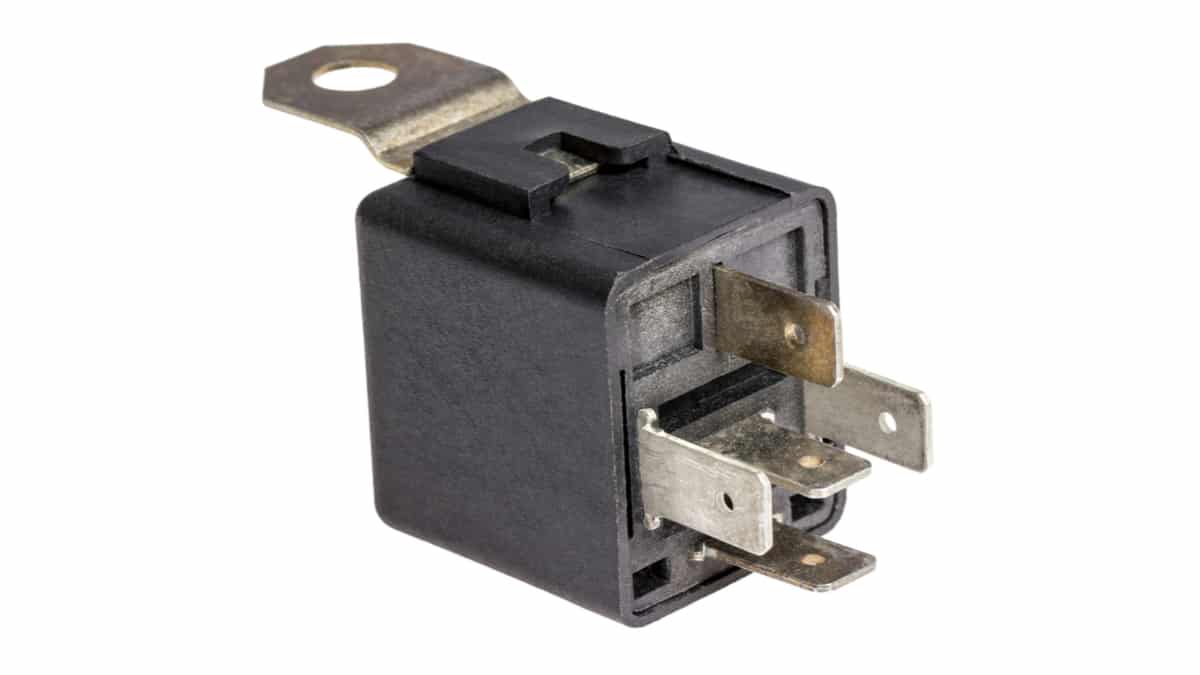
What is an Automotive Relay?
Relays are found in every modern vehicle. They are also part of other applications, such as aviation and marine vessels. Typically, the relay allows a lower-amperage circuit control over another with higher amperage. The relay acts just like a switch would, allowing lower amperage circuits power over high amperage circuits.
If you take the car headlights as an illustration, you see that a relay is used. If it wasn’t, you would connect the lights to the switch in your vehicle and the amperage would exceed capacity. This problem would lead to melted wires or a car fire. Instead, a relay is used to control the system. It can also simultaneously activate multiple systems, such as turning on the headlights while the windshield wipers run or extending a radio antenna when you turn on the stereo.


My car cranks but dont wanna start but I did drive it then put it off then couldnt start tge car but gies onbon dash crank’s buy no power to the coil pack can it be my ignition relay
I have a problem with my car air condition system not working.
I tested my air condition micro relay. The control pins 1 & 3 when applied 12 volts did not make a sound. I tested the loan/power pins 2 & 4 and there is infinite (OL) reading on the multimeter. I then tested pins 2 & 4 whilst supply 12 volts to pins 1 & 3 and the reading is 0 ohms.
Is my relay bad as it did not make a sound when applied 12 volts ? Please help