If your vehicle has drum brakes, you need to look for the symptoms of bad or worn brake shoes to prevent trouble. At the first sign of wear, it’s best to replace the shoes for better braking performance.
Today, we look closer at worn brake shoe symptoms and discuss the function. We also discuss where the brake shoes are located and help you test them. At the end of our guide, you’ll find the average brake shoe replacement cost and get answers to your top questions.
Symptoms Of Worn Brake Shoes
When the brake shoes wear, you’ll have trouble with the parking brake and you may notice a vibrating brake pedal. You may also notice reduced stopping power, strange noises while braking and the pedal may start to feel spongy.
You may notice several of these occurring at the same time.
1. Parking Brake Problems
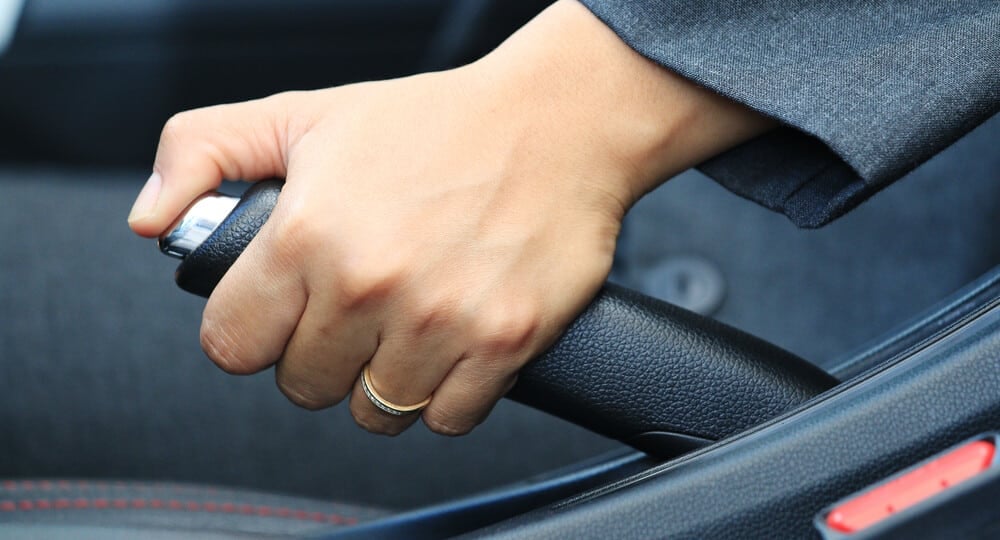
If your vehicles are equipped with drum brakes, the shoes are responsible for operating the parking brake. If the shoes are worn, the shoes won’t be able to hold the vehicle’s weight without slipping.
When the parking brake is engaged, the vehicle may start to roll. However, the same problem occurs if the parking brake needs to be adjusted, so a full inspection is required before jumping to any conclusions.
2. Vibrating Brake Pedal
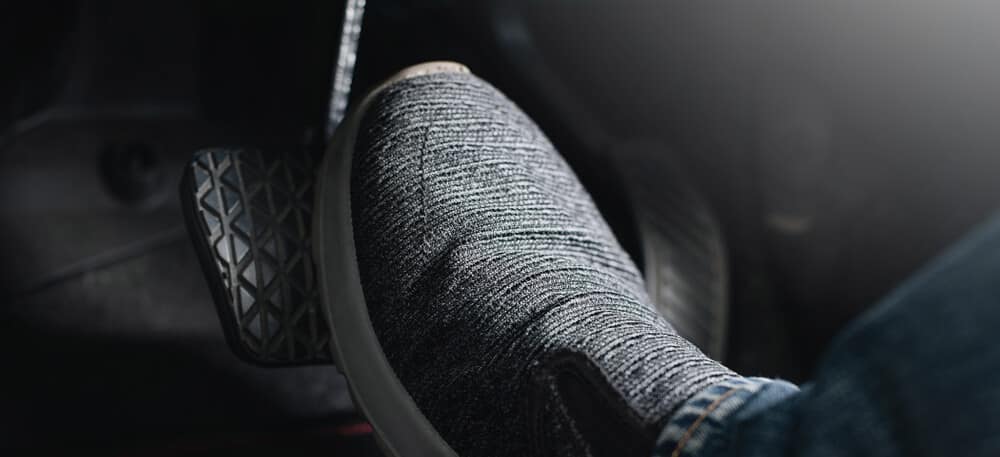
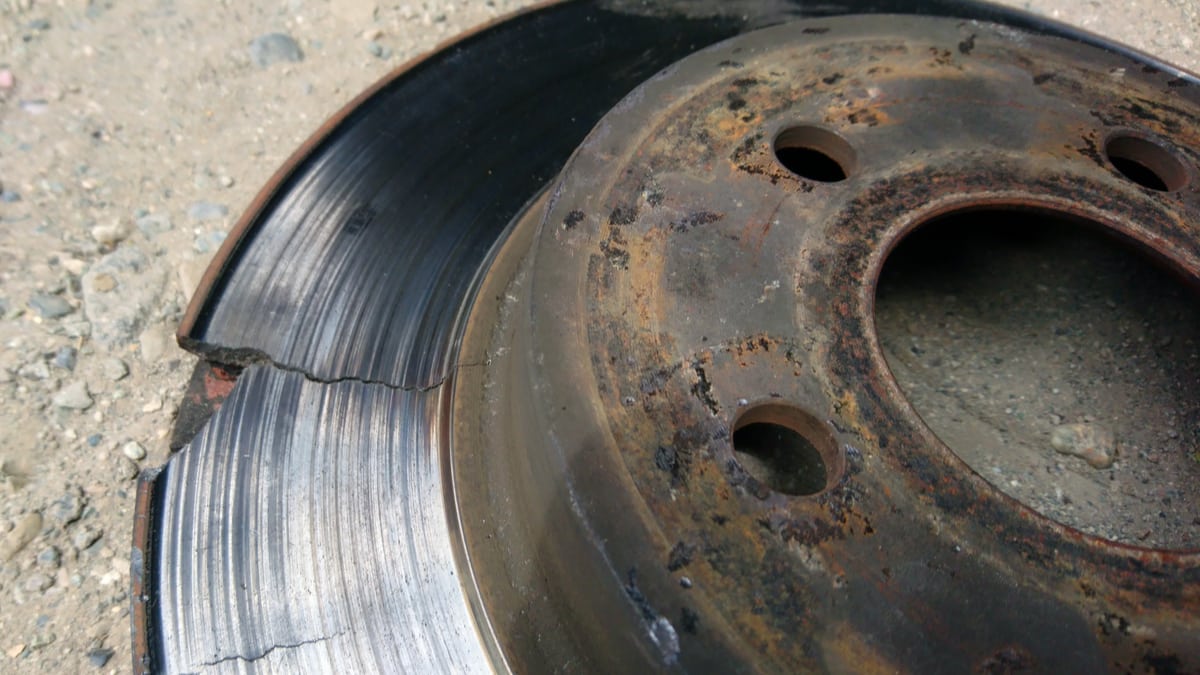
If you step on the brake pedal and it vibrates, this is a sign that something is wrong. In most cases, it means that the brake drums are worn. As the shoes wear down, they can cause damage to the brake drum that leads to vibration when engaged. This vibration runs through the brake pedal, where you can feel it.
Keep in mind that most braking system malfunctions can lead to the same vibration. You can’t assume that the brake shoes are to blame until you inspect them.
3. Reduced Stopping Power

One of the most common symptoms of bad brake shoes is a longer stopping time. As the brake shoes wear down, the vehicle’s ability to stop is hindered. You may notice the problem getting worse slowly over time.
This same issue can occur if the brakes become overheated from a lot of use. For this reason, you don’t necessarily need to take action if the increased stopping time comes only after times of heavy brake usage. Instead, you may choose to upgrade to better brakes if you demand more performance from them.
4. Noises When Braking
Brakes start to make noise when they begin to wear. This is one way to know when it’s time to replace the shoes.
You may hear an unusual scraping noise as the shoe material wears down. Dirty and dusty brake shoes can cause a squeaking sound. You should only hear the noises when the brake pedal is applied. If you hear it while you are driving, the problem could be even more critical.
5. Spongy Brake Pedal
Rear drum brakes are equipped with a self-adjusting mechanism that helps to keep an ideal distance between the drum and shoes. If the shoes are worn, the distance between these two is going to naturally increase, causing a spongy brake feeling when you push on the pedal.
If the front brakes are disc, you could also feel this because of worn pads. Either way, you should have all of the brakes looked at.
What’s The Function Of The Brake Shoes?
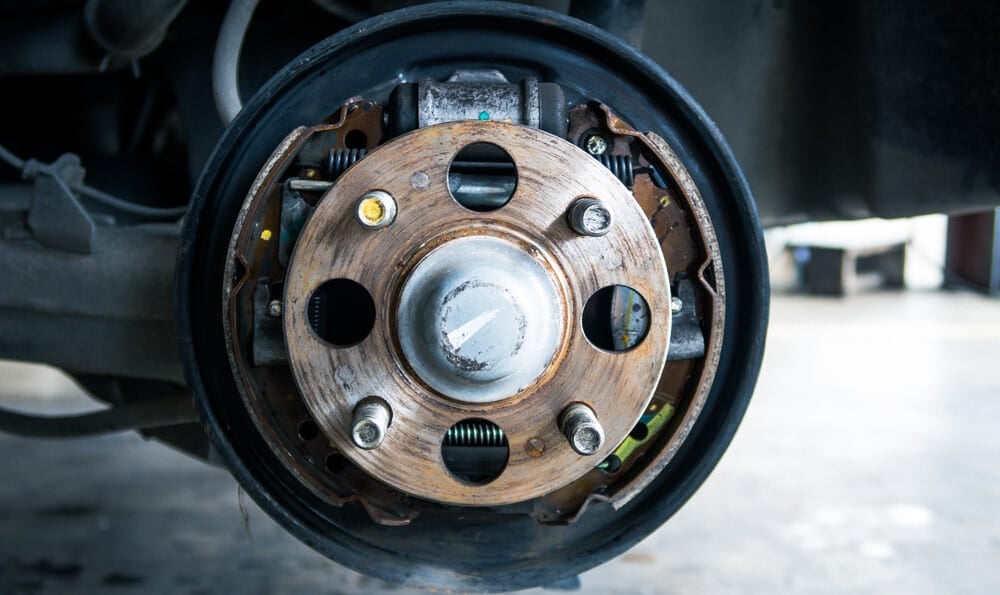
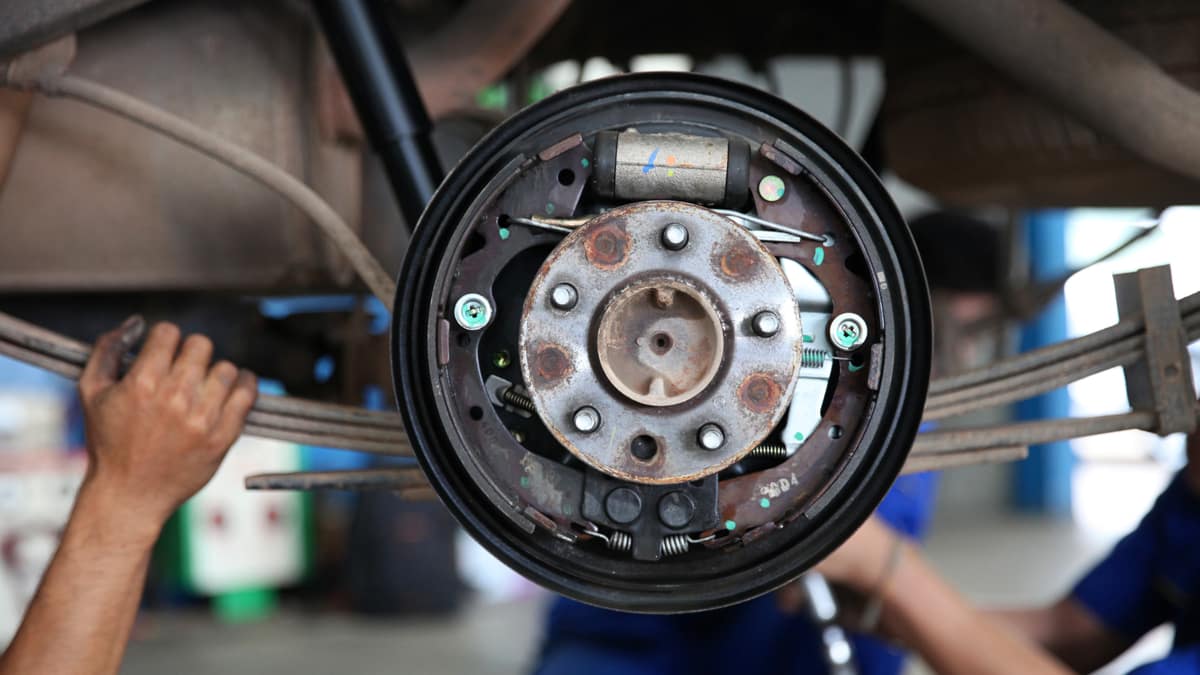
Brake shoes are found within the drum brake system. As you push down on the brake pedal, the friction material in the shoe is pushed outward to meet the drum. The contact between the two helps to slow down the wheels, so the vehicle can stop.
Brake shoes are constructed from metallic and organic materials that are bound together with pressure and extreme heat. With this construction, they are designed to remain reliable and won’t easily break.
The biggest difference between how brake pads and shoes work comes down to the way the force is used. With brake shoes, the material is pushed outward, while brake pads squeeze inward to stop the wheels.
Where Are The Brake Shoes Located?
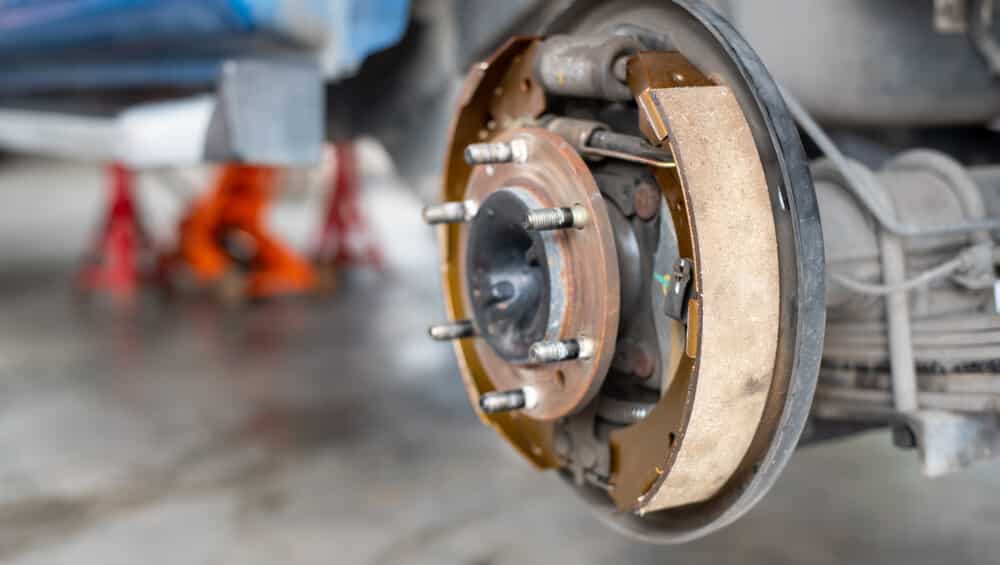
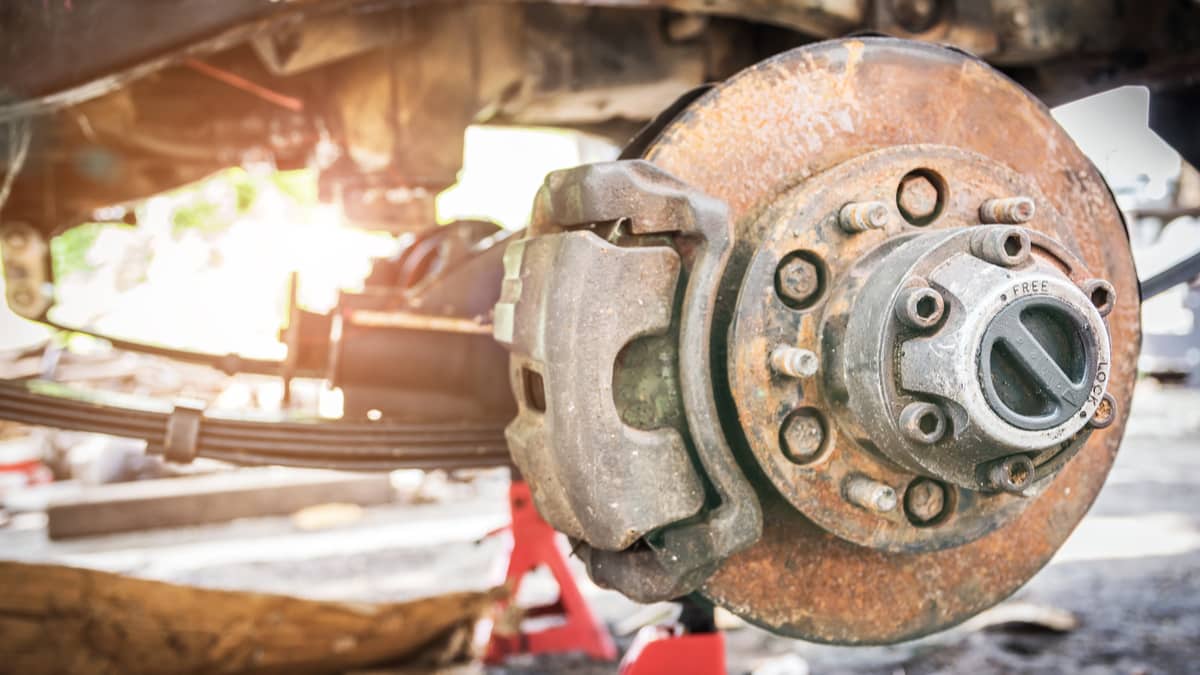
Not all cars contain brake shoes. If the car utilizes drum brakes, it will have shoes. However, if it’s a disc brake system, pads are used instead. With some modern vehicles, the front brakes can be disc, while the rear brakes are drum. Manufacturers do this because they cost less to make. Some vehicles have disc brakes for the normal brake, and brake shoes for the parking brake.
Each wheel has one wheel cylinder that’s responsible for operating the drum brakes. With the shoes, there are two pistons, one located on each side of the cylinder. The brake shoe found at the front of the wheel is called the primary or leading shoe. The one closer to the back is referred to as the secondary or trailing shoe.
Front shoes tend to be shorter and smaller than the rear ones. The larger size is due to the front shoe being stronger than the rear, so the back shoe has to compensate with a larger size to make up for the lack of stopping power. Other than the size of the two, the operation between them is identical.
How Do You Test The Brake Shoes?
To check the drum brakes, you need to remove some parts. If you aren’t mechanically inclined, it’s best to leave the brake inspection to the professionals.
If you prefer to do it yourself, work in a well-ventilated area and avoid breathing in the brake dust. Here are some basic steps to follow.
- Jack up your vehicle.
- Remove the wheel with the brake you want to inspect.
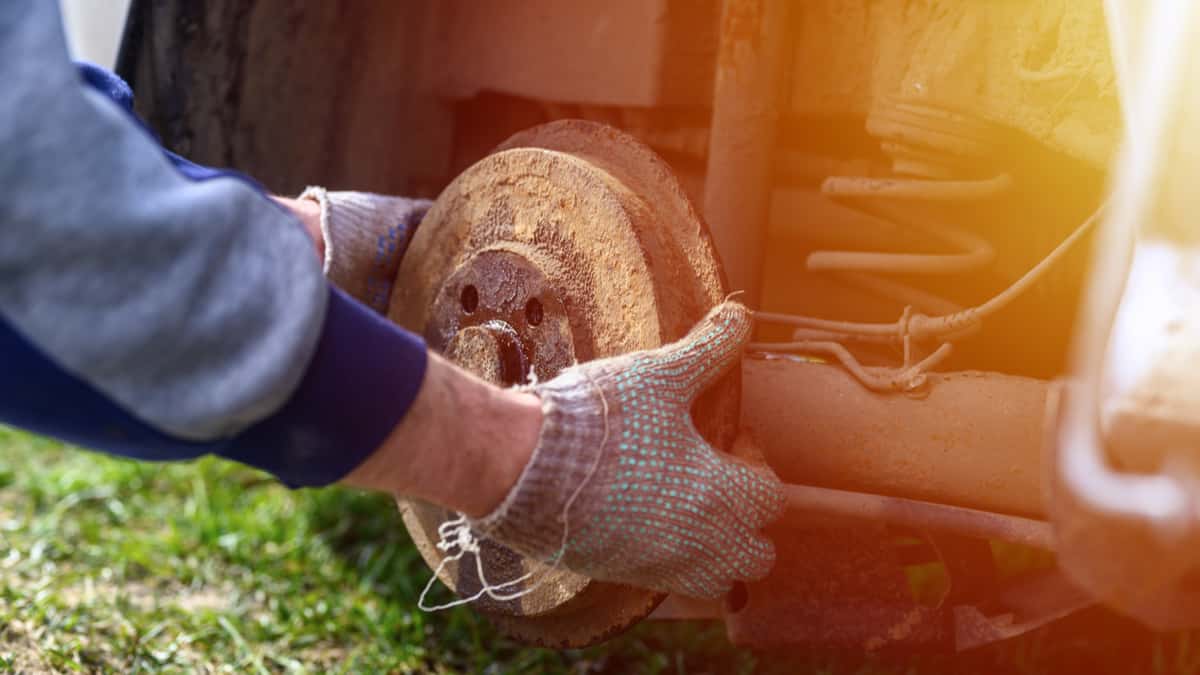
Your brake drums are either floating (hubless) or hubbed. If they are hubbed, they have wheel bearings located inside them. The floating drums slide over the studs of the lug nuts that hold the wheels on your vehicle.
The next few steps apply only to hubbed drums.
- Pry off the grease cap at the end of the hub with your combination slip-joint pliers.
- Remove the cotter pin with needle-nose pliers.
- Slide the nut-lock-and-nut combination or castellated nut off of the spindle.
- Wipe down the nut with a clean rag.
- Pull the brake drum toward you without sliding it off the spindle.
- Slide the outer bearing and washer off of the spindle.
- Check the bearings for wear.
If you have a floating drum, you can easily slide the drum off the hub. If you need to break it loose, strike it with a hammer.
From here on, the instructions are the same for both types of drums.
- Remove the drum from the spindle.
- With a mask on, clean the drum with brake parts cleaner. Do not blow the dust with compressed air.
- Look at the grooves on the inner wall. If these grooves are deep, there are burned marks or you see hard spots, have the drums checked with a micrometer. You may be able to have the drums turned if there’s enough material left. Some auto parts stores offer this service, or you can visit a mechanic. Otherwise, replace them.
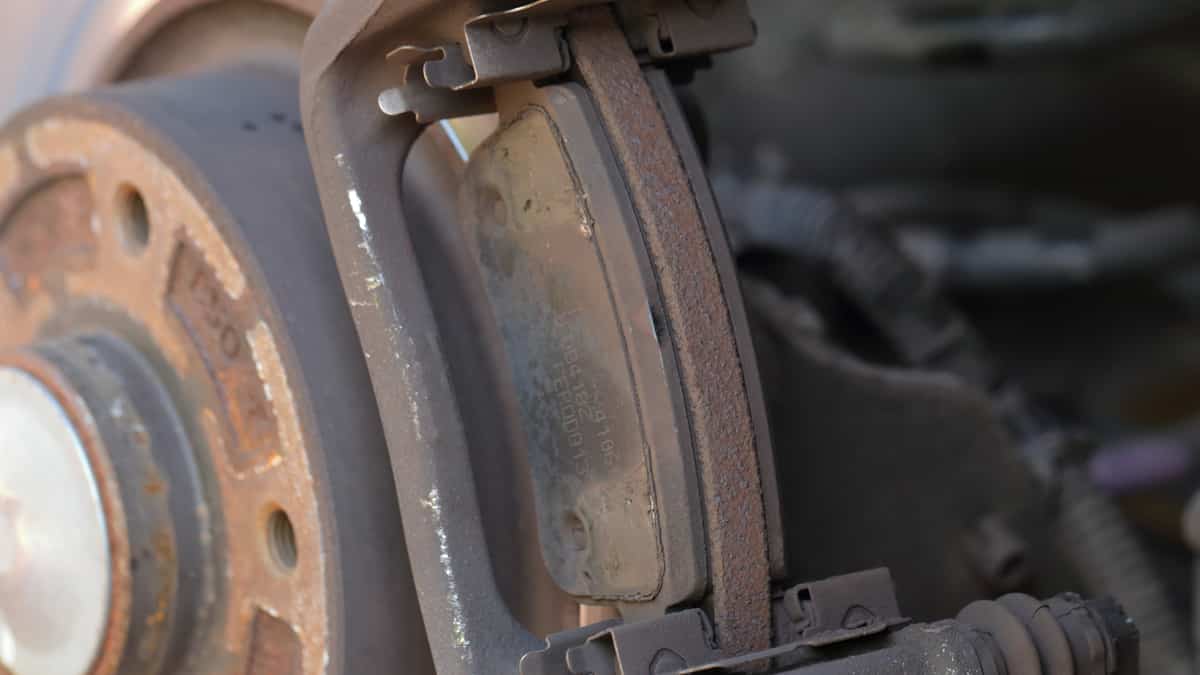
- Next, look at the brake shoes. You want them to be evenly worn, without any thin areas or metal showing.
- Measure the brake lining. It should be 1/16-inch or more from the steel portion of the brake shoe. The lining must also be riveted to the brake shoes or firmly bonded.
If the brake shoes are worn, it’s time to replace them.
How Much Does It Cost To Replace The Brake Shoes?
You may spend $200 to $350 to replace brake shoes, on average. The parts may cost $100 to $200, while the labor should add another $100 to $200. Prices depend on the type of vehicle you drive and where you choose to go for service. If you replace the brake shoes at home, you only need to spend money on the parts.
Brake shoes typically last longer than pads do, but they still require regular replacement. When you purchase a brake shoe kit, it’s going to include both sets (front and back) for each wheel. You should always replace the left and right shoes at the same time so they wear evenly. This simple step ensures maximum stopping power when you step on the brake pedal.
Are brake shoes and rotors the same?
No, disc and drum brakes are different systems. The drum brakes use shoes to push outward and stop the wheels, while disc brakes rely on pads that squeeze inward and stop rotation. The brake shoes sit inside the drum, while brake pads are positioned around the rotor.
Are brake shoes easy to replace?
Brakes shoes can be replaced by at-home mechanics with the right tools and knowledge. They are slightly harder than replacing brake pads because there are more components to deal with. You can watch YouTube videos to get a feel for how difficult brake shoe replacement is before trying it.
Can you drive with bad brake shoes?
No, you should replace the worn brake shoes at the first sign of wear. As the brake shoes get worse, stopping times increase, putting you in more danger. Additionally, you could cause damage to other brake system components by neglecting to change the brake shoes.
What happens if you don’t replace the brake shoes?
The brake shoes continue to wear to dangerous levels if not replaced immediately. If the material becomes too thin, the stopping distance can increase to unsafe levels. On top of that, you can cause wear to the brake drums and other costly components when you don’t get the shoes replaced.
How long does it take to replace brake shoes?
As long as you have the right equipment, you could replace the brake shoes and drums in about two hours. Depending on your local labor costs, that means you may save around $100 to $200 by doing the job yourself. However, you shouldn’t attempt to replace the brake shoes if you don’t have experience.
When your brake shoes are worn, you want to replace them as soon as possible before your stopping power is hindered. If you can perform the job yourself, by all means, go ahead and save the money. However, this is your brake system we are talking about and it’s important. As technicians, we would rather see you get the job done right than try to save a buck or two and have it not provide the braking performance you need.
Regular brake inspections help you determine when it’s time to change the shoes. Pay close attention to the signs that something is wrong and take action when it’s appropriate.
Categories: Brakes
