When you are sitting in your car, the last thing you want to deal with is a sagging headliner that can be a distraction. You want to know how to fix a sagging headliner, but you don’t want to remove it and have a new one reinstalled.
In this guide, I examine all of the easiest methods to fix the headliner. Thankfully, you don’t have to remove it to ensure it is secure.
What is the Headliner?
The fabric material that runs on the vehicle’s interior roof is known as the headliner. It can add plenty of style to your vehicle, but it also has practical purposes. The headliner helps to keep the cabin insulated from the temperatures outside. It can also reduce vibration, so there’s less noise while driving.
The headliner is more than just fabric. In fact, it usually is constructed in multiple sections. The first is a cardboard, fiberglass or foam piece on top. Layered on top of this is cloth, leather or vinyl, and this is the part that often starts sagging, especially on older vehicles.
5 Ways to Fix a Sagging Headliner
The most popular way to repair a sagging headliner is with glue. However, you can also use thumbtacks or pins. Some people turn to staples and hairspray, while others will use carpenter’s tape. If those don’t work, steaming the headliner might bring the results you are looking for.
Here are some more detailed steps on how to repair a sagging headliner:
1. Glue
One of the most common solutions is to glue the headliner back in place. However, this method isn’t always easy. If you can repair the headliner when it first starts sagging, you have the best chance of success.
Usually, the sagging starts where the headliner meets the windshield at the top of the roof. This area fails first because of the exposure to UV rays. With headliner adhesive from the auto parts store, you can reattach it without a lot of effort.
2. Thumbtacks/Pins
You can also secure the sagging headliner with some pins or thumbtacks. This isn’t the most stylish option, but it is one of the quicker options, especially if you want to get it done in a hurry.
With your pins, attach the fabric to the inner layer of the headliner. If you are feeling creative, you can even create a unique design out of the tacks.
There are also special upholstery pins you can use that might help the appearance slightly. If you choose some with a corkscrew design, you will twist the pin in place so it locks down for more security.
3. Staples & Hairspray
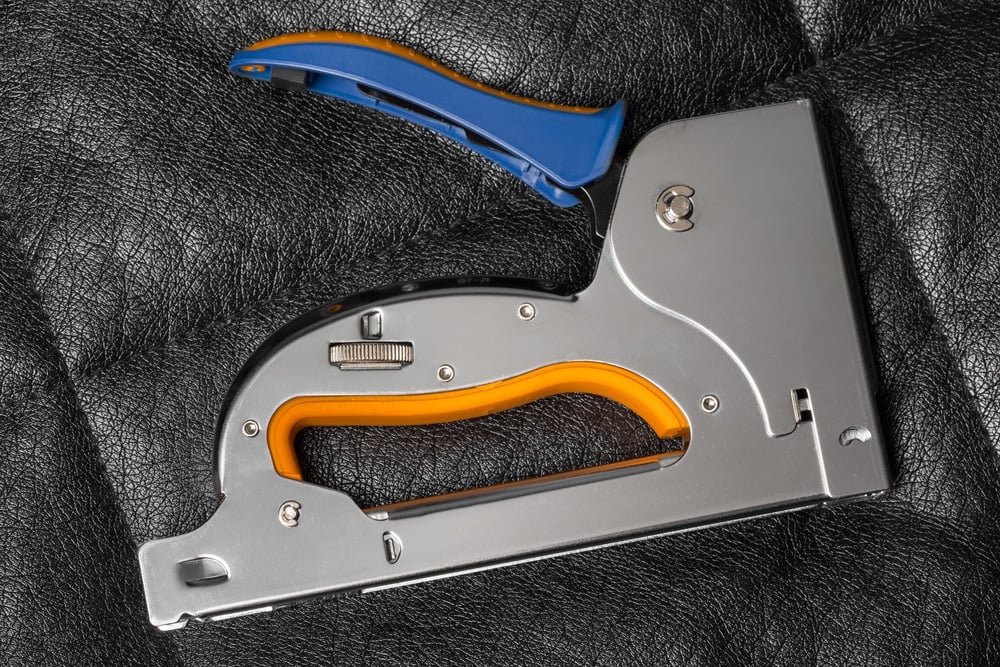
This isn’t the most obvious solution, but it’s been used with a lot of success. Use a stapler gun to secure the headliner to the material underneath.
Spray down the headliner with some hairspray and let it dry. Once everything is dry, try removing the staples to see what happens.
4. Double-Sided Carpenter’s Tape
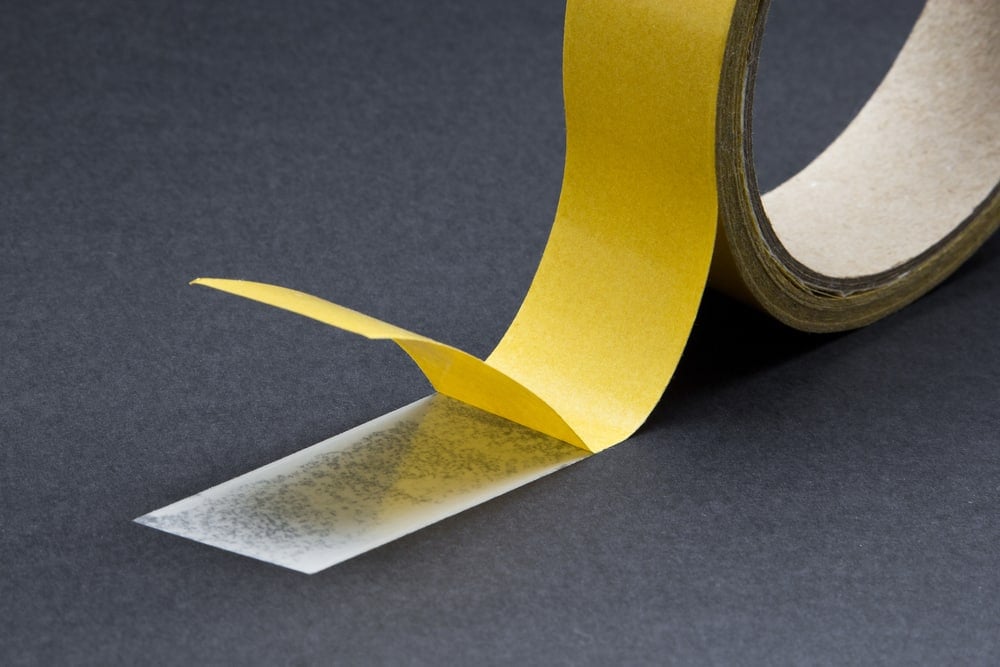
Most people have a roll of carpenter’s tape lying in the toolbox, so you might not have to go anywhere to get this fix completed. Cut off the amount of tape you need and stick it to the headliner.
Remove the backing and secure it to the roof. You can do this wherever it is sagging without spending a lot of money. However, this method doesn’t work if only the middle of the headliner is sagging down, because you need an edge to be free to use the tape.
RELATED: How to Remove Window Tint (4 Easy Methods)
5. Steam
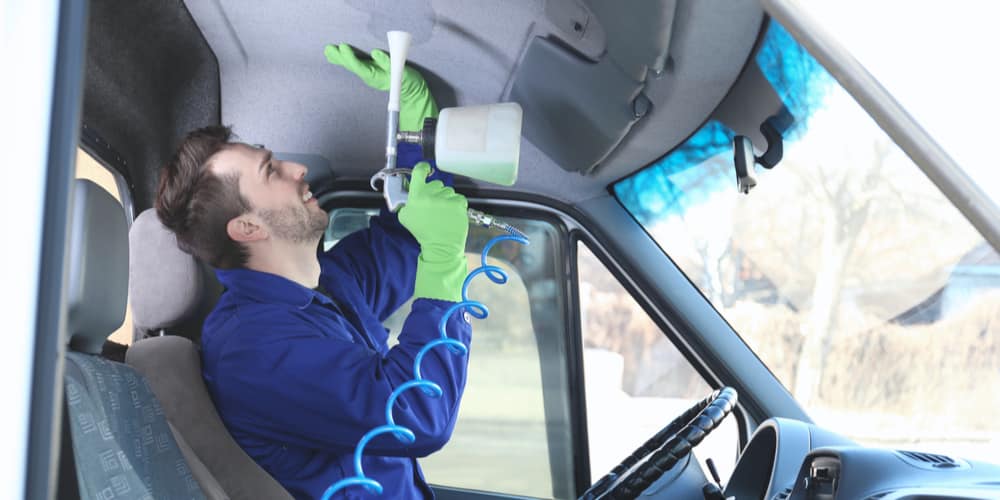
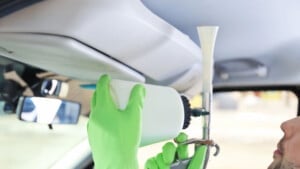
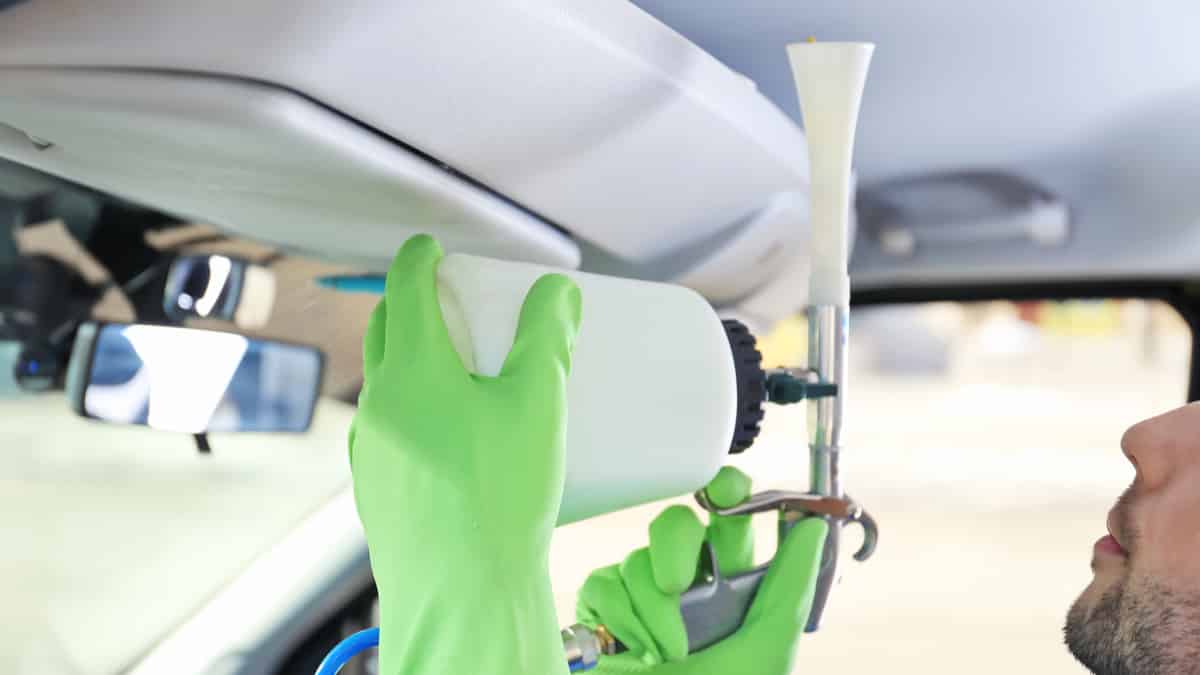
Steam is probably the best and most professional way to fix a sagging headliner without removing it. With some simple steaming, you might be able to reactivate the glue that secured the headliner to the underlying material. With a small steam cleaner, you can melt the glue for more adhesion.
Start by working with a small section to see if it is feasible. If the glue has gotten too old, you won’t be able to activate it. Run the steamer across the headliner, as if you were painting with a roller. As you go along, press the headliner back to the first layer of material. This method also helps to reduce creases and wrinkles in the fabric.
Cost to Replace Headliner
If the methods of fixing the headliner don’t work, you might need to replace it. In some cases, replacing a headliner costs between $200 and $500, depending on the type of vehicle you drive and where you live.
However, if your car is old and not worth much, you may not want to invest the money. You could always remove the headliner and drive without it.
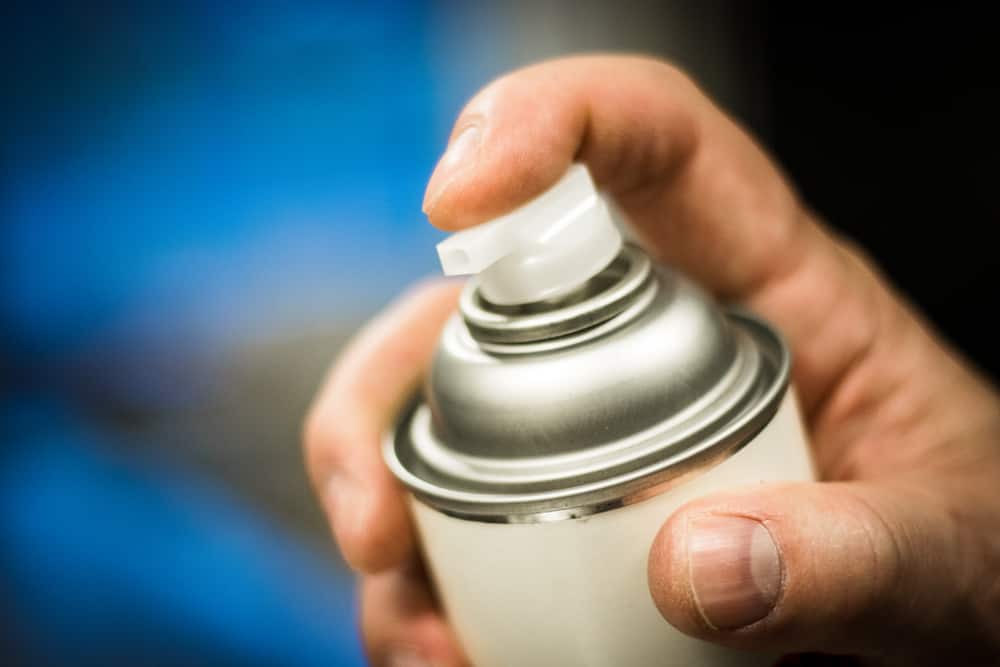
What is the best adhesive for headliner?
Many products can be used for sagging headliners, but the Super 77 Multipurpose Adhesive made by 3M is the most popular. This spray adhesive, which can be used on various surfaces, firmly bonds fabrics and plastics, among other materials. Other alternatives include products like Weldwood’s Contact Cement and similar neoprene-based adhesives. Still, before making the final decision, it might be a good idea to find out from what material your headliner is made. This way, you’ll eliminate the risk of damaging the fabric or the plastic beneath it by using an unsuitable adhesive.
What causes a saggy headliner?
Headliners sag when they separate from the plastic or fiberglass surface to which they are glued. This happens when the adhesive that holds them together becomes too weak or breaks apart. Older cars are more likely to suffer from this, as aging takes its toll on the adhesive’s bonding abilities. There are, however, things that can speed up this deterioration process. This includes frequently leaving the car in the sun, mechanical damage, or using water to clean the headliner.
Is Gorilla spray adhesive good for headliners?
Being a versatile, heavy-duty adhesive, Gorilla Spray is suitable for all sorts of applications, with quickly fixing sagging headliners being one of them. This product is well-known for its strong bonding abilities and, more importantly, fast drying times. And this is exceptionally helpful when putting the headliner back into place in its overhead position. There are, however, certain limitations to be aware of. Due to its chemical composition, Gorilla Spray will not work well with foam-backed or specially coated materials.
How many cans of spray adhesive are needed for the headliner?
As obvious as it may sound, how many cans of spray adhesive are needed to fix a sagging headliner depends on two factors. First, we have the car’s size, which affects the headliner’s surface. Furthermore, there’s the adhesive’s coverage rate, which tells us how much area each can could cover. By dividing the headliner’s surface and the spray’s coverage rate, you’ll get the exact number of cans needed for the job.
The headliner is a piece of interior trim that covers the car’s metal roof from the inside. Besides making the interior look better, it reduces wind noise and improves thermal insulation. In most cars, headliners are made from plastic or fiberglass covered with fabric or leather.
With time, the adhesive that bonds this together may deteriorate and break apart, making the headliner saggy. When this happens, gluing the fabric back onto its plastic base is usually a much more feasible option than replacing the whole headliner. A variety of products is suitable for this application, such as Gorilla Spray or 3M Super 77 Multipurpose Adhesive.
Categories: Cleaning & Detailing, General, Guides