
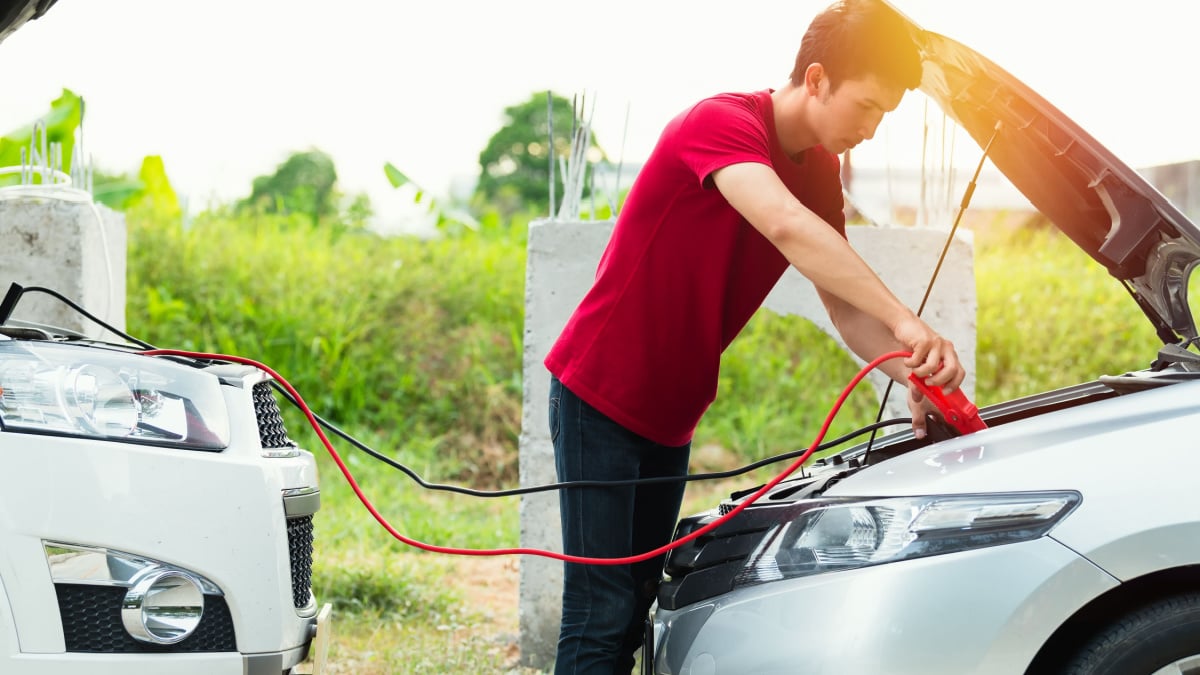
If your car battery dies, it’s helpful to know how to use a set of old-fashioned jumper cables. This emergency tool should be in every car for those “just in case” moments. While it might seem easy to connect a set of jumper cables, numerous things can always go wrong. One issue you don’t want to deal with is the jumper cables melting or the jumper cables smoking.
In this guide, we cover all of the possible reasons that the jumper cables started smoking and show you how to fix it. We also discuss how to pick the right size jumper cables, from understanding the ratings and the lengths. In the end, we take a moment to answer your most asked questions.
In This Article:
What Causes Melting or Smoking Jumper Cables?
In some cases, the jumper cables will melt because of a poor connection. Other times, the smoking and melting of the jumper cables is caused by a failure, whether they are too thin, broken or you spent too much time trying to crank with them installed.
Here are the five most frequent causes you might be dealing with.
1. Incorrectly Connected
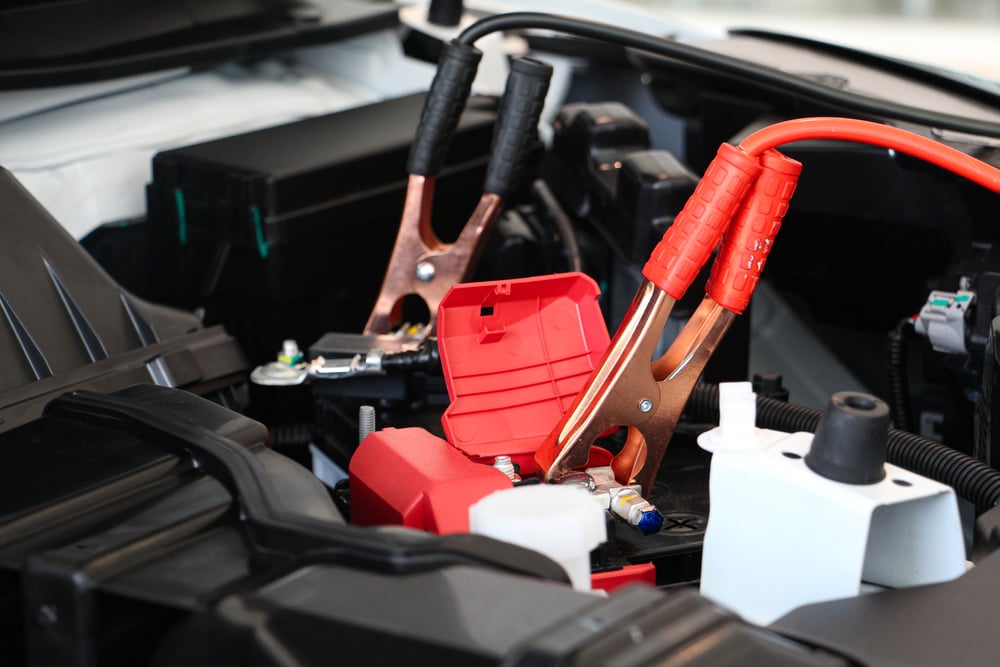
When there is a user error with the connection, it will not only cause the jumper cables to melt, but it can also lead to an inability to jump the vehicle. When you connect the cables, you must make sure that the clamps are put on in the right order and to the appropriate location.
Each one of the clamps is meant for a particular terminal on the car battery. Red clamps go with the positive posts, while the black clamps are meant to connect with a negative post. If you reversed this order, electrical failure might occur, leading to melting and smoking.
While it doesn’t seem like a good thing to have the cables melt, this is actually a built-in safety feature. Instead of exploding the battery, the cables melt instead. It’s much easier to replace a set of jumper cables than to fix a car after a battery has exploded.
2. Jumper Cables Too Thin
The jumper cable is needed to transfer power from the good charging system to the one that has failed. Electricity is produced from this transfer, which is why you must be careful what type of jumper cables you purchase. Jumper cables can be bought in a variety of gauges, indicating how thin or thick they are.
If you choose to save money by buying something too thin for the power that’s being transferred, you can melt the cables. The cables will overheat until the plastic melts. The only way to prevent this is to ensure you only use cables that are rated for your particular vehicle or better.
3. Bad Connection
We’ve already discussed how a poorly aligned connection between the two vehicles can cause issues, but we must also look at how the cables are connected to each car individually. For batteries to be charged, all of the connections must be perfect.
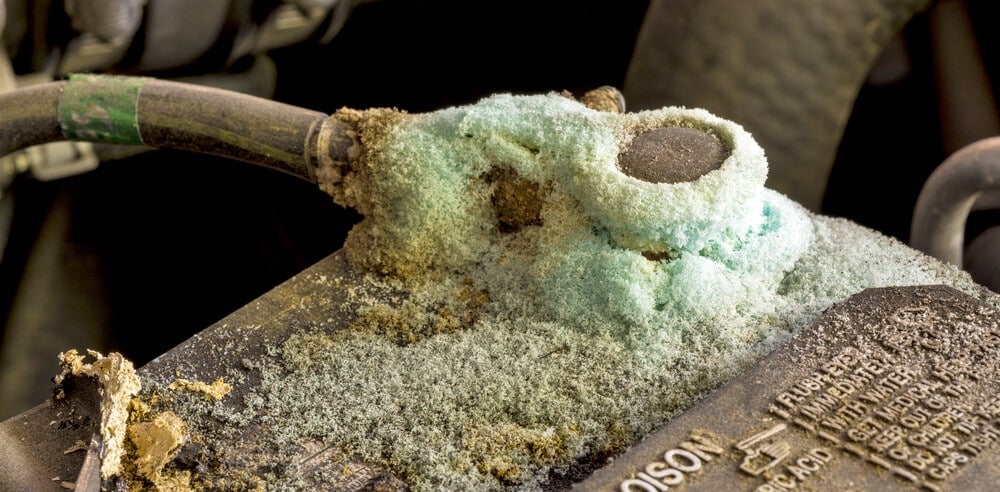
If there is corrosion on the battery post, you can run into many of the same problems because the connection will be loose. Bad connections lead to a loss of electricity. So, along with heating up the wires and causing melting, you may also have trouble getting the battery jumped.
4. Damaged Cables
Jumper cables are built to be durable. After all, they have a heavy-duty job to perform. Still, they will go bad and fail over years of use, especially if they haven’t been stored correctly.
Any spill can lead to damage or corrosion of the clamps. The plastic insulators can also fall apart from getting too brittle. Either way, any damage to the jumper cables can cause malfunctions, including melting or smoking.
5. Cranked Too Long
Remember how we talked about all of that electricity working through the jumper cables? If you try to crank the engine for too long, there’s going to be an excessive amount of electricity that the cables may not be able to take.
For this reason, it’s possible to melt cables if you keep cranking the engine when you shouldn’t. This problem is more likely if you are using a cheap pair of jumper cables, as heavy-duty options are better insulated and prepared for the power.
How To Fix Melting Or Smoking Jumper Cables
The only way to fix a smoking or melting jumper cable is to first figure out what went wrong. Once you know where the error is, you can choose one of these repair methods to fix the problem.
1. Connect Cables Correctly
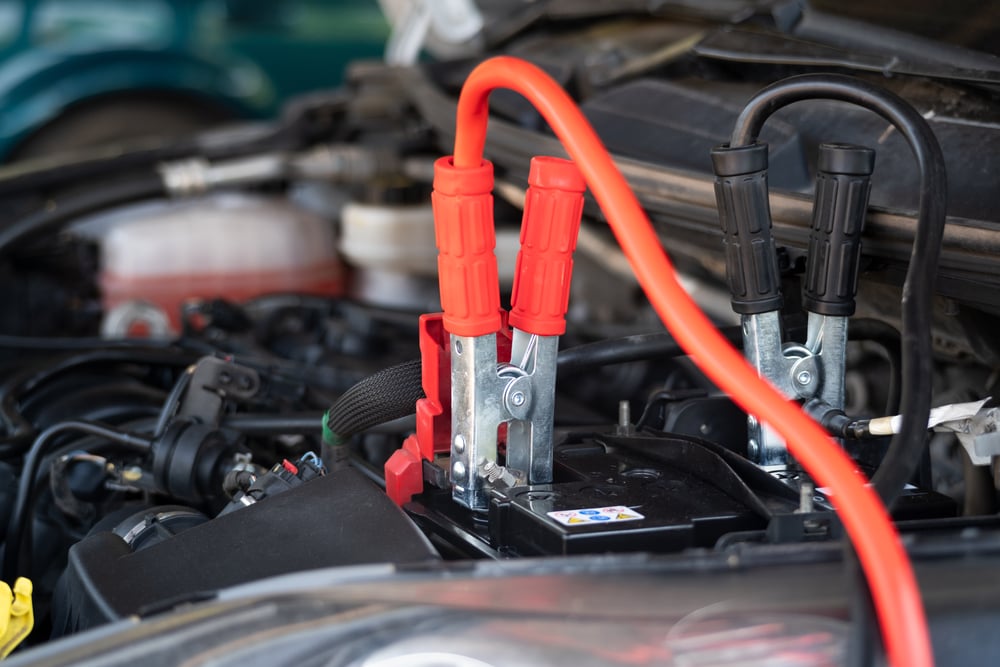
The only way to properly get a car jumped is to connect the cables to each car correctly. Here’s the recommended way that most technicians use.
- Connect a red (positive) jumper cable to the dead battery’s positive terminal. These can be marked with a plus sign.
- Connect the second red (positive) jumper cable to the good battery’s positive terminal. These can be marked with a plus sign.
- Attach a black (negative) jumper cable to the dead battery’s negative terminal. This can be marked with a minus sign.
- Attach the second black (negative) jumper cable to the good battery’s negative terminal. This can be marked with a minus sign.
If you don’t do it in this order, not only can the cables melt, but an explosion could occur. That’s why you should always follow the outlined procedure and never let the ends of the cables touch one another.
READ MORE: How to Jump Start a Car (6 Easy Steps)
2. Check Connection
If you are positive that the connections are aligned correctly, it’s time to check each car’s posts. Look at the terminals to ensure there’s no corrosion. You want a nice, snug fit on both sides.
If corrosion is present, you can gently wipe it off and try to reattach the cables. You should also verify that the terminals are tight when you are finished jumping the battery.
3. Use Thicker Jumper Cables
To the untrained eye, all jumper cables appear to be the same. However, jumper cables are available in a variety of sizes, with cheap cables having a much thinner material.
To prevent melting the cables, we recommend upgrading to a better set. It doesn’t cost much more for the upgrade and you will save yourself a lot of headaches. Plus, you will be able to jump bigger cars with the well-insulated cables.
4. Let Them Cool Down
If you are having trouble getting a car jumped, take a break. Don’t keep cranking the engine trying to get it to turn over.
Instead, you want to give it a shot for a minute and stop. If it doesn’t work at first, let the cables sit in place and cool down before trying again.
How To Choose The Correct Size Of Jumper Cables?
There are two specific aspects of the jumper cables that are most important. To start, you must pay attention to the rating, which is considered a size. The rating shows you the wiring gauge beneath the insulation.
The lower this number is, the thicker the cable is. If you want the best jumper cables, you need something that’s heavy-duty with a lower number. Ideally, the 1- and 2-gauge cables are going to provide the most consistent results, no matter what car you work with. On the other hand, a 9- or 10-gauge cable is only meant for compact cars.
Aside from the rating, you must also think about length, although this won’t cause the cables to melt. Still, if the jumper cables aren’t long enough, you won’t be able to reach both cars. In most cases, ten feet might be long enough, but why take chances? It doesn’t cost that much more to get a set of 25-foot cables and you have more guarantees when emergencies arise.
RELATED: What Size Jumper Cables Do I Need? (2 vs. 4 vs. 6 Gauge)
What Does It Mean When Jumper Cables Start Smoking?
If the cables are smoking or melting, a connection could be bad or the cables could be damaged. It’s also possible that you are trying to crank the engine for too long and the cables are starting to overheat. Recheck your connections and the cables to determine the cause, so it can be repaired.
How Do You Know When Jumper Cables Are Bad?
While jumper cables aren’t going to go bad, they can deteriorate and fail to work properly. Typically, you will see exposed wires under the insulation. There could also be corrosion of the clamps or fraying of the cables. If any damage is spotted, you should replace the cables immediately.
Can You Still Use Melted Jumper Cables?
You should never use jumper cables that are melted or have other defects. If you do, there’s a higher chance of an electrical short or fire. Not only can you cause a lot of damage to your vehicle, but there’s a higher risk of personal injury as well.
Is It Bad If Jumper Cables Spark?
If you connect the negative terminal before the positive, you may deal with some sparking. This is a dangerous situation and can lead to injury and damage. For that reason, it’s important that you connect the jumper cables in the proper order to protect yourself and your vehicle.
How Long Should You Let A Car Sit With Jumper Cables?
It depends on the type of car you are jumping and how dead the battery is. In some cases, you can connect the two and crank the engine on the first try. Other times, it could take five minutes of waiting before a proper charge is applied. In heavy-duty situations, vehicles may need to sit for up to thirty minutes before they can be started, especially if you are using cheap jumper cables.
If the jumper cables melt, it could be that they weren’t connected from one battery to another correctly or there was an issue with how the clamps attached to the posts. Additionally, smoking cables can be caused by a thin gauge, damaged cables or if you have cranked too long.
There’s never a good reason that the jumper cables have melted. Either you are dealing with connection issues, defects to the cables or user error. To ensure that a dangerous situation doesn’t occur, you must figure out what the problem is and correct it immediately. If not, a fire could follow, leaving you with permanent damage to the vehicle.
While it’s important to know how to jump start a vehicle, it’s just as vital to understand ways to protect yourself if something goes wrong. By looking for early warning signs, you can prevent the jumper cables from melting or smoking. Examine your jumper cables before every use to ensure they are ready to go. If not, go ahead and replace them before disaster strikes.
Learn more:
- Car Won’t Start with Jump? Causes & How to Fix it
- Dead Car Battery – Causes & What to do
- 10 Best Portable Jump Starters


