
Battery posts can look almost identical, and cable colors are not always visible or reliable. Before you connect jumper cables, a charger, or replacement cables, confirm which post is positive and which is negative. Reversing the connection can damage electrical components or cause sparks.
How to Identify Positive and Negative Battery Terminals
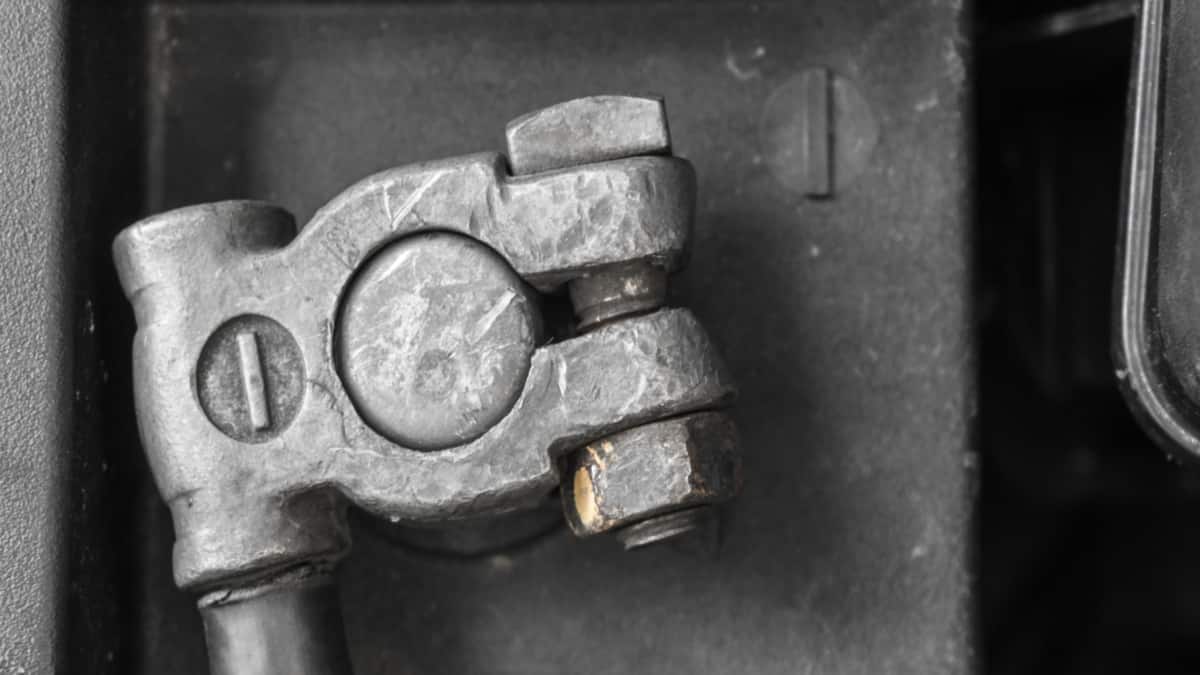
Start by checking the markings on the battery itself. The positive post is marked with a plus sign (+), and the negative post is marked with a minus sign (−). Look for the symbols molded into the battery case near each post, not just on a removable cover.
- Positive terminal: marked +. The cable or cover is often red.
- Negative terminal: marked −. The cable or cover is often black.
Color is a useful clue, but treat the markings as the confirmation. A battery may have black cables on both posts, a missing cover, or replacement cables that do not follow the usual color convention. Do not identify polarity by whether a post is on the left or right. Battery layouts vary.
Check the Cable Markings
If the battery marks are hard to see, look for a + or − symbol on the cable ends or terminal clamps. Many vehicles use a red positive cable and a black negative cable, but wiring may have been repaired or replaced. Confirm the cable markings against the battery markings or owner’s manual before using them.
On most modern cars, the negative battery cable connects to the vehicle body or engine ground. That can help you trace the negative cable, but it is not a substitute for checking the battery’s markings, especially on older or modified vehicles.
Use a Multimeter if the Markings Are Missing
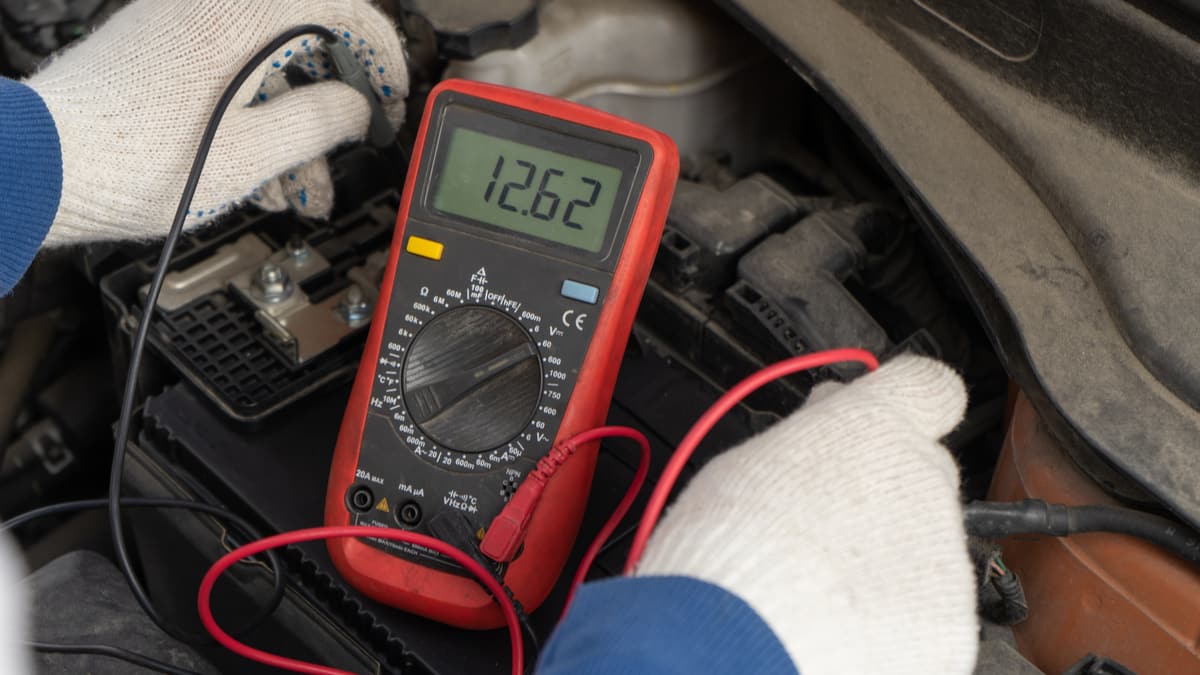
A multimeter can confirm polarity when the battery markings and cable colors are unclear. Set the meter to DC volts, with the black lead in COM and the red lead in the voltage jack. Do not use the current or resistance setting for this check.
- Set the multimeter to DC voltage. Choose a range that can read a 12-volt battery, or use auto-ranging if available.
- Touch the red probe to one battery post and the black probe to the other. Keep the probes from touching each other or bridging the two posts with a metal object.
- Read the display. A positive voltage reading means the red probe is on the positive post and the black probe is on the negative post.
- If the reading has a minus sign, the probes are reversed. The post touched by the red probe is negative, and the one touched by the black probe is positive.
If the battery is damaged, leaking, or too difficult to reach safely, do not test it yourself. Ask a technician to identify the terminals.
How to Connect Jumper Cables
Once you have identified the terminals, check the owner’s manuals for both vehicles. Some cars use remote jump points or specify a particular ground point and cable order. Follow those instructions because the correct procedure varies by vehicle.
For many vehicles, the common sequence is to connect red to the disabled vehicle’s positive jump point, red to the booster vehicle’s positive point, black to the booster vehicle’s negative point, then black to the disabled vehicle’s designated ground point. Use this sequence only if it matches both manuals. Keep the clamps apart and the cables clear of moving parts.
See our full guide on how to jump-start a car for the complete procedure. If you are removing a battery cable for service, follow the vehicle’s instructions. On many negative-ground vehicles, the negative cable is disconnected first and reconnected last. See which battery cable to remove first.
What Happens if You Connect the Cables Backward?
Reversing polarity can cause heavy sparking, overheat the cables, blow a fuse, or damage electronic components. If you notice the clamps are reversed, do not try to start the vehicle. Stop and follow the vehicle and jump-starter instructions for disconnecting them. If there is smoke, heat, or a strong burning smell, move away and get professional help.
Do not rely on a fuse to prevent damage. Some vehicles have protection in parts of the electrical system, but that does not make reverse connections safe.
FAQ
Is the positive battery terminal on the left or right?
There is no fixed left-or-right position. Battery layouts vary. Check the + and − markings on the case or verify polarity with a multimeter set to DC volts.
How can I identify the terminals if both cables are black?
Check the + and − symbols by the battery posts and on the cable clamps. If you still cannot tell, use a multimeter to check polarity or ask a technician. Do not guess based only on cable color or where the cable runs.
Can I use a multimeter to identify an unmarked battery?
Yes. Set the meter to DC volts and touch the probes to opposite posts. A positive reading means the red probe is touching the positive post. A reading with a minus sign means the probes are reversed. Do not use the meter’s current or resistance setting for this test.
Are red and black battery cables always positive and negative?
Red usually indicates positive and black usually indicates negative, but cable colors can be missing, faded, or changed during a repair. Confirm the + and − marks on the battery or test polarity before connecting anything.
Once you have confirmed the polarity, follow the vehicle-specific instructions before connecting a charger or jumper cables. If the markings are unclear or the battery is damaged, have a technician check it.