
Every modern vehicle is equipped with an automotive battery. It doesn’t matter if you drive an electric vehicle, a hybrid, or have an internal combustion engine – there’s a battery involved. This valuable part is often taken for granted until it doesn’t run smoothly. You know that dreaded feeling when you go to start your car and nothing happens. To prevent this, I will teach you how to recondition a car battery at home.
If you have a vehicle equipped with an internal combustion engine, you probably have a flooded lead-acid battery beneath the hood. In comparison, hybrids generally contain a nickel-metal hydride (NiMH) or a lithium-ion battery, while an electric vehicle is going to include a large Li-ion battery pack for a longer driving range.
In this article, I will focus solely on the 12-volt lead-acid battery that’s located in most gas and diesel vehicles. When one dies, a jump start might be necessary. However, you can prevent this by reconditioning your car battery. With a few simple steps, you save yourself a trip to the auto parts store and avoid costly battery replacement.
In This Article:
How to Recondition Your Car Battery at Home
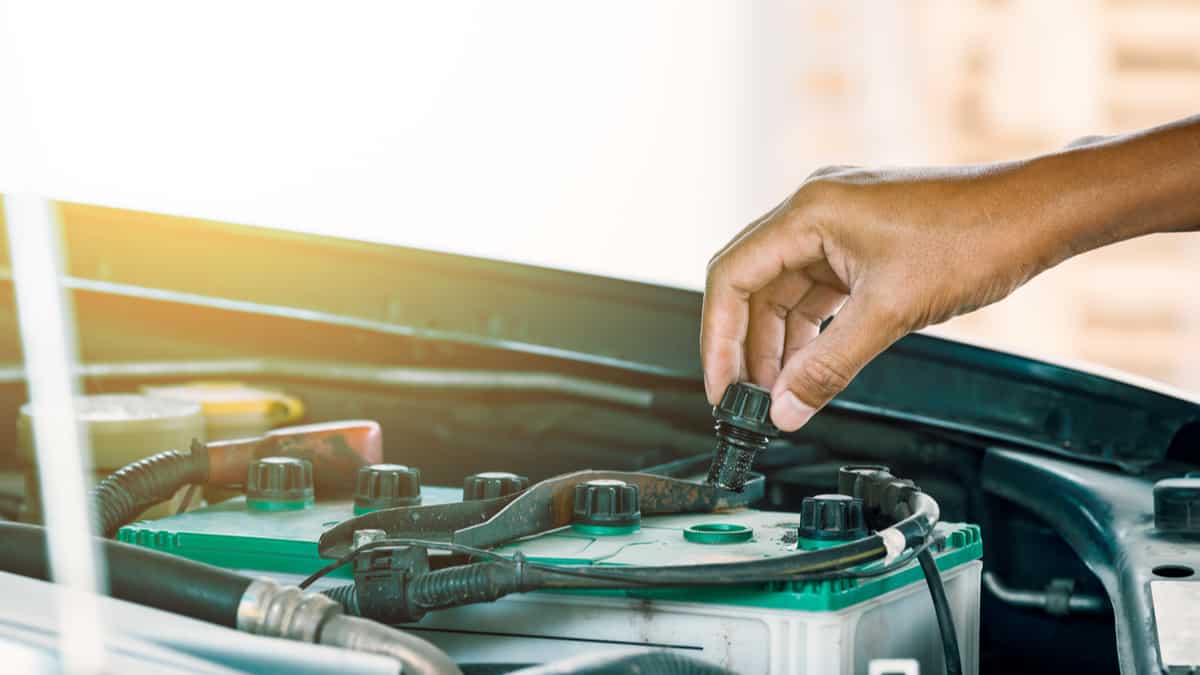
STEP 1: Test the Battery
The battery should read at least 12 volts. If your reading shows 10 to 12 volts instead, you may be able to restore the normal function through reconditioning. However, there’s no reason to try it once the battery reaches below 10 volts if you recharged it quite recently. At this point, you are better off getting a replacement.
You can also test the car battery with a car battery tester for more accurate results.
STEP 2: Prepare Electrolyte Solution
Heat up half a quart of distilled water. Make sure it reaches 150 degrees Fahrenheit. In that hot water, you want to dissolve seven to eight ounces of Epsom salts. Set your solution aside.
STEP 3: Remove Battery Cell Caps
If you use a sealed battery type, you will need to locate the shadow plugs instead. These cover the openings of the battery cells and require you to drill through them carefully. (Make sure you do not have an AGM or GEL battery, and check the car battery manufacturer’s instructions).
STEP 4: Replace Battery Solution
Once the battery is drained, you are ready to fill it back up with your Epsom salt and water solution. Use a small plastic funnel and fill each cell completely.
STEP 5: Charge the Battery
Charge your battery with a slow charger. It’s best to have it charging for at least 24 hours before testing it and reinstalling it in your vehicle.
What is Battery Reconditioning?
The battery supplies energy to your vehicle, mainly to start the engine. However, the battery also powers up all of the electronics and devices. While you drive, the battery is recharged with the alternator. As it discharges regularly, sulfation happens.
Sulfation is a chemical reaction that causes sulfate crystals to build up on the plates of the battery. The more crystals that are present, the longer charging times the battery requires, and the less efficient it becomes. By reconditioning the battery, you refurbish it and remove those sulfates. You also replenish the electrolyte solution inside the battery, which allows it to recharge faster and function like it is new.
Benefits of Car Battery Reconditioning
There are two options available to you when your battery stops working as it should. First, you can buy a new one. Or, you can choose to recondition it. If there’s no damage to the battery, reconditioning is usually a good option.
You can expect several advantages from automotive battery reconditioning. Most importantly, you can extend the life of the battery.
If most car batteries last about five years, you might think that the normal course of action would be to replace the battery once it gets old and inefficient. Instead of replacing it, you attempt reconditioning instead. This might extend the battery life by a year or two, meaning you used your battery for seven years instead. This extra time ensures you get your money’s worth out of the battery.
Obviously, this leads right to the next benefit of a reconditioned battery – the cost savings. You can save a good chunk of change over buying a new battery, considering an average replacement battery will cost around $75.
A final benefit is the reduction of waste. Instead of getting rid of the battery and the chemicals inside, you utilize a way to recycle it. You might also get good enough at this process to start a business and make a little money on the side.
Battery Reconditioning Cost
The cost to recondition car batteries is minimal. You don’t need a lot of supplies, other than your protective gear, distilled water and Epsom salts. These supplies should cost you less than $20, which is much lower than what you would spend replacing the car battery. If you can get another year or two out of the batteries, then it would be considered a great investment.


