
On the dashboard of your Honda vehicle, you are used to seeing a lot of symbols and indicators. One of the most popular is the Honda wrench light. It seems to come on frequently and demand regular attention, but what does it mean?
In this guide, we cover the meaning of the wrench light on Honda vehicles. We also look at what causes it and show you how to fix it. If you are a Honda owner, all of your wrench light questions will be answered by the end of this article.
In This Article:
What Does The Honda Wrench Light Mean?
The wrench light on a Honda indicates that maintenance is required. It’s known as part of the Maintenance Minder system. Instead of providing owners with a recommended service schedule, the warning light comes on to indicate it’s time for vital services.
Along with the wrench light, a maintenance code also pops up on the dashboard. This service code tells you what needs to be performed.
The interesting fact about this warning light is that the system isn’t actually reading the state of the vehicle components. For example, the vehicle can’t tell if the oil is dirty and needs to be changed. Instead, the system relies on the odometer reading and the time since the last service to suggest when it’s time for more. Either way, it’s a good system for keeping you on track with the regular maintenance.
What Service Is Required When A Wrench Light Illuminates?
If you look in the owner’s manual, you can tell what needs to be done by looking up the code. Otherwise, a professional Honda mechanic can lead you in the right direction. You can also search for this information online.
For most Honda vehicles with the Maintenance Minder program, this is what the codes indicate.
Service “A”
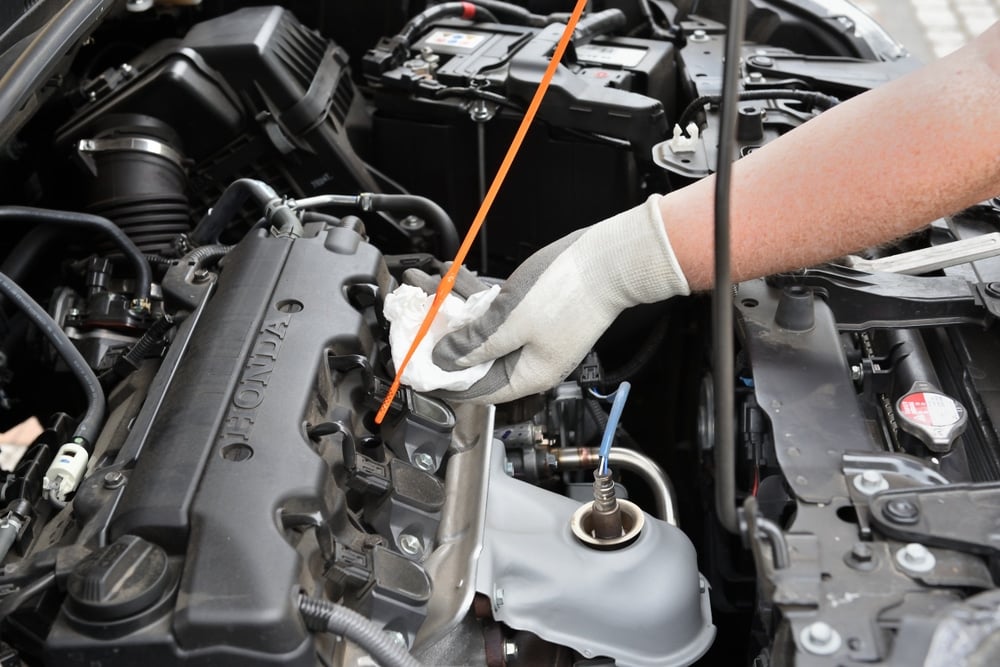
This generic code is telling you it’s time to change the engine oil. A filter change is not required at the same time as this service. This reminder comes up after 12 months or 7,500 miles, whichever comes first.
To find out how much engine oil is needed, you want to check the owner’s manual. Make sure you have your supplies handy before you start the oil change.
Service “B”
This service requires an engine oil change and a filter replacement. This reminder is set to signal you at 15,000 miles, so every other oil change.
You also need to perform some inspections during this service, including:
- Front and rear brakes
- Brake calipers
- Parking brake
- Tie-rod ends
- Steering gearbox and boots
- Steering linkage
- Suspension components
- Brake hoses and lines
- Exhaust system
During this service, you should also inspect all of the fluid levels and top off if necessary. This includes the engine coolant, brake fluid, automatic transmission fluid, rear differential fluid and windshield washer fluid.
Service “1”
During this recommended service, you should check the condition of all the tires. Inflate the tires if they are low on air. Although, it’s important to check the tires at additional times other than during this service. As professional mechanics, we recommend checking tire pressures once a month or every time the weather changes.
Additionally, now is the time to rotate the tires. Follow the tire rotation pattern outlined in your owner’s manual.
Service “2”
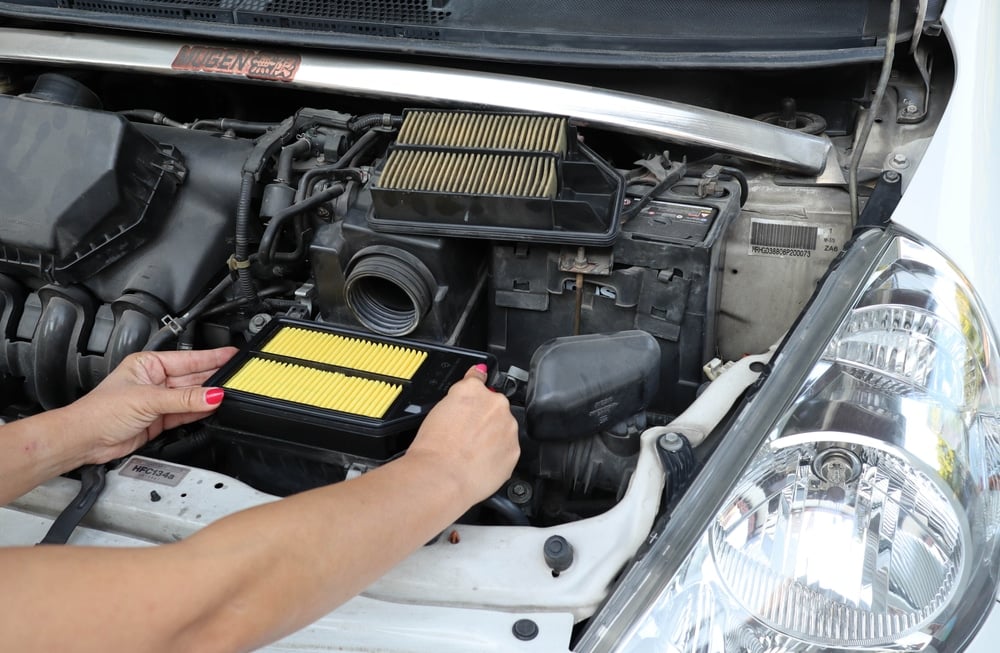
Now is the time to replace your air cleaner element. Replace the dust and pollen filter to keep airflow from the air conditioning running its best.
You should also inspect the drive belt for any damage or cracks. Furthermore, inspect the position of the drive belt based on the auto-tensioner indicator.
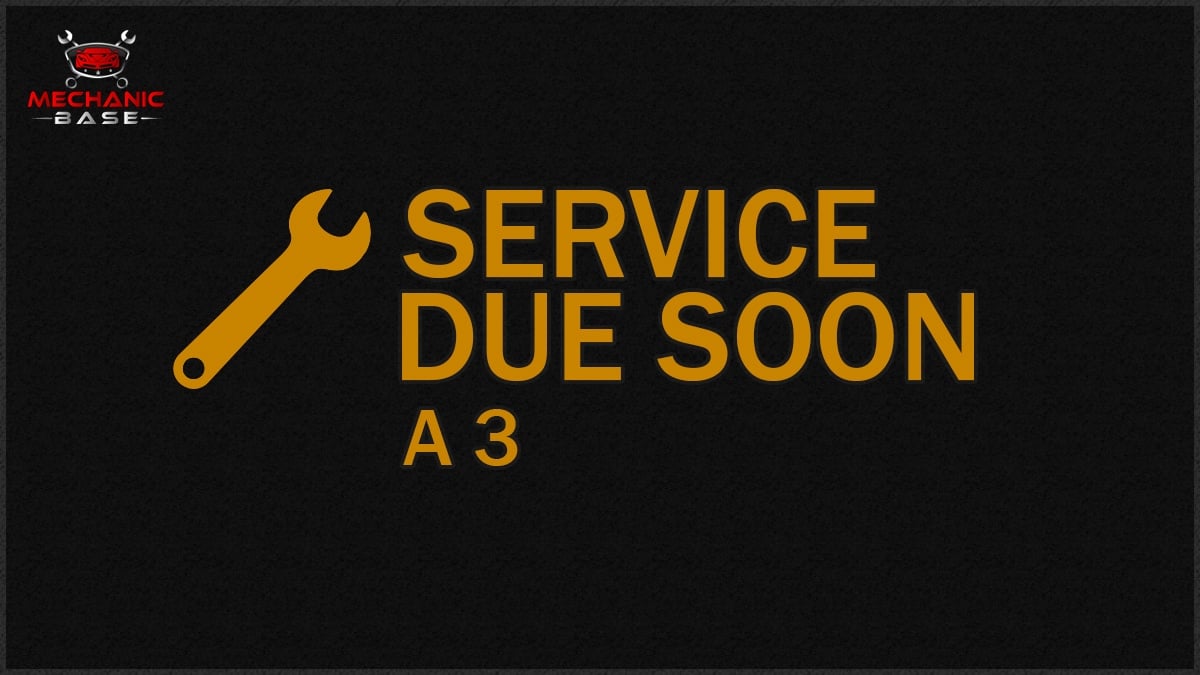
Service “3”
During this service, you want to change the automatic transmission fluid. Check the capacity in your owner’s manual to make sure you have enough before starting.
If you are hard on your Honda vehicle, you may need to perform this job more frequently. Discuss your service needs with a Honda technician if you tow heavy loads or push your vehicle to the extreme.
Service “4”
At this point, you should go ahead and replace the spark plugs. If you are unsure how to do this job, take your vehicle to a qualified service center.
The valve clearance must also be checked at the intake and exhaust. This inspection should take place when the engine is cold.
Service “5”
It’s time to change the engine coolant. Because vehicles use different types of coolant, it’s important to find out what your car needs before putting anything in.
You also need to know how much coolant the car will take. Gather your supplies before getting started.
Service “6”
The rear differential fluid should be replaced now. This maintenance task is only performed on all-wheel-drive models.
Make sure you get the right differential fluid. Also, check the capacity of the fluid with your service manual to ensure you are prepared for the job.
How Long Can You Drive With The Honda Wrench Light?
Once the Maintenance Minder light comes on, it’s time to have your car serviced. You don’t want to continue driving without taking care of what’s expected. By following a regular maintenance schedule, you ensure your car remains in good condition.
Plus, if your Honda is currently under a factory warranty, all of the maintenance must be performed to ensure coverage. However, Consumer Reports does point out that you can have maintenance done anywhere as long as it is performed right. Therefore, you shouldn’t attempt a maintenance task unless you have the experience to perform it according to manufacturer specifications.
How To Reset The Honda Wrench Light
You want to reset the service light after you complete the necessary tasks. To do this, read the owner’s manual instructions or follow these steps.
- Turn on the ignition but don’t start the engine.
- Press the Select/Reset button found on the dash or steering wheel.
- You may need to scroll through some settings to get to “Engine Oil Indicator %” or “Engine Oil Life.”
- Hold down the Select/Reset button for ten seconds.
- The indicator light should blink.
- If the display says, “Engine Oil Life,” choose the Reset mode by pushing the Info button on the steering wheel.
- Press the Select/Reset button until the oil life returns to 100%.
Once you start the car back up, the wrench light should be gone. If you have trouble getting it off the dashboard, we recommend reaching out to professionals for help. An ASE Certified Mechanic offers the most experience in the field.
Don’t ignore the light if you can’t get it turned off. Without it, you may forget when you should perform services again.
RELATED: Honda Oil Life Percentage: Is it Accurate & How To Reset It?
Can you drive a Honda with the wrench light on?
There’s nothing stopping you from driving with this warning light on the dash, but you shouldn’t. The wrench light is telling you it’s time for regular maintenance on your Honda. If you want the engine and transmission to continue performing their best, follow the recommendation and get service.
Is the wrench light serious?
No, this light alone doesn’t indicate anything serious. It’s merely telling you that it’s time to have regular Honda maintenance performed so the vehicle stays in good shape. However, if the Check Engine Light comes on at the same time, you want to pay close attention and have the trouble codes scanned.
Can a wrench light mean an oil change?
Yes, the wrench light indicates it’s time for regular Honda maintenance. As part of the maintenance schedule, oil changes are suggested at certain intervals. Honda suggests that an oil change is done without a filter change first and with a filter change the second time. These services alternate.
What does an orange wrench mean on a Honda?
The wrench light is part of the Maintenance Minder program used by Honda. This sophisticated technology reminds you when it’s time to have service performed. Whether it’s an oil change, tire rotation or fluid change, the Honda is keeping track of your recommended maintenance schedule for you.
Can I just add oil to my car?
When the maintenance reminder comes on the dashboard, it tells you that the oil is no longer working to its full capacity. You don’t want to add new oil to old oil because the properties won’t provide the right amount of lubrication. Instead, take the time to perform an oil change as recommended.
Your Honda is a reliable car that’s designed to last many miles. Our team is fond of Honda cars and SUVs because of how long they last. Yet, if you don’t take care of your Honda, you are asking for premature engine failure. If you’ve ever priced a Honda engine, you know this isn’t something you want to deal with.
For that reason alone, it’s wise to pay attention to these maintenance reminders. They may seem annoying at first, but they take the guesswork out of what should be performed on your vehicle. By looking up the code in your owner’s manual or online, you know exactly what should be done, so you can take good care of your Honda. If you take care of your vehicle, it’s bound to take care of you too.


