If you are looking at replacing or repairing an ignition switch, it helps to know more about the wiring. This job isn’t as easy as it might sound, but with some mechanical experience, you can learn how to wire an ignition switch.
In this guide, I outline the steps to wire the ignition switch and describe what wires are included. I also look at whether or not the ignition switch needs to be grounded. By the end of this guide, you should be an ignition switch wiring expert.
How to Wire an Ignition Switch?
The wiring for an ignition switch is very different depending on the type of vehicle you have. Modern car models can also have many different wires going to the switch, such as the immobilizer etc. But here’s how older ignition switches are wired and how you can wire your own ignition switch into a vehicle.
Always check a wiring diagram for your vehicle beforehand to ensure that you will not damage any electrical parts.
1. Prepare Vehicle
Before you start any at-home job on your vehicle, you should prepare everything ahead of time. It’s important to gather all of your tools and equipment in advance. Otherwise, you are going to be running around getting parts and tools while you are in the middle of the job.
Additionally, you want to park the vehicle on level ground with the emergency brake engaged. The engine should be turned off as you perform the following steps.
2. Disconnect Battery
Before you move forward on any further work, it’s best to disconnect the battery. As you look at the battery, you will see the positive and negative sides.
Remove the negative connection from the battery. Prevent it from contacting the positive terminal while it is disconnected.
3. Identify Ignition Switch Terminals
Before you go any further, it’s best to figure out what switch terminals you are working with. You can get this information from your car’s repair manual. Otherwise, search out a diagram for your vehicle online.
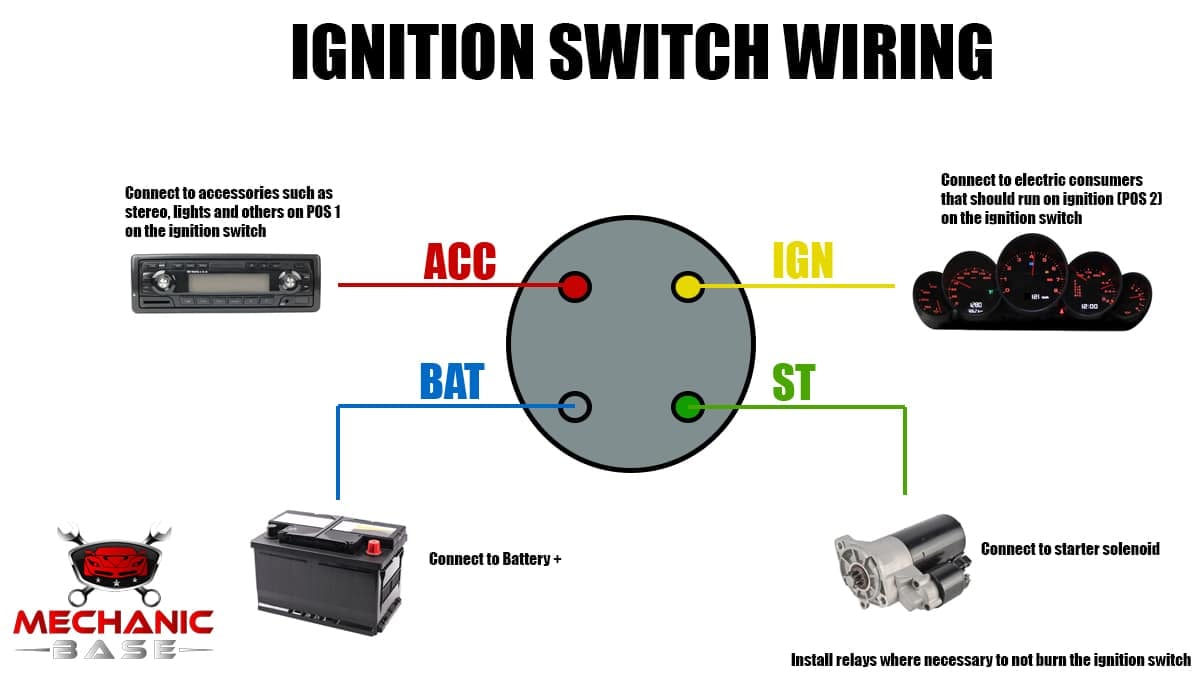
With most cars, you’ll find four terminals total. They should be marked BATT (Battery), ACC (Accessory), ST (Start) and IGN (Ignition).
However, modern cars can have many more connections to the ignition switch.
4. Remove Steering Wheel Cover
If there’s trim around the steering wheel, you need to remove it now. There could be plastic clips securing the trim in place. Make sure you place any bolts, clips or screws in a safe location for reassembly.
Taking the steering wheel off will also make the task easier in many cases. You can use a steering wheel puller to make it a little easier. With this step, it’s important to follow all of the guidelines in the service manual for your vehicle, so nothing else gets ruined.
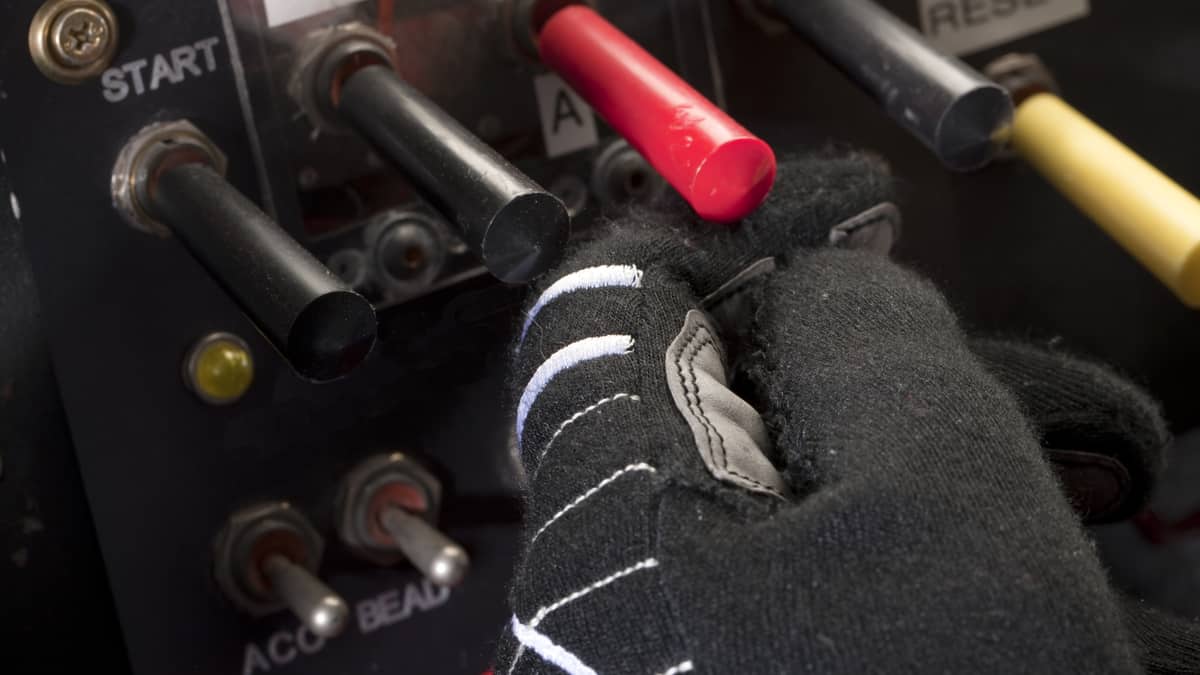
5. Connect Wires
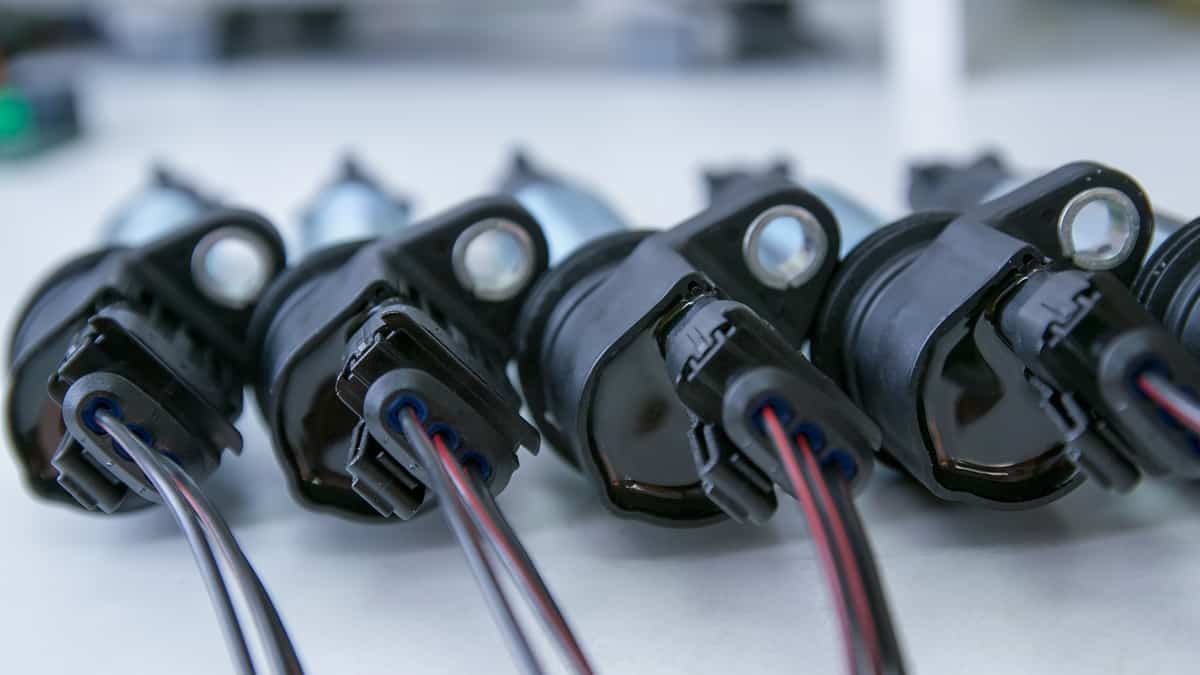
Start with the positive lead from the car battery going to the ignition switch. It’s often a red wire that’s thick and constantly energized. Fit the terminal end from the power lead wire and secure it. Connect this lead to the BATT terminal of the switch.
Connect the accessory wire to the ACC terminal next. This wire is used to provide power to the car accessories when the ignition switch is in the ACC position.
Connect the starter relay wire next to the ST terminal. This terminal is only powered when the ignition switch is in the Start position.
Your final connection is the ignition wire and the IGN terminal. This is the central terminal operating the ignition, accessories, wipers and other features. It’s the equivalent of the Run position on the switch.
6. Reassemble in Reverse Order
Now that you have everything wired, you are ready to put the switch back in place. You will need to apply pressure on the pin to get the ignition switch back in place. Carefully install the ignition switch back into the steering column, attempting to avoid breaking anything delicate.
A lot of the process is lining everything up. Pay close attention to the release pin position, the cylinder shape, and ignition module grooves. You should hear the release pin click once the ignition switch is set in place. You don’t want to stop pushing on it until that clicking noise is heard.
Your next step is to test your work. This step requires that you reconnect the car battery. However, no other parts need to be put back in place just yet. You want to leave it apart in case you need to repair something else. If everything is working as it should, you should be able to turn the ignition and notice that everything is working normally. If not, you need to go back through the steps and figure out what went wrong.
Once you get the ignition switch working normally, you are ready to put the rest of the vehicle back together. Turn off the engine and disconnect the battery once again, just to ensure your safety. Hopefully, you remember how everything goes back together. Otherwise, you need to reference the service manual once again for in-depth instructions. Additionally, you should have put all of the small pieces in a safe location so none of them are lost. It’s important that everything goes back exactly where it came from.
What Wires Go to the Ignition Switch?
Many older cars are set up the same, but there’s a chance yours is different if you have a modern car. For this reason, I always recommend reading the service manual to get a definitive answer. In general, you should notice four terminals on the ignition switch. Each terminal is marked based on what operation it performs.
The most common wires that go to an ignition switch include:
- BATT – Battery+
- ST – Start signal
- IGN – Ignition
- ACC – Accessory
If you don’t have the service manual, go ahead and do a search online for your vehicle. You want to see the ignition switch diagram before you make any unnecessary mistakes with the wiring.
RELATED: 6 Symptoms of a Bad Ignition Switch (& Replacement Cost)
Does the Ignition Switch Need to Be Grounded?
If you know anything about connections, you know how important the ground can be in general. However, the ignition switch doesn’t operate the same way. For this reason, you don’t need to ground the ignition switch to start the vehicle. There’s no separate ground, as shown in our breakdown above.
All of the ignition switch terminals are isolated from the grounds. Because they are separated, each of them can serve its specific mechanical function with ease. If you have more questions about how it all works and what wire is needed for each function, it’s best to reference the service manual and diagram.
How many wires does an ignition switch have?
Basic ignition switches usually have 4 wires. These are the Battery (BATT), ignition (IGN), accessories (ACC), and starter wires (ST). However, modern cars can have many more wires going to the ignition switch.
What color wires go to the ignition switch?
The wiring colors that go to an ignition switch depend on the vehicle and the switch manufacturer. The accessory cable is often red, the ignition cable is often yellow, the starter cable is often green, and the battery cable is often blue. However, you always need to measure first before drawing any conclusions about the wiring colors.
How do you bypass the ignition switch to start a car?
To bypass an ignition switch, you can take power from the BATT wire and distribute power to the ignition, accessories, and starter wire to start the car engine. However, on modern cars there is an immobilizer that prevents you from doing this.
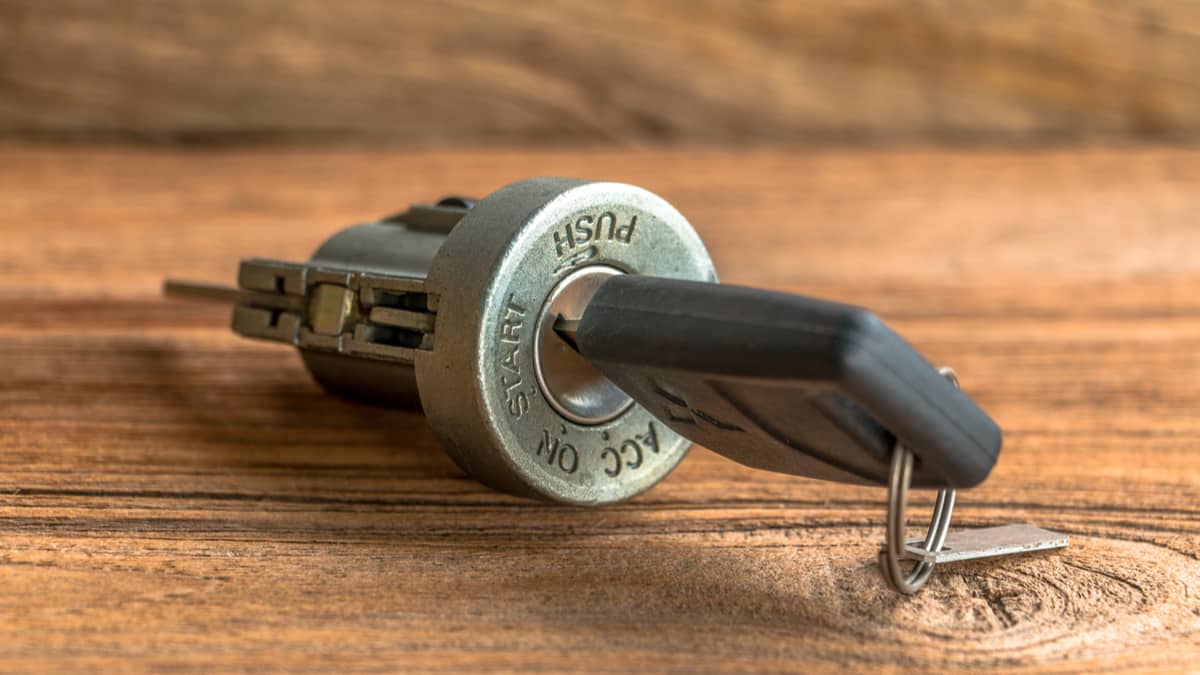
Do you need a new key when replacing the ignition switch?
If you want to replace the ignition lock on a modern car, you can often order the ignition lock by license plate to prevent the need to buy a new key. But if you just need to replace the switch, you can also often move over the lock itself and just replace the switch part.
RELATED: 5 Types of Kill Switches to Install in Your Car to Prevent Car Theft
Categories: Electric