Having a manual transmission vehicle can be a lot of fun, and it provides you with more control over the ride. However, there are also some challenges you will face that automatic car owners don’t have. One of these obstacles is learning how to bleed a hydraulic clutch.
The thought of bleeding a clutch might overwhelming to you, but it’s not as challenging as it sounds. If you want to avoid costly bills from the local shop, you can follow the steps I’ve written down below to bleed a hydraulic clutch at home.
Why is it Necessary to Bleed a Hydraulic Clutch?
Bleeding the clutch means you remove excess air from the fluid. However, there’s no reason to bleed the clutch unless you notice a problem. If the clutch becomes resistant to release, it could be due to air in the system, which requires bleeding.
You won’t want to ignore the problems. The hydraulic clutch needs access to the right amount of pressure to operate. The fluid is what causes this pressure, with air creating a barrier. When air is in the clutch tubes, there won’t be enough pressure, and the clutch might not fully disengage.
Thankfully, it isn’t difficult to bleed the clutch and remove all of the air in the system. Once the hydraulic hoses are filled with just fluid, your clutch should continue to operate as normal.
7 Steps to Bleed a Hydraulic Clutch
1. Check/Fill Fluid
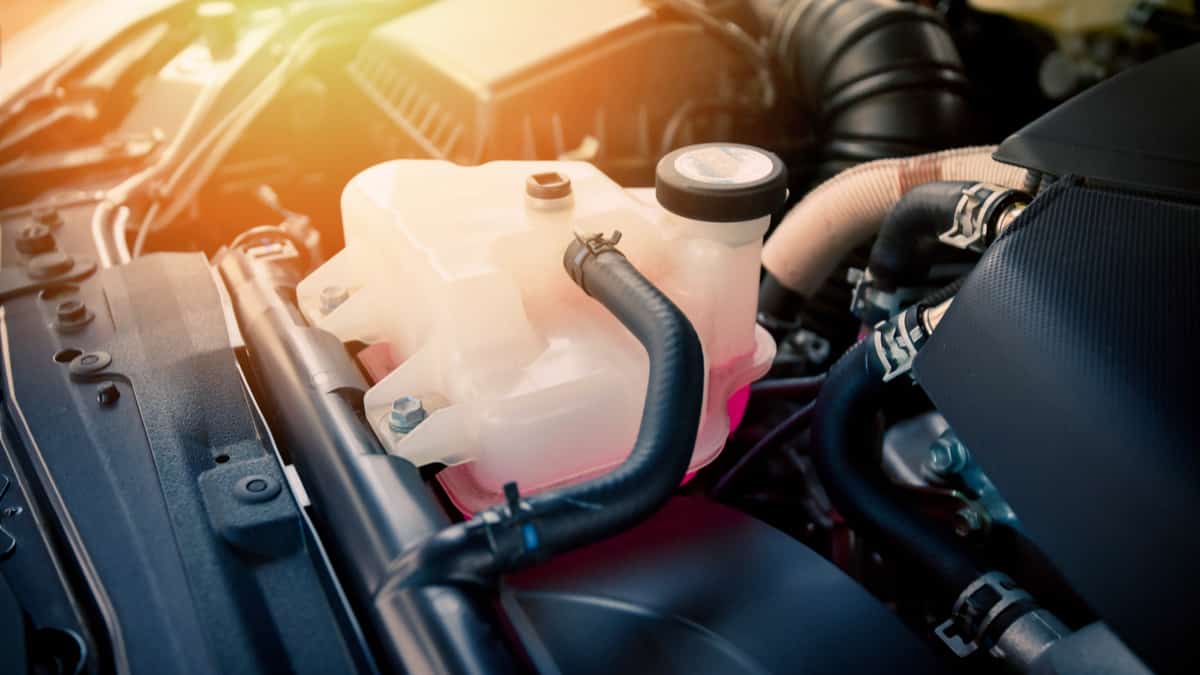
Some cars have a separate clutch fluid reservoir, but most cars use the same reservoir for the brake fluid and the clutch fluid. Check the repair manual if you are not sure which reservoir is for the clutch fluid.
If it is low, fill it up until it reaches the appropriate line. If it isn’t low, you are ready to move onto the next step. You need to make sure that you are filling the right type of clutch/brake fluid, otherwise, it may damage the hydraulic system. Check your repair manual to know which brake fluid you should use.
2. Locate the Bleeder Screw
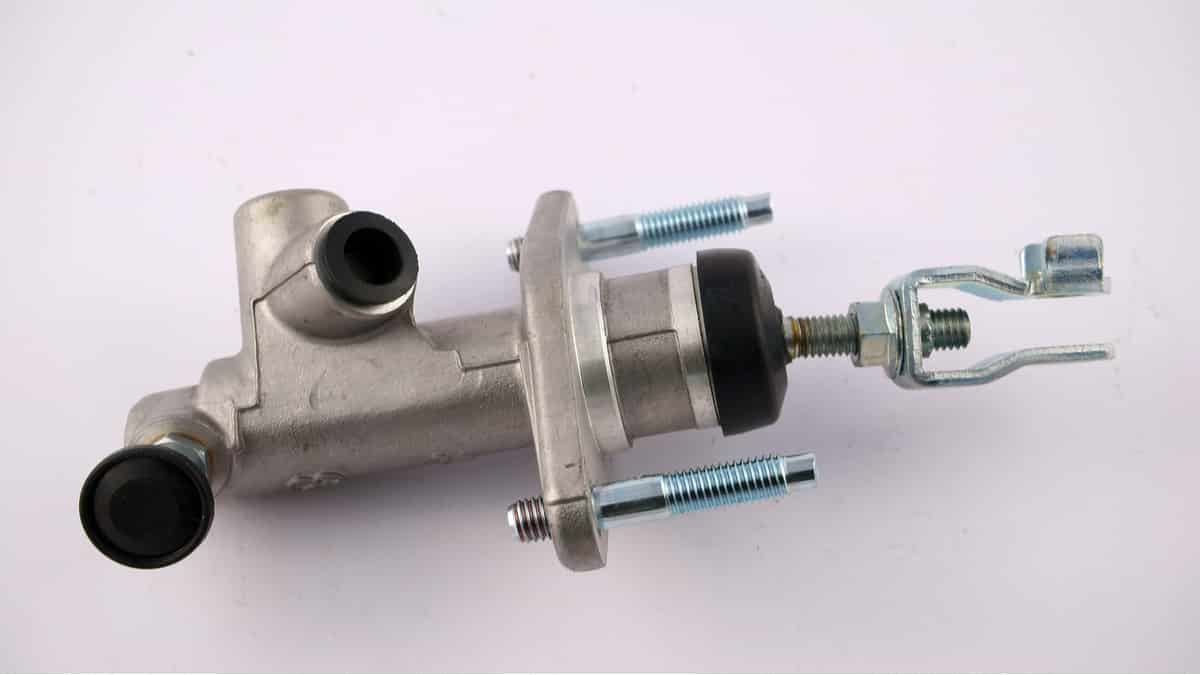
Most vehicles have the slave cylinder bolted to the transmission. It could also be located within the transmission, but the bleeding valve would still be accessible from the outside. Once you find the bleeder screw, you need to put a drain pan underneath it.
In many cars, you may have to raise the car up to reach the bleeder screw, and if you do so, remember to use safe jack stands to make the process secure.
3. Pump the Clutch
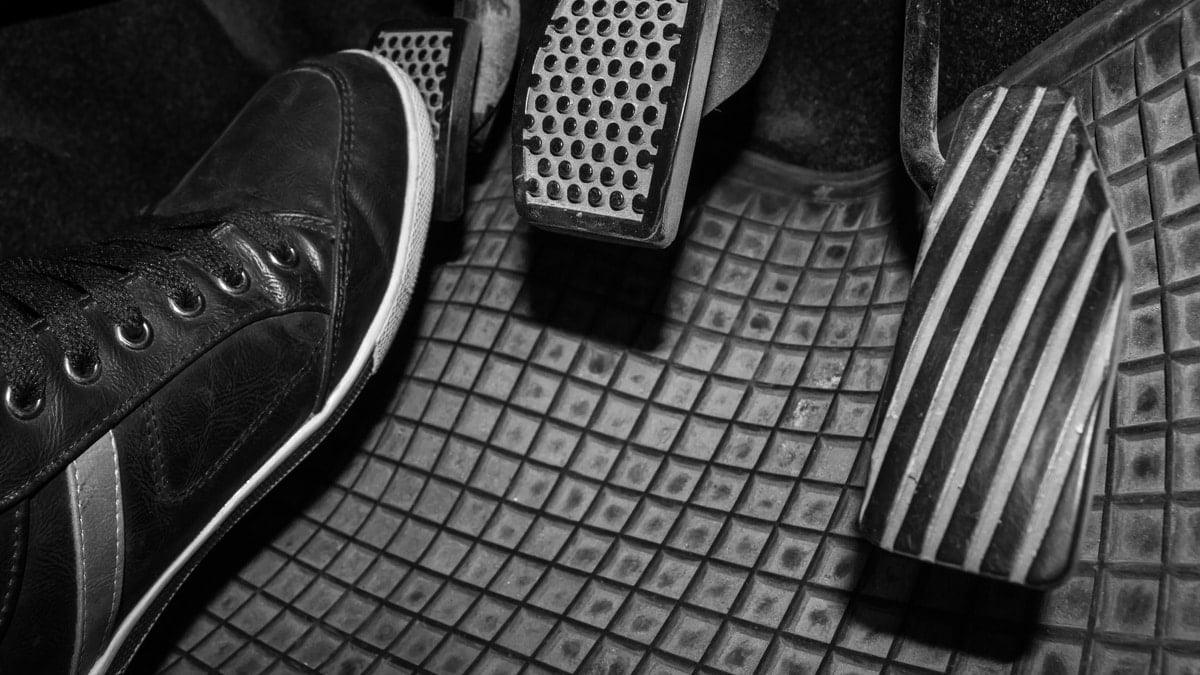
Your helper will need to pump the clutch a few times. After a few pumps, your helper needs to push the pedal all the way down and hold it in place.
4. Open the Bleeder Valve
You will see the liquid start to come from the valve. At the same time, you should hear the sound of air escaping.
5. Tighten the Screw
Carefully tighten the screw back to normal. After you have tightened the screw, your helper can release the clutch pedal. Add more fluid until it is full again.
6. Repeat Steps
When you are done, only liquid will seep through. There should be no hissing sound any longer. At this point, you are ready to tighten the bleeder screw for good. Don’t over-tighten the screw, and remember to top off the reservoir.
7. Test the Clutch
You can also leave a piece of cardboard under the screw overnight to ensure no fluid leaks out. If it does, it simply means that you didn’t tighten the bleeder screw enough.
Cost to Bleed a Hydraulic Clutch
To bleed the hydraulic clutch professionally, you might spend between $45 and $60. The fluid is the only part you’ll be buying, while the majority of the bill is labor.
However, the hydraulic clutch bleeding cost will depend on the type of vehicle you are driving and your location. If you want to save on these expenses, you can bleed your hydraulic clutch yourself.
Categories: Guides, Transmission

