If the interior of your car has gotten dirty or you are dealing with stains on the seats, it’s time to take action. You can learn how to clean car seats like a pro without visiting a detail shop. With some simple products, you can make the seats look like new. It doesn’t matter if you have cloth or leather upholstery; it’s simple to spruce up the interior.
In this guide, we evaluate how to clean cloth and leather car seats. We also touch on a few of the other interior parts you may want to clean for a complete detail.
How to Clean Cloth Car Seats
To clean cloth car seats, it’s best to vacuum and pre-treat the seats first. Apply an appropriate cleaning solution based on the material. Carefully scrub away any dirt and wipe off the moisture. Let the seats dry completely before applying any protective covering.
Here are some more detailed steps to clean cloth car seats:
1. Vacuum Seats
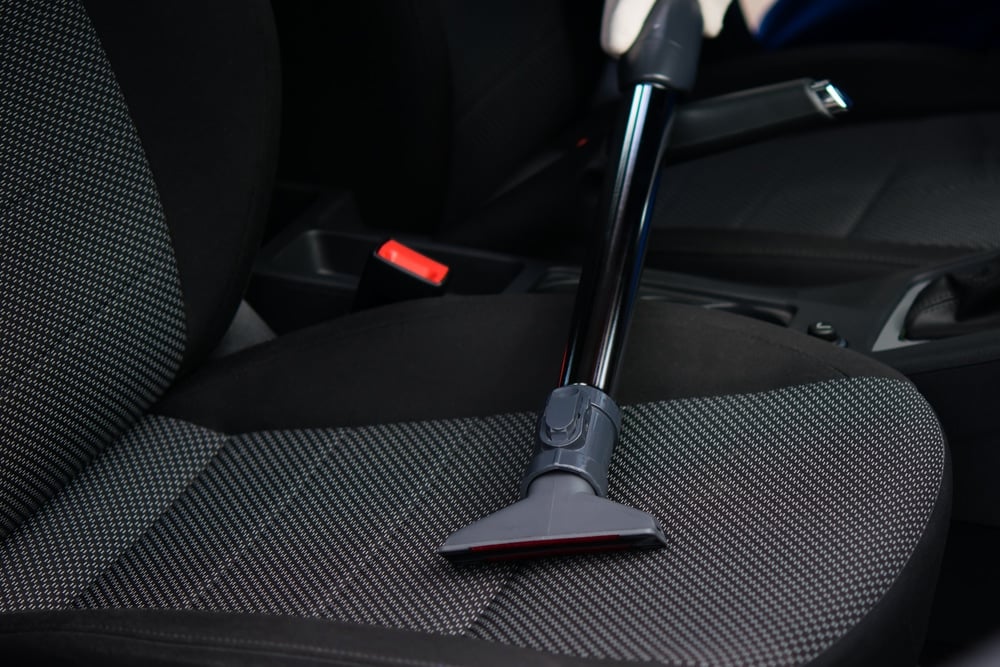
Before you get started, you need to clean up any trash around the seats and vacuum the interior. You don’t want dust and debris kicking up on the seats after you clean them.
With your car vacuum or shop vac, you can remove all of the loose dirt and pet hair from the cloth seats. Get out the crevice tool to get deep into the nooks and crannies of the seats. You can also use the upholstery brush if you have one to deep clean the fibers.
RELATED: 10 Best Car Vacuum Cleaners
2. Pre-Treat Stains
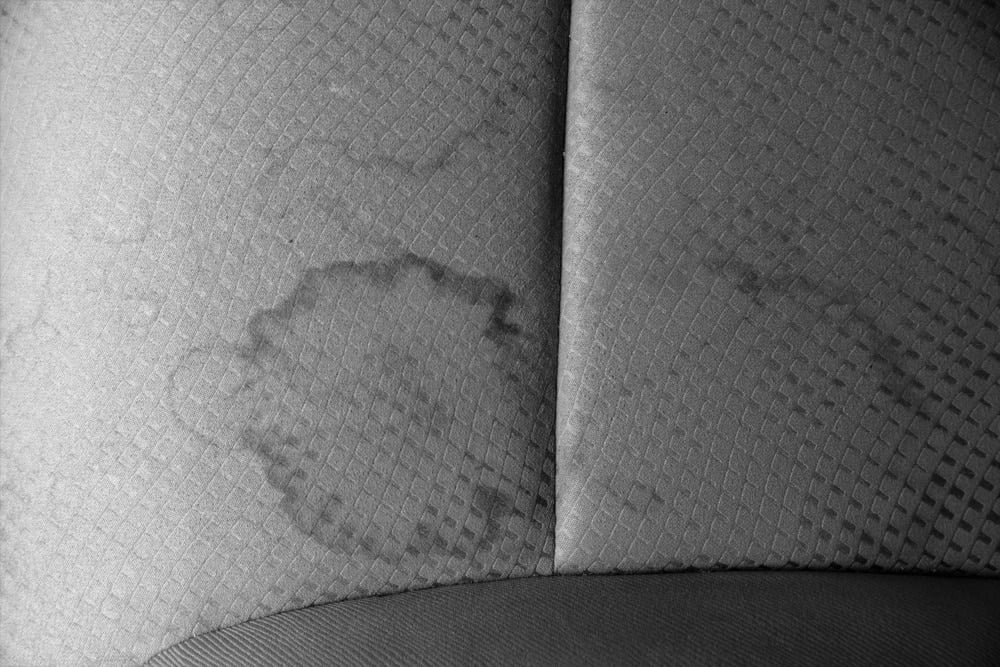
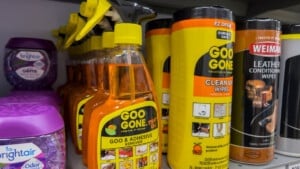
If there are any stains on the seats, you want to pre-treat them before performing the rest of the cleaning. You can purchase a specific upholstery spot treatment product to get the stains out. With some stains, it might be necessary to let the treatment sit for 15 minutes or longer before moving on. Read the directions on the product and use it accordingly.
Some people choose to use oxygen bleach products to remove deep stains. This can be mixed with water and applied to the stain, but it can discolor the seat. Before you apply it on a large scale, you might want to try it on a small inconspicuous area first to see the results.
3. Apply Cleaning Solution
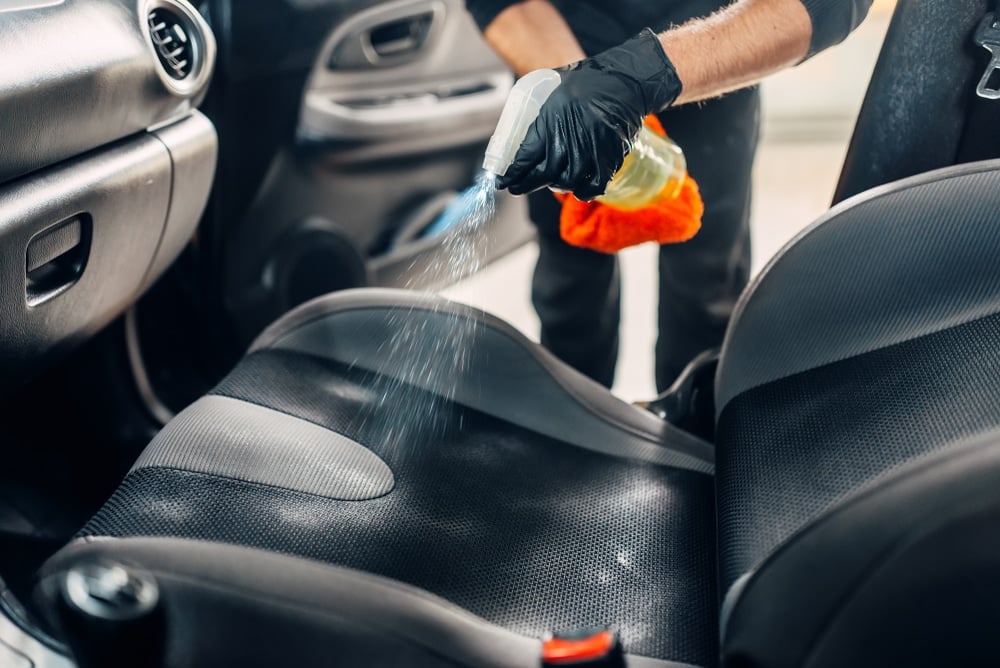
Some people choose to purchase a commercial cleaning product, while others will opt for something made at home. Either way, you want to follow the directions and mix them accordingly.
It tends to be easiest to apply the solution with a spray bottle. Make sure you get the entire seat covered in the cleaner. The fabric doesn’t need to be soaking wet. Covering it with a light mist is acceptable.
4. Scrub Dirt
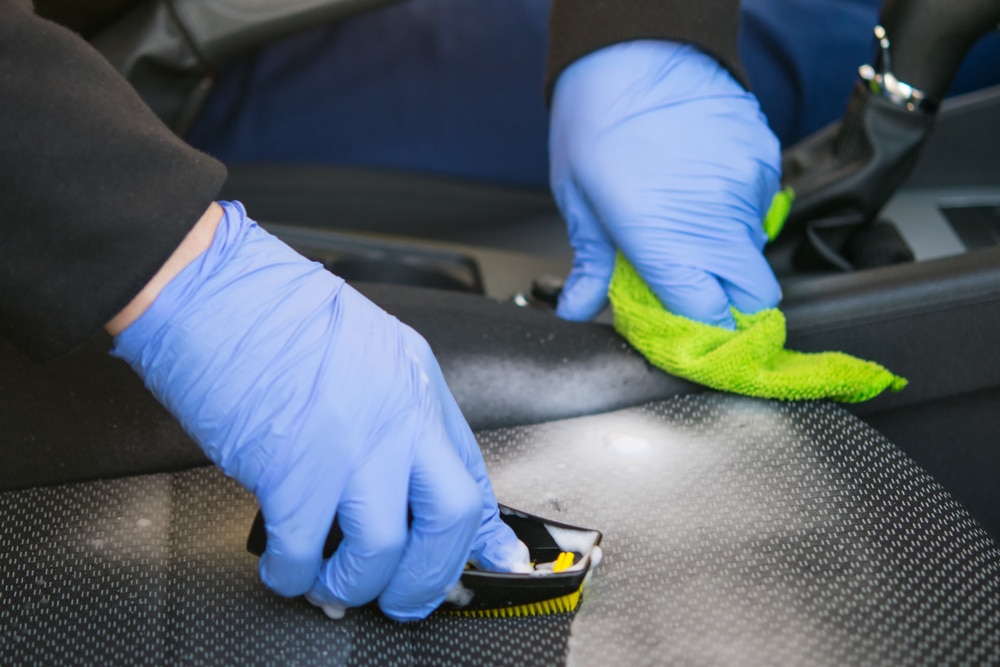
Get a scrub brush and start working the cleaning product into the seat. You want to use a gentle scrubbing motion to break down any dirt. Don’t push too hard or you can damage the seats.
If the scrub brush gets dirty, you want to rinse it off in a bucket of clean water. Continue working over the entire seats, starting from the top and moving down.
5. Wipe Off Excess Moisture
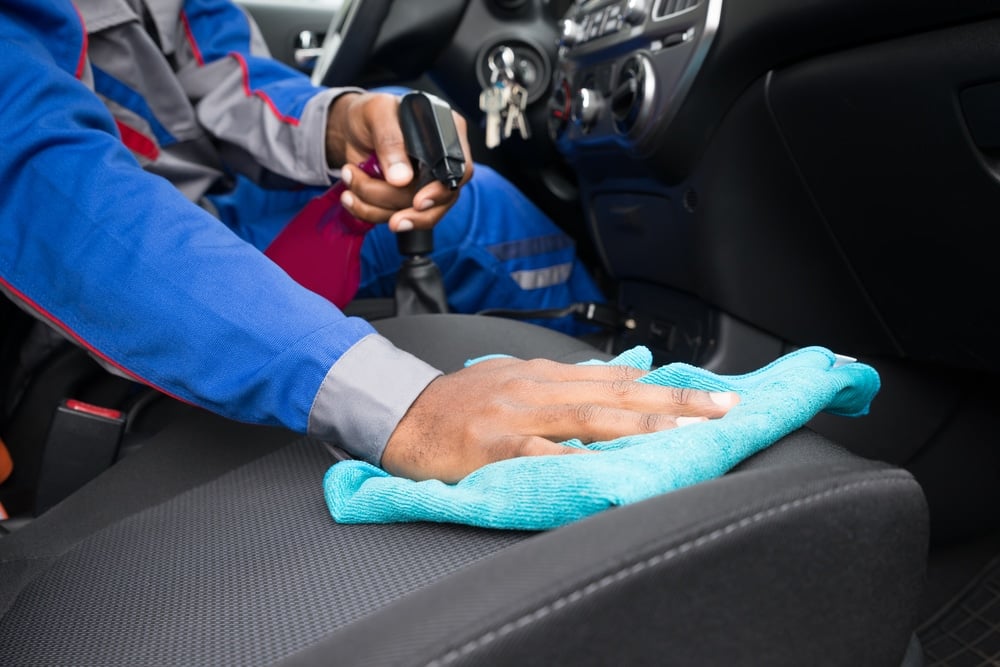
With your clean microfiber cloth, soak up any moisture that’s left behind from the scrubbing. You will need to let the seats dry out and this step will cut down the time dramatically.
Plus, using a cloth helps to lift up any stains or dirt that have been loosened. If your cloth becomes too wet, use a new one.
If, after drying the seats slightly, you notice that there are still stains or dirt left behind, you may want to repeat some of our steps. If it’s been a while since you’ve cleaned the car seats, it’s normal to have layers of dirt that need extra work to remove.
6. Dry Completely
Before you drive the car, it’s best to let it air out. The seats should be completely dry before you head anywhere. This process could take several hours, even on a nice windy day. Open the doors and windows to allow as much airflow through as possible.
You can also aim a fan at the car seats to speed up the drying. If the seats don’t seem to be drying out fast enough, use some moisture-absorbing beads to soak up the wetness.
7. Apply Protective Coating
Once the seats look their best, it’s time to protect them from future damage. You can find various protectants based on what type of seats you have.
With a spray-on protector, you keep the fabric looking its best as it repels stains. With this protectant in place, you won’t have to work as hard next time you want to clean the seats.
RELATED: How Much Does It Cost to Detail a Car?
How to Clean Leather Car Seats
1. Vacuum Seats
Leather seats need slightly different care than cloth seats, but many of the steps remain the same. You still want to vacuum off the seats to pull up any loose dirt.
While the upholstery tool might not be helpful with leather, you will find a use for the crevice attachment. Once all the loose dirt is cleaned up, you are ready to tackle those stains.
2. Pre-Treat Stains
There are multiple ways to deal with stains on leather upholstery. You can buy a commercial product if that’s easiest.
Some people also choose to apply some rubbing alcohol or nail polish remover with a cotton ball. Otherwise, you might prefer non-gel toothpaste or lemon juice. Either way, start with a small area first to see how the leather will react. It’s recommended to use a proven product that is compatible with leather.
3. Apply Cleaning Solution
Once you have treated the stains, it’s time to clean the entire seat. Again, there are plenty of high-quality leather seat cleaners on the market from some top brands. You can trust the reputation of these products if you have the money to spend.
Otherwise, you will need to make your own cleaner. Many people swear that a vinegar and water mixture works just fine to clean up the seats. However, we still recommend using a cleaner made for this purpose not to damage the leather.
4. Scrub Dirt
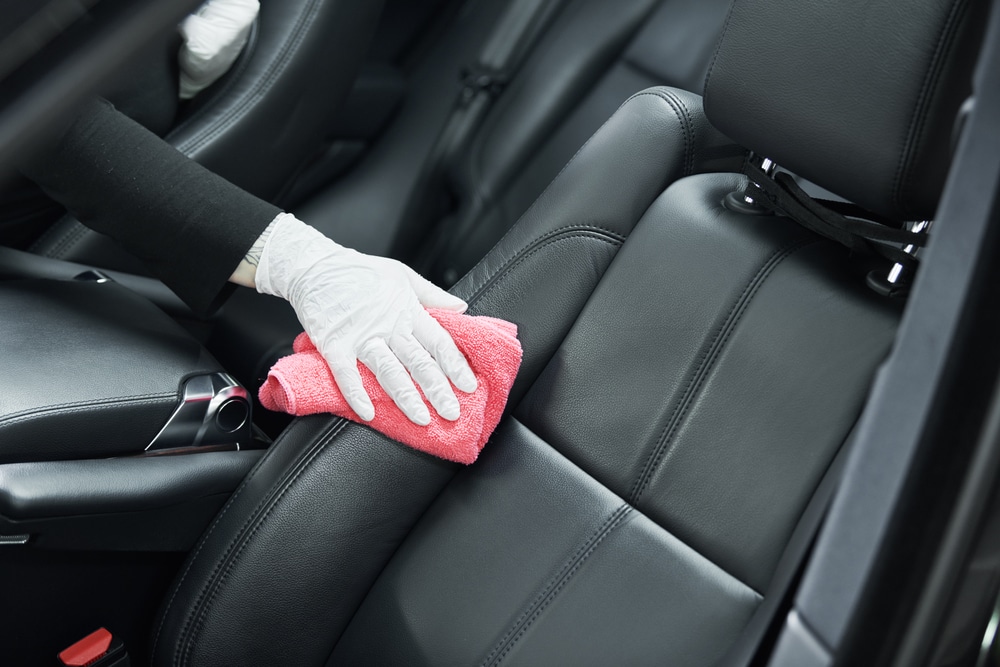
Very gently, you want to scrub away the dirt on your seats. You might prefer to use a microfiber cloth for this step, as brushes can cause damage.
Work in a circular motion, starting at the top of the seat. When the cloth becomes too dirty, it’s best to replace it with a clean one.
5. Wipe Off Excess Moisture
If the seats have gotten wet from the process, you want to dry them as best as possible. Use some new cloths to soak up the moisture.
It’s important that you don’t leave leather seats drenched in water. The material could crack and fade as a result.
6. Dry Completely
If the seats are damp when you are finished, leave the doors and windows open to air out the cabin. Once the seats have completely dried, you can go for a ride.
Try not to park the vehicle in direct sunlight. The UV rays can be damaging to the unprotected leather.
7. Apply Protective Coating
You’ve worked hard on cleaning the leather seats in your car. Now it’s time to protect all of the effort you put into the detailing.
Purchase a high-quality leather conditioner. Apply the product according to the directions to keep dirt from infiltrating the seats again.
RELATED: How To Remove Water Spots From Car (& How To Prevent it)
Cleaning Other Parts of Car Interior
1. Floor Mats
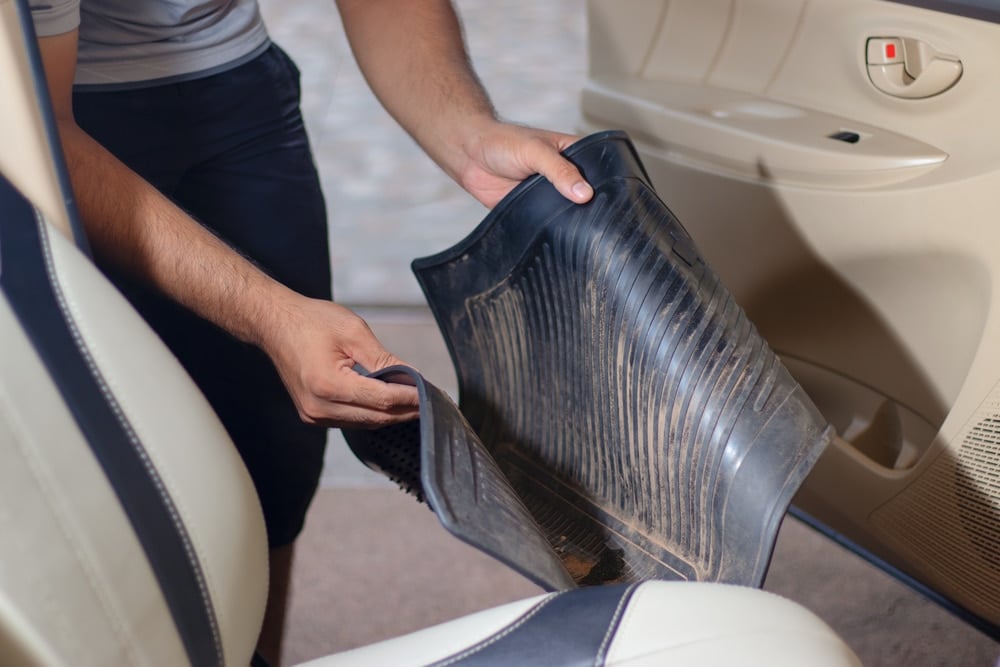
After you take on the car seat dirt, you might want to consider cleaning up the floor mats. Much of what you just cleaned off of the seats could end up on the floor.
Take out the mats and shake them out. You can vacuum them and use a stiff brush with a cleaner to remove stains. Remove to dry the floor mats completely before putting them back in.
2. Carpet
Just as with the floor mats, you probably noticed some dirt on the carpet. Vacuum up the carpet and remember to use the tools to get into tight spaces.
If there are stains, you can use a special carpet cleaner to remove them. Again, dry the carpets completely before closing up the car again.
3. Dashboard, Panels & Console
The hard surfaces of your car will also need to be cleaned. You can wipe the surfaces down with a microfiber cloth and specialized cleaner.
You can also use compressed air to get stuck on grime out of tight spaces. Finish off the cleaning with some disinfecting wipes and an inviting air freshener scent to better enjoy the ride.
Learn more:
- 10 Best Steering Wheel Cleaners
- Full Service Car Wash – What Is it? Pros and Cons
- How to Get Motor Oil and Grease Stains Out of Clothes
- When Do Car Seats Expire? (& Why?)
Categories: Cleaning & Detailing, Guides