The majority of light-duty trailers are going to use 4-pin wiring. This special harness is used with most utility and boat trailers. With the right connection, the running lights, brake lights, and turn signals will all work properly. The other pin is used for the ground wire. To help you get started, I have some tips for installing 4-pin trailer wiring.
To get the wiring installed, you must match up the colors and connect the ground wire to the frame. You will need to perform some installation steps from the trailer side and others from the vehicle side. Don’t forget to test the connection before you hit the road.
I look closer at what the wiring looks like. This guide also provides simple installation tips to get you moving.
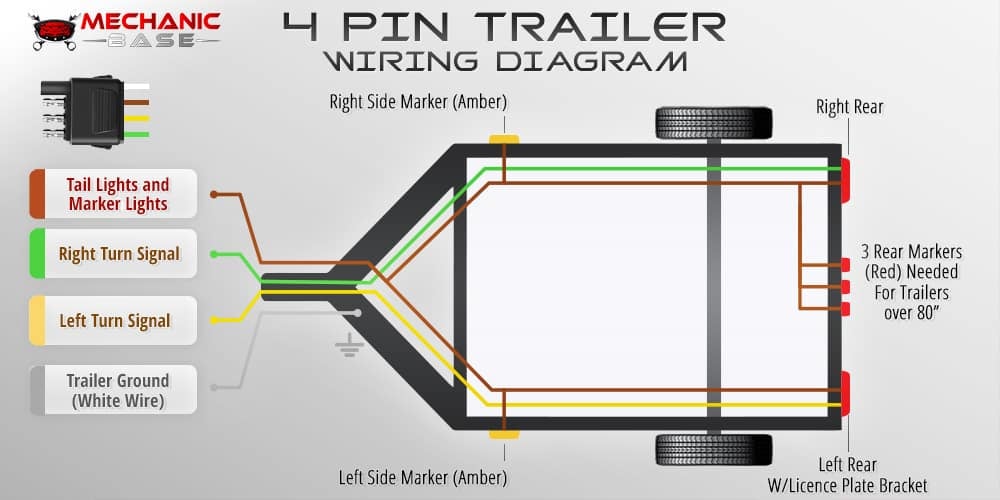
4-Way Trailing Wiring Color Codes
Before you get started on the installation, you must first understand what every color means. While the codes might vary slightly between the manufacturers, most of them use the same generic options. However, you should always check the installation manual before proceeding.
The colors for a 4-pin trailer wiring diagram are:
- White: Ground wire
- Brown: Tail/running lights
- Yellow: Left turn/brake light
- Green: Right turn/brake light
18-gauge wire is the minimum recommended size for the 4-way plug. This should be used for the lights. With the ground wire, you want to use a minimum of 16-gauge.
4-pin Trailer Wiring Diagram
Here is a picture of how a 4-pin trailer should be wired. Keep in mind that some cars may be wired in another way, so the best and correct way is to always measure the wiring with a multimeter.
RELATED: How Much Does a Gooseneck Hitch Installation Cost?
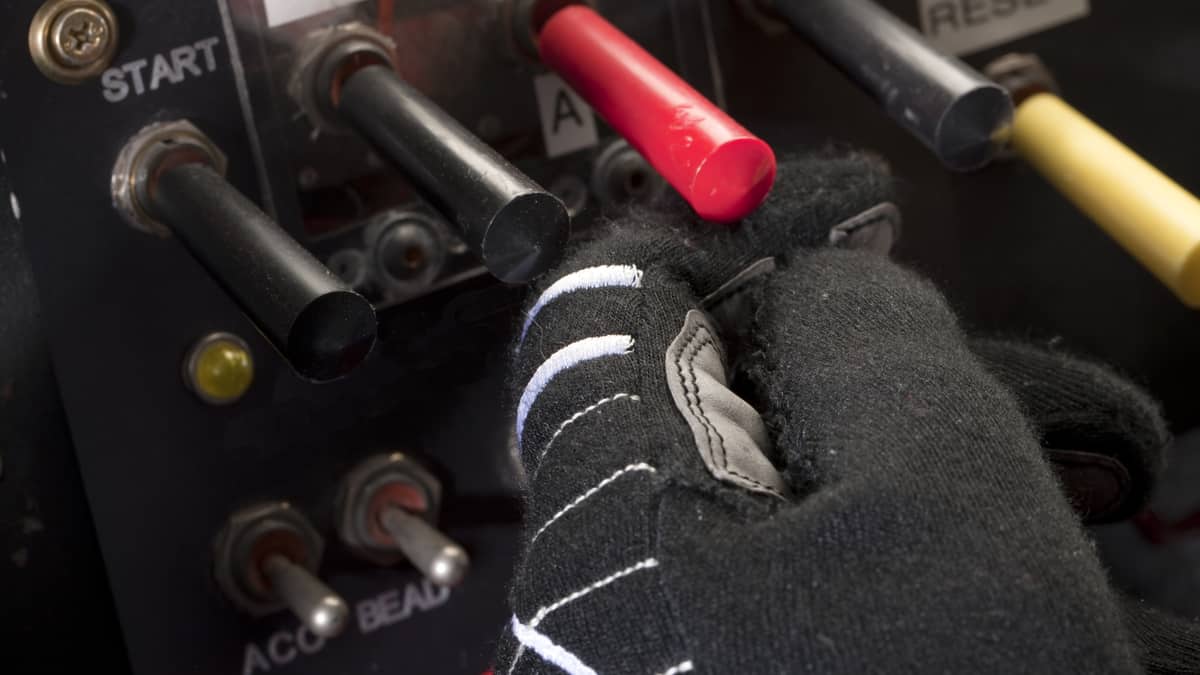
How to Install 4-Pin Trailer Wiring
1. Gather Supplies
Before you get started, you need to make sure you have all of the supplies. I recommend using a trailer lighting kit to ensure everything that you need is included.
If you are only replacing a few parts of the wiring and connectors, take an inventory before you get started. Figure out what parts need to be replaced and what can stay.
2. Connect Ground
The ground wire needs to be connected to a bare, clean portion of the trailer frame. You will use a ring terminal and self-tapping screw for the connection. Choose a ground location that doesn’t contain any contamination, corrosion or paint. If you need to, clean it off first.
There is one ground wire running for the entire wiring harness. It is responsible for grounding every light and feature running through the harness.
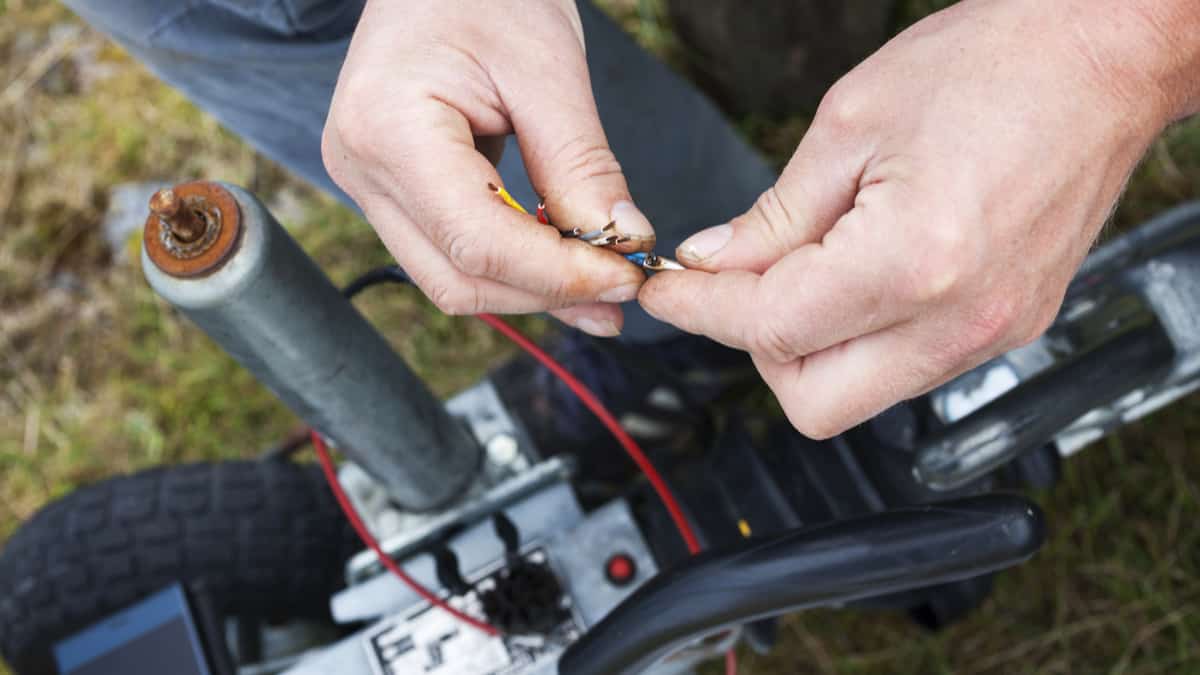
3. Run Wires
Take the remaining wires and run them across the frame of the trailer to the lights. Watch that the wires don’t chafe or get caught along with the components of the trailer, or you could run into problems.
You want to run the wires along with the hollow parts of the trailer frame. If needed, you can drill into the frame and install grommets. Zip ties and wire clips are also helpful when dealing with loose wires.
4. Install Vehicle Side Wiring
Once the trailer is connected, it’s time to focus on the vehicle. If your car is already equipped with a 4-way connector, you are ready to go. You can plug the trailer side into the vehicle and get towing.
If there is no 4-way connector on your vehicle, it doesn’t take a lot of work to add one. The type of connector you use will depend on your vehicle’s make and model.
5. Connect Trailer with Vehicle
You are now ready to connect the wires to the vehicle. With your crimper, you can strip the insulation of the wires. A heat gun and butt connector help to connect the wires securely.
You can also use a Y (wishbone) harness that will split the running light into two wires. One side runs on the driver’s side of the trailer, while the other is on the passenger side.
With the vehicle, you will perform the same grounding techniques as you used with the trailer. Make sure you connect the ground wire to a bare, clean metal surface of the frame. If you want to prevent corrosion, you can also add dielectric grease.
The wiring harness will plug or clamp onto the lighting features of the vehicle. You don’t want to route the power wire from the electrical harness to the battery of your car, or your lights will remain on all the time.
6. Test Connection
When all is said and done, you are ready to test the connections. Have a friend help you activate all of the lights while you watch from behind.
Make sure all of the lights work before you take the trailer out on the road. Otherwise, you could put yourself in danger or get yourself pulled over by a cop.
RELATED: 10 Best Trailer Brake Controllers
Cost of Installing 4-Pin Trailer Wiring
You might spend $150-$300 for the trailer wiring supplies. If you can install it yourself, you will save money on the labor costs.
If you have basic mechanical skills, it might take you about two hours to connect the trailer wiring. If you can get a friend to help, the process will go much smoother and quicker.
What are the colors for 4-pin trailer wires?
The four colors you will find on a 4-pin trailer wiring are White (Ground), Brown (Tail/running lights), Yellow (Left turn/brake light), and Green (Right turn/brake light).
Will trailer lights work without a ground?
No. Your trailer lights will not work if the lights are not connected to the car ground. If the car ground is connected to the body of the trailer, you can ground the lights to the trailer chassis.
How do you test a 4-pin trailer plug?
If you need to test the power of your car for your 4-pin trailer connector, you can use a multimeter. If you need to test the lights on a 4 pin trailer, you can either send power and ground through the trailer connector through a wiring diagram, or you can hook the trailer up to a car and try.
How do you wire a 4-pin trailer connector to a 7-pin connector?
To connect a 4-pin trailer connector to a 7-pin connector, you need to find a wiring diagram for both connectors and get a multimeter. Then, just follow which wire matches the pin of the other connector and measure afterward to make sure the wiring is correct.