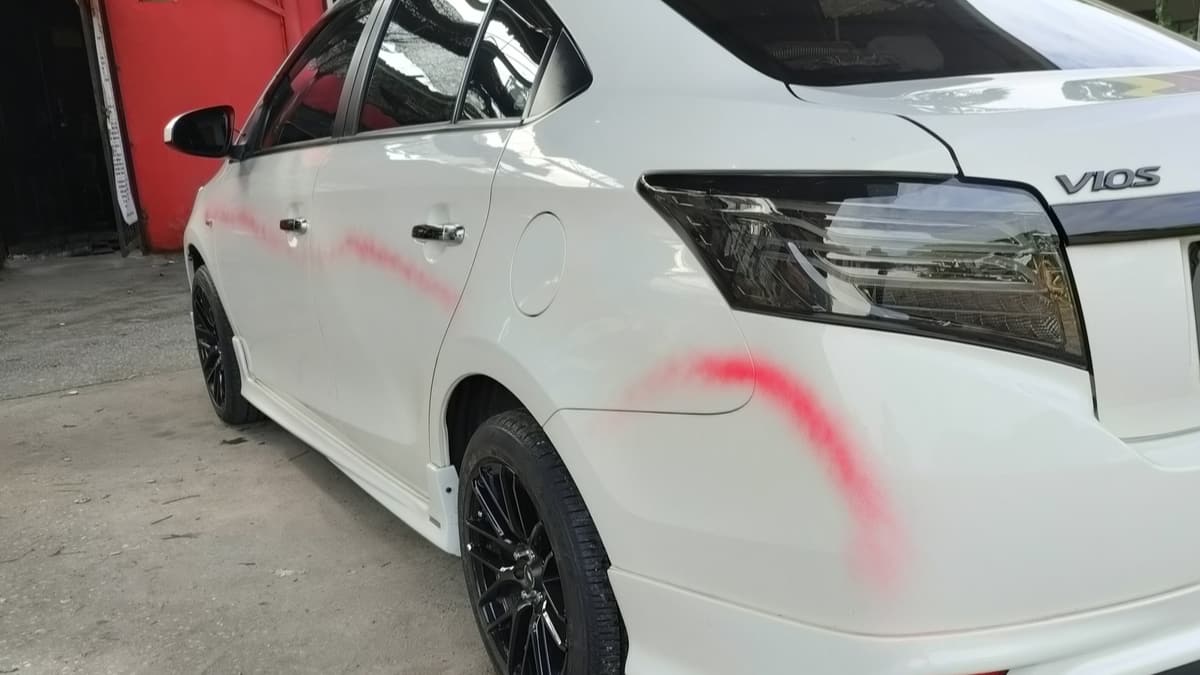
You might have gotten a great deal on a used or new car, but it’s always annoying dealing with that sticker or decal that the dealership puts on the back. If you don’t know how to remove the dealer sticker from your car, you will continue driving around with it on the back.
In this guide, we will break down all of the steps to get the dealership sticker off of your car. We will also examine how to remove those decals that are on the back of your vehicle. While the processes are nearly identical for the two, there are some distinct differences between taking off a vinyl sticker and a decal plate.
How to Remove the Decal Sticker from Your Car
Gather Materials
You will also need a lint-free rag, a plastic scraper and something to remove the adhesive. Make sure you also have a hairdryer or a heat gun.
Clean Surface
With your bucket of soapy water, gently clean the area with your lint-free cloth. However, you should never use dish soap, as it can ruin the protective finish. Instead, use special car wash formulas that receive rave reviews. Once you have a clean surface, dry the area and set your bucket aside.
Heat Sticker
Hold the heat source about six inches from the surface, just enough to warm up the decal. You should move the heat source in a circular rotation, so it doesn’t damage the car paint.
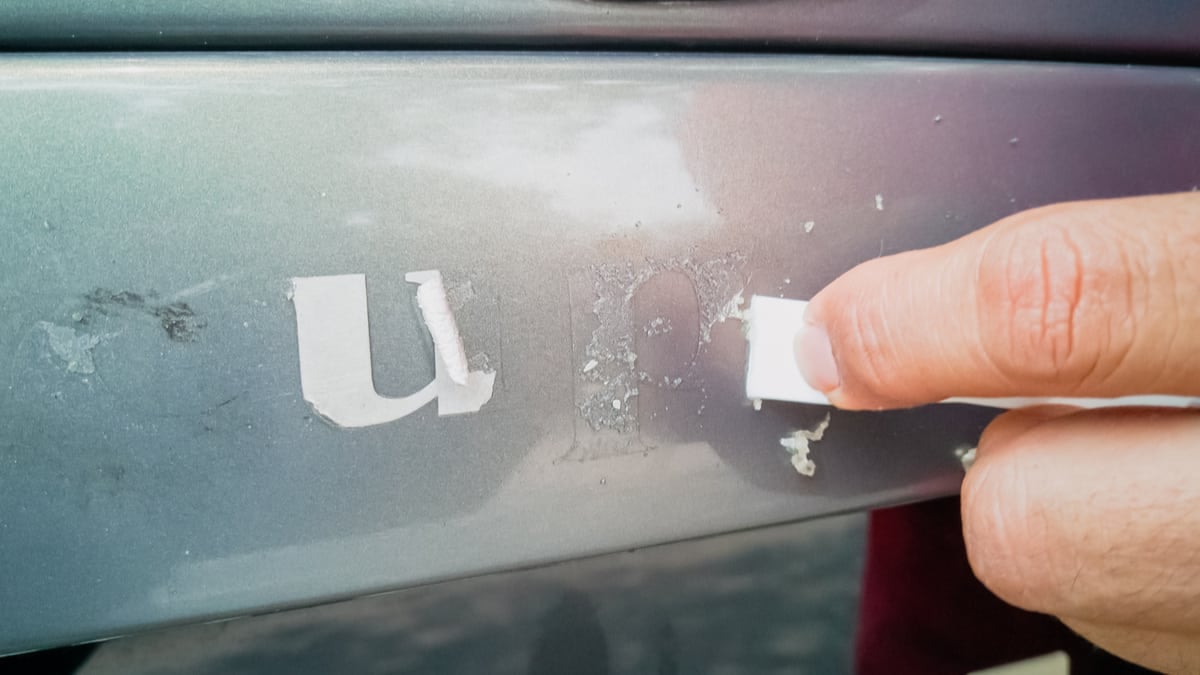
Scrape Sticker
Once a section is lifted up, grab hold of it and start working it away from the car paint. If you don’t have a scraper and can’t get one, try using the edge of your credit card instead. Ideally, you want to be able to peel the sticker back in one smooth motion. However, if the sticker is old, it could come off in pieces instead.
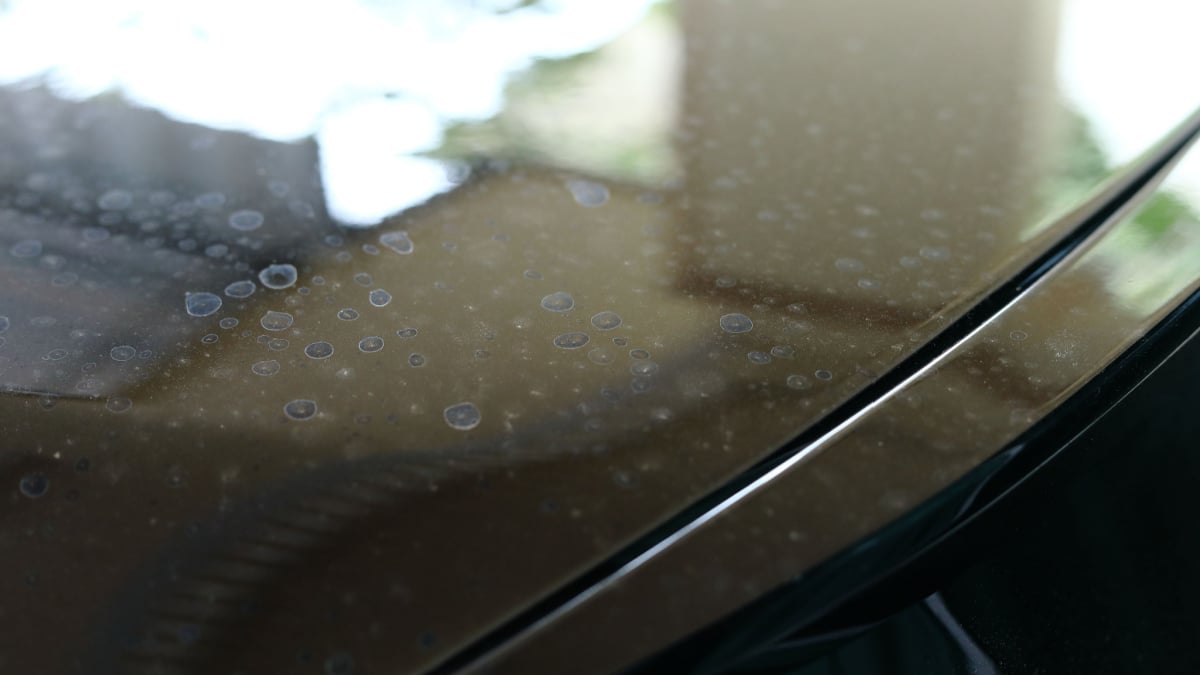
Clean off Adhesive
You can use your lint-free cloth to wipe the adhesive off once it softens up. If needed, you can also use the plastic scraper to work off any stubborn residue.
Dry & Wax Car
The area that was covered by the sticker will need some additional protection. It probably doesn’t have any protectant on the surface. Apply some wax or a clear coat product to the area.
RELATED: 8 Best Car Waxes of 2022 – Review & Buyer’s Guide
How to Remove the Decal Plate from Your Car
1. Clean the Area
Working with the decal plates isn’t too much different from trying to remove stickers. You still want to start by cleaning the area around the decal. Use your warm, soapy water to clean the entire area around the decal.
Once all of the dirt and grime are removed, dry the area. You don’t want any dirt getting into the plastic or metal decal area or it could scratch up the paint during removal.
2. Apply Heat
You are going to apply heat the same way you did with the sticker to soften the adhesive. However, the decal is going to require more heat and time to soften than the sticker did.
Don’t turn up the heat too high. You want to work slowly with a gentle heat and have some patience. Otherwise, you could damage the surrounding paint and body.
3. Work it Loose
Once the decal feels warm to the touch, you might be ready to start loosening it. You can apply some adhesive remover around the decal to see if it works loose. You can also use the plastic scraper to get underneath it. If a spot becomes cool again, just heat it back up.
If you are lucky, the decal will just pop off once it is warm enough and you remove some of the adhesive. This is most possible when the decal is newer and it hasn’t been baked on over time.
There’s a little trick that not a lot of people know about and it only involves some dental floss. You can take a string of dental floss behind the decal to work it off of the adhesive. This process helps you keep the paint in good shape without causing any damage.
RELATED: 10 Best Car Scratch Removers of 2022 – Review & Buyer’s Guide
4. Clean Adhesive
Once the decal has come off, there will be an adhesive substance left over. With your adhesive remover, you can wipe down the area and remove the sticky goo.
Use your plastic scraper if the adhesive is difficult to remove. You can also let the remover sit on the surface for a few minutes if you need it to soften the area. Once the adhesive is pliable, you can remove it with your cloth.
5. Clean/Protect the Area
Once the decal is removed, you have paint that needs protection. If there are holes left in the panel, you will need to have these repaired. You want to do this before rust and corrosion set in, which only leads to bigger body problems.
If there are no holes, you can clean up the surface and use wax or a protectant to keep the paint in its best condition. While you are at it, just clean and wax the entire car to ensure it looks uniform and cared for.
READ MORE: How to Remove Window Tint (4 Easy Methods)
Categories: Cleaning & Detailing, Guides