If you drive a car that was manufactured before 1994, it’s possible that the air conditioning system is still using R12. This refrigerant was deemed to be dangerous to the environment, and it must be replaced with R134a instead. However, you might not know how to convert your car’s AC R12 system to R134a.
In this guide, I evaluate how to figure out the appropriate amount of R134a to add. I also look at the steps to convert the system from R12 to R134a.
How to Calculate How Much R134a Is Needed
R134a refrigerant is lighter than R12. To ensure the right charge, you must fill the new system with between 75 and 85% of the factory-set capacity for optimal cooling.
To discover the capacity for refrigerant, you want to use the specs for the current system and multiply the R12 charge by 0.9 or 90%. Subtract ¼ or 0.25 pounds from this number.
However, R134a isn’t going to cool the same as R12. Even if you charge the system properly, you might notice it doesn’t get as cool. Still, R134a is much more tolerant of under- and overcharging.
How to Convert Car AC R12 to R134a
The guide below is how you can convert your R12 to R134a in an older car. If you want to make a proper conversion, you will also need to replace all the O-rings, new accumulator, new filter and so on. But we’re talking about a $2000+ cost, so it’s probably not worth doing all this if your car is old.
For many car models, there are specific conversion kits that contain the necessary parts for the conversion. In some models, you also need to replace the pressure switches.
Simply replacing the fittings and filling it with the correct amount of R134a will work well on most older car models, but this is not a permanent result.
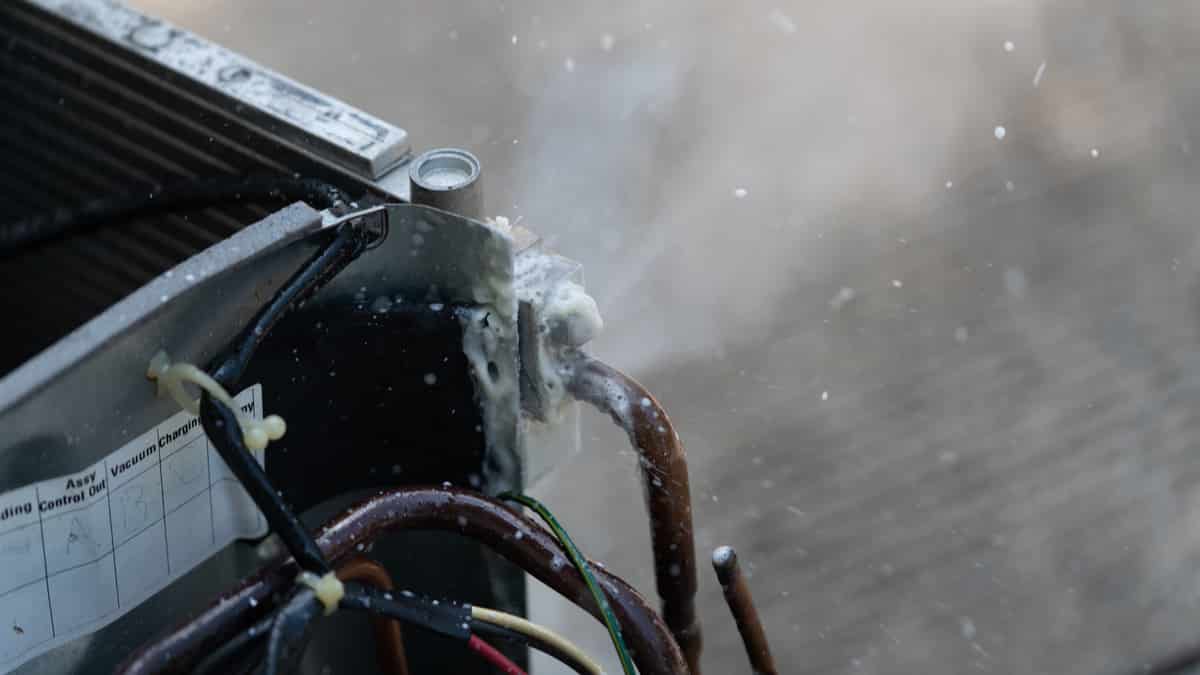
1. Discard R12
Before you do anything else, you need to pump out the R12 refrigerant that is currently in the system. This should always be done by a licensed professional, because it must be disposed of properly.
If you release R12 into the environment, you could get in trouble. Not only is it bad for the environment, but it’s illegal, too.
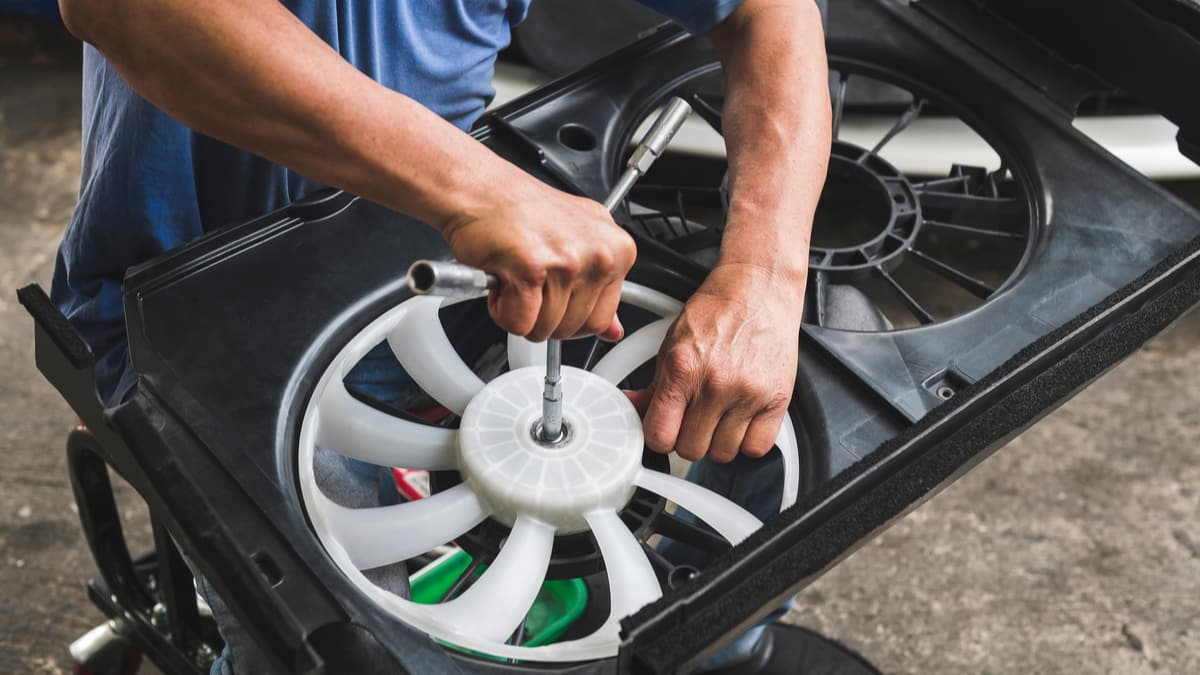
2. Retrofit the System
You must add new fittings to both the low and high side service ports on the AC system. Turn the low side fitting over the existing part. You will need a wrench to tighten it to factory torque specs.
Put the high side fitting over the old connector. Use a wrench to tighten this to the appropriate specs as well. You want to add the retrofit label on the connectors so other people who buy the car after you know to use R134a.
You may use connectors like these. This is an affiliate link, which means that at no cost to you, we may receive a small commission for qualifying purchases.
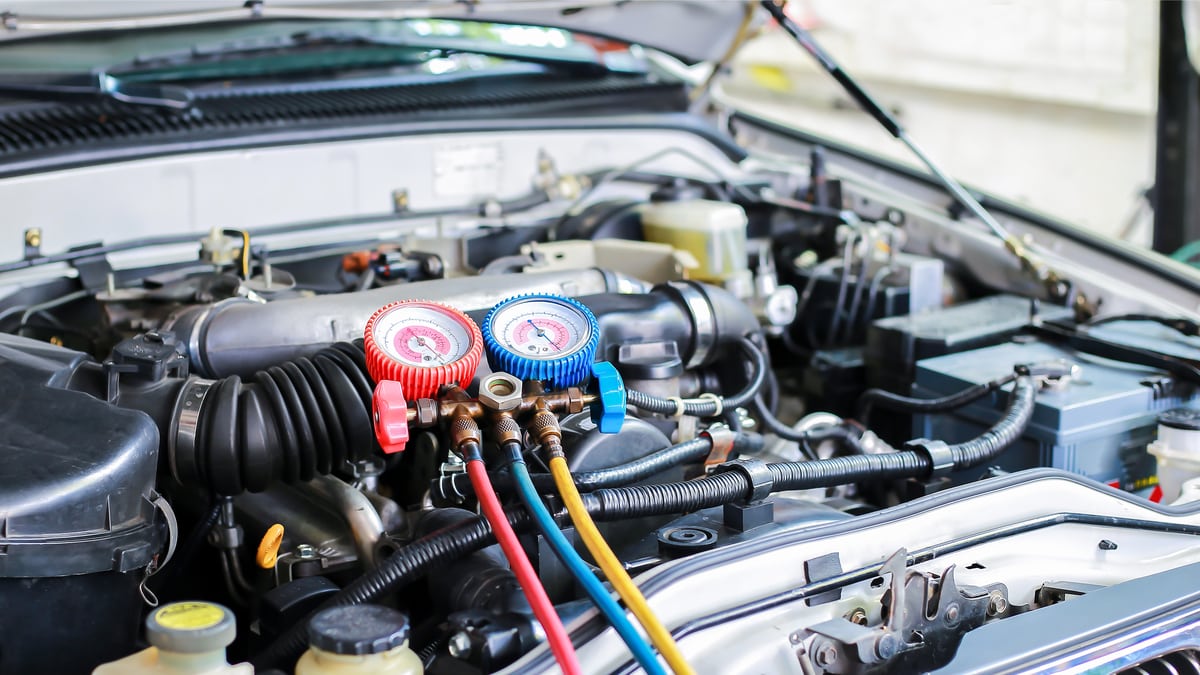
3. Hook up Gauges
All of the valves on the manifold gauge should be closed. Connect the low side port to the blue hose and put the red hose on the high side port. The yellow hose goes to a vacuum pump.
Start running the pump and open both valves on the gauges. You want to vacuum down the system for at least an hour. Once you are done, you close all of the valves and turn the pump off.
RELATED: AC Low Side Pressure Too High – Common Causes & Repair Costs
4. Pump in R134a Refrigerant
Use the yellow hose to connect to the R134a can. This refrigerant should already contain oil. Otherwise, you will need to add that separately.
Turn the valve on the top of the can. Start the car engine and turn your air conditioning on as high as you can. You can place a thermometer in the vent to measure the temperatures blowing out.
With the blue hose connected to the low side port, you want to open up the system so it can draw the refrigerant from the can. Continue adding the R134a until you have reached the appropriate capacity, which is less than what was needed with R12.
When you are finished, close the valves on the gauges and disconnect them. Put your gauges back into the carrying case, so they are protected from damage.
Cost of Converting an R12 to the R134a System
If you have a professional convert the R12 to R134a, you may spend about $250 for the entire service. However, this is much more cost-effective than replacing the entire air conditioning system.
If you were thinking about getting an R134a system installed, your cost would be around $2,000 to $4,000. Usually, it’s not worth going this route, especially when you can simply retrofit the existing equipment.
What happens if you put R134a in an R12 system?
If you only put R134a into your R12 refrigerant system without replacing the O-rings, there is a risk that the system will start to leak. You may also notice that the R134a refrigerant will not cool as well as R12.
When did R12 change to R134a?
Most cars built after the year 1994 use R134a. The first automobile air conditioners used R12 as a refrigerant. However, due to environmental concerns, the production and use of R12 were phased out and replaced with R134a.
Is R12 better than r134a?
The refrigerant R12 is slightly more efficient than R134a in terms of cooling performance in smaller systems. But when it comes to the environment, R134A is much better than R12.
Can you mix R134a with R12?
No. You should never mix R134A with R12 or vice versa. They are incompatible with each other, and they have different performance characteristics that can lead to costly system failures.
Categories: Air condition, Guides